276 Installing Enclosure Components
1
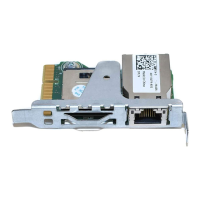
Unpack the I/O module and prepare it for installation.
For instructions, see the documentation that accompanied the I/O
module.
2
Remove the I/O connector cover from the back of the module. See
Figure 4-6.
3
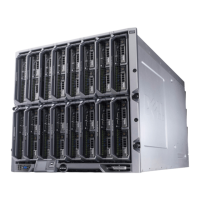
Install the I/O module in the M1000e enclosure:
a
Lift the handle release latch and open the I/O module handle.
b
Slide the module into the enclosure.
c
Close the handle until it snaps securely into place and the module is
fully seated.
4
Connect all cables that must be attached to the I/O module.
See the documentation provided with the I/O module for information
about its cable connections. See the
Rack Installation Guide
for
information on using the cable enumerators to organize and manage the
cables.
5
A matching fabric mezzanine card must be installed in one or more blades
to support the new I/O module. If necessary, install the mezzanine card(s)
now. See "I/O Module Mezzanine Cards" on page 198.
Enclosure Bezel
Removing the Enclosure Bezel
1
Press the system power switch to turn off the system. See "System Control
Panel Features" on page 16.
2
Rotate the LCD module so that the underside of the module faces
upward. See Figure 4-11.
3
Remove the cable cover and disconnect the ribbon cable from the LCD
module.
4
Remove the screws that secure the bezel to the enclosure. See Figure 4-7.