048
048
/
CHAPTER 9: PROCESSOR LIQUID-COOLING ASSEMBLY
3
4
1
2
5
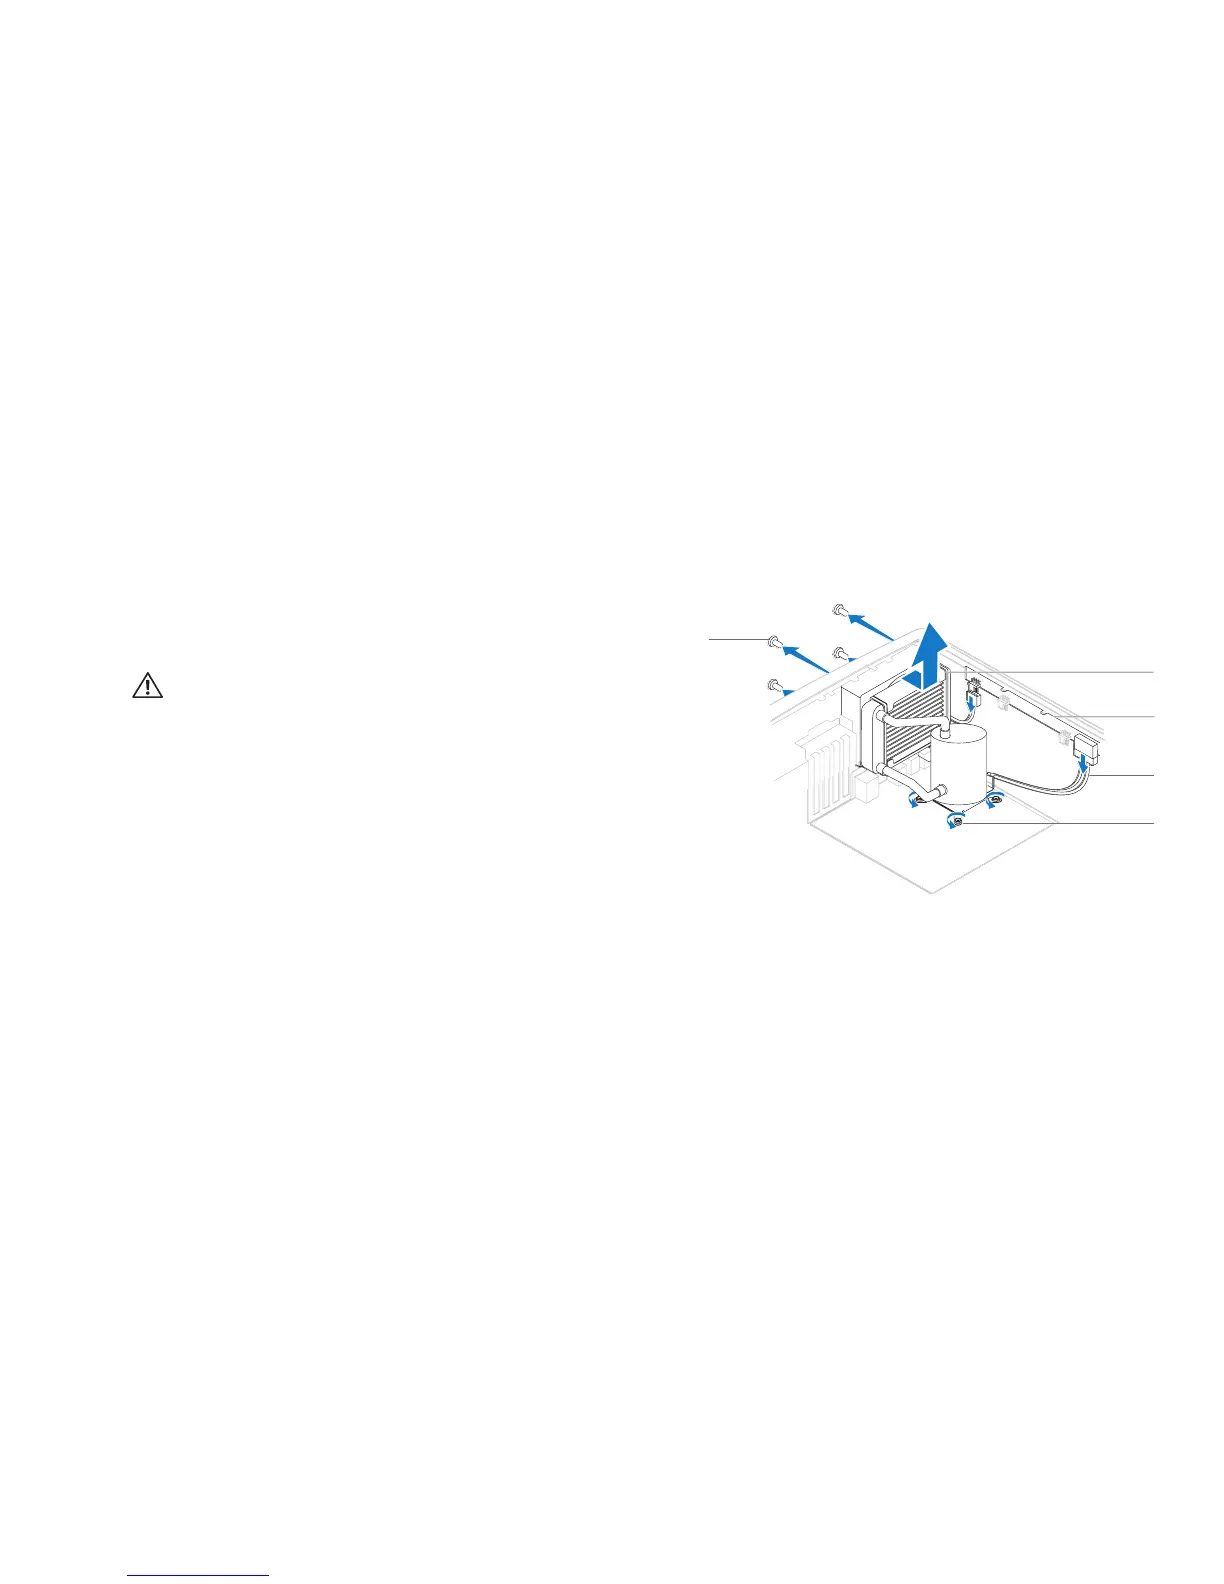
1 processor liquid-cooling assembly 2 top lighting-board
3 cables (2) 4 captive screws (4)
5 screws (4)
Removing the Processor Liquid-Cooling Assembly
Follow the instructions in “Before You Begin” on page 1. 6.
Remove the left side-panel (see “Removing the Left Side-Panel“ on page 2. 11).
WARNING: Despite having a plastic shield, the processor liquid-cooling
assembly may be very hot during normal operation. Ensure that it has
had sufcient time to cool before you touch it.
Disconnect the processor liquid-cooling assembly cable from the connectors 3.
(SYS FAN and CPU PUMP) on the top-lighting board.
Loosen the four captive screws that secure the processor liquid-cooling 4.
assembly to the system board.
Remove the four screws that secure the processor liquid-cooling assembly 5.
to the chassis rear wall.
Slide and lift the processor liquid-cooling assembly away from the chassis.6.