081
081
/
CHAPTER 16: RIGHT SIDE-PANEL(S)
Replacing the Right Side-Panel(s)
Follow the instructions in “Before You Begin” on page 1. 6.
Align the right bottom-panel to the bottom of the computer and slide it into 2.
position.
Slide the lighting board into position and replace the two screws that secure 3.
the lighting board to the chassis.
Connect the lighting-board cable to the connector on the master I/O board. 4.
Slide the right top-panel into position.5.
Place the chassis on its side.6.
Replace the three screws that secure the right side-panel(s) to the chassis.7.
Replace the power-supply cover (see “Replacing the Power Supply“ on 8.
page 59).
Replace the hard-drive fan assembly (see “Replacing the Hard-Drive Fan 9.
Assembly” on page 43).
Replace the drive-bay shroud (see “Replacing the Drive-Bay Shroud” on 10.
page 19).
Close the PCI shroud (see “Closing the PCI Shroud“ on page 11. 18).
Replace the left side-panel (see “Replacing the Left Side-Panel“ on page 12. 11).
Connect your computer and devices to electrical outlets and then turn 13.
them on.
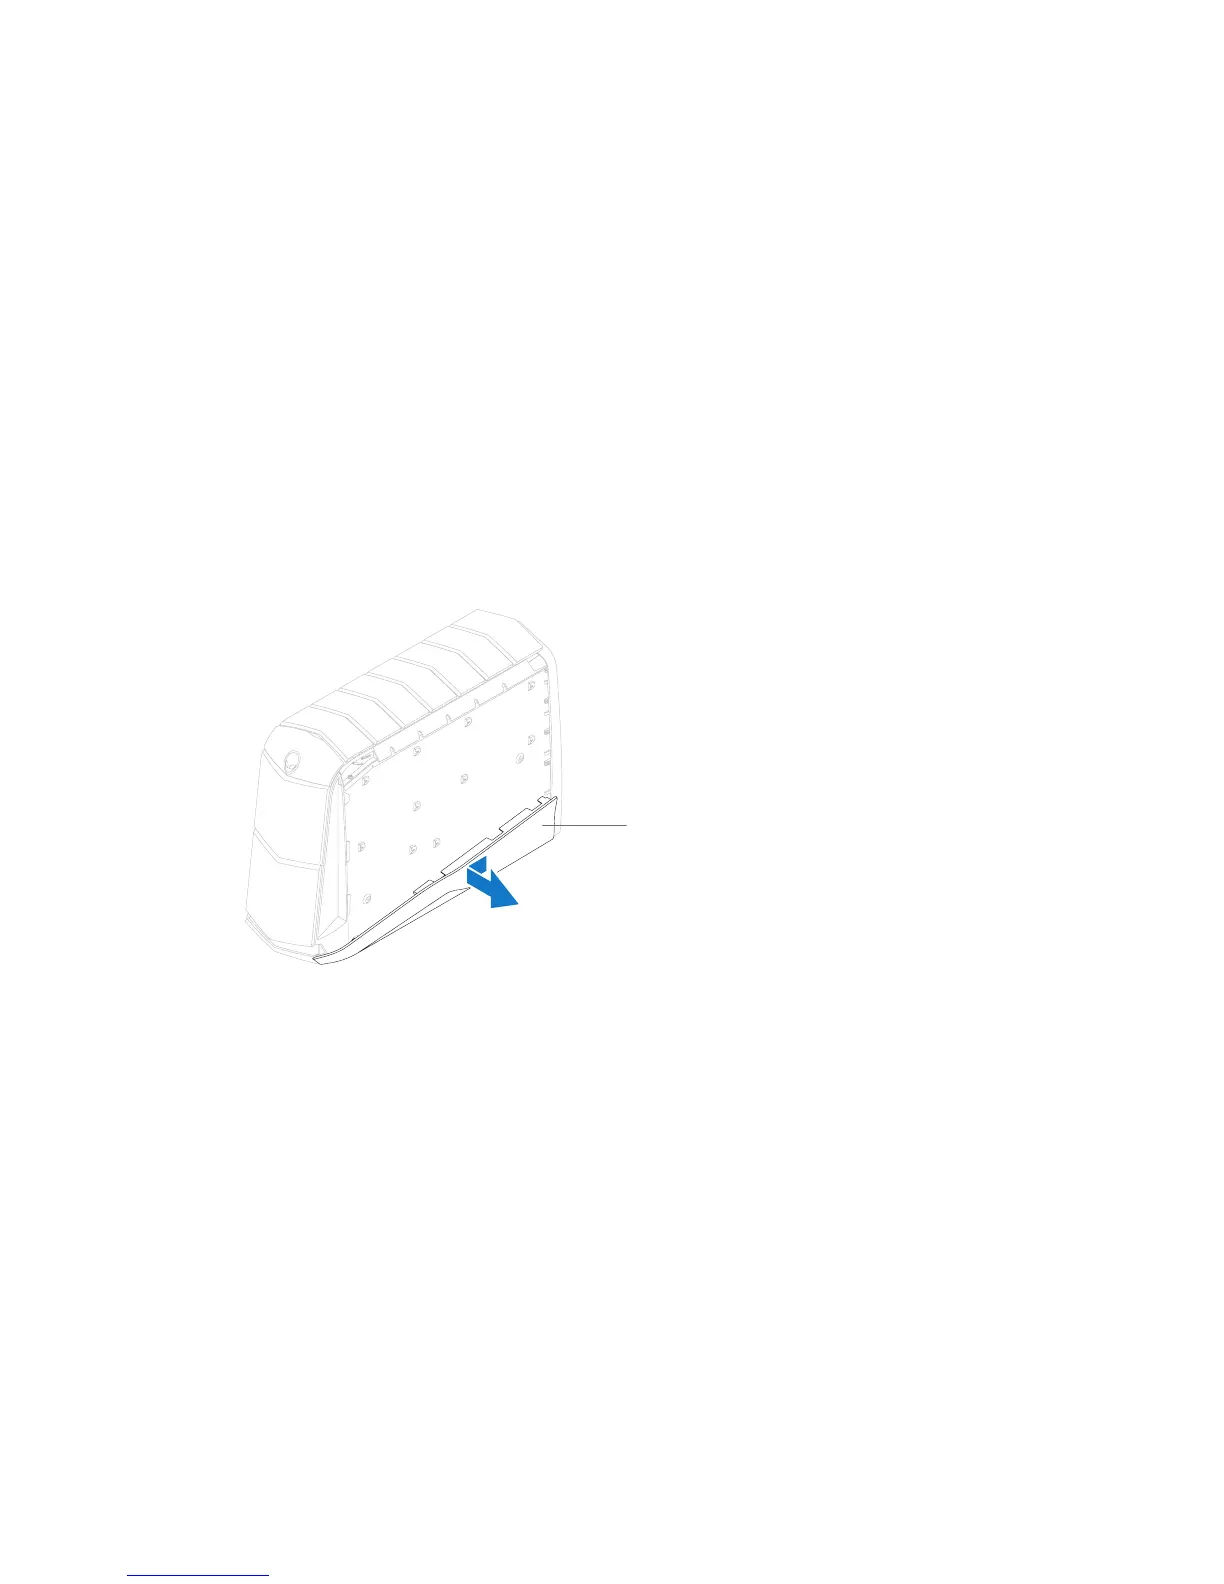
Slide and pull the right bottom-panel away from the chassis.13.