1
2
3
4
5
6
7
Use the To
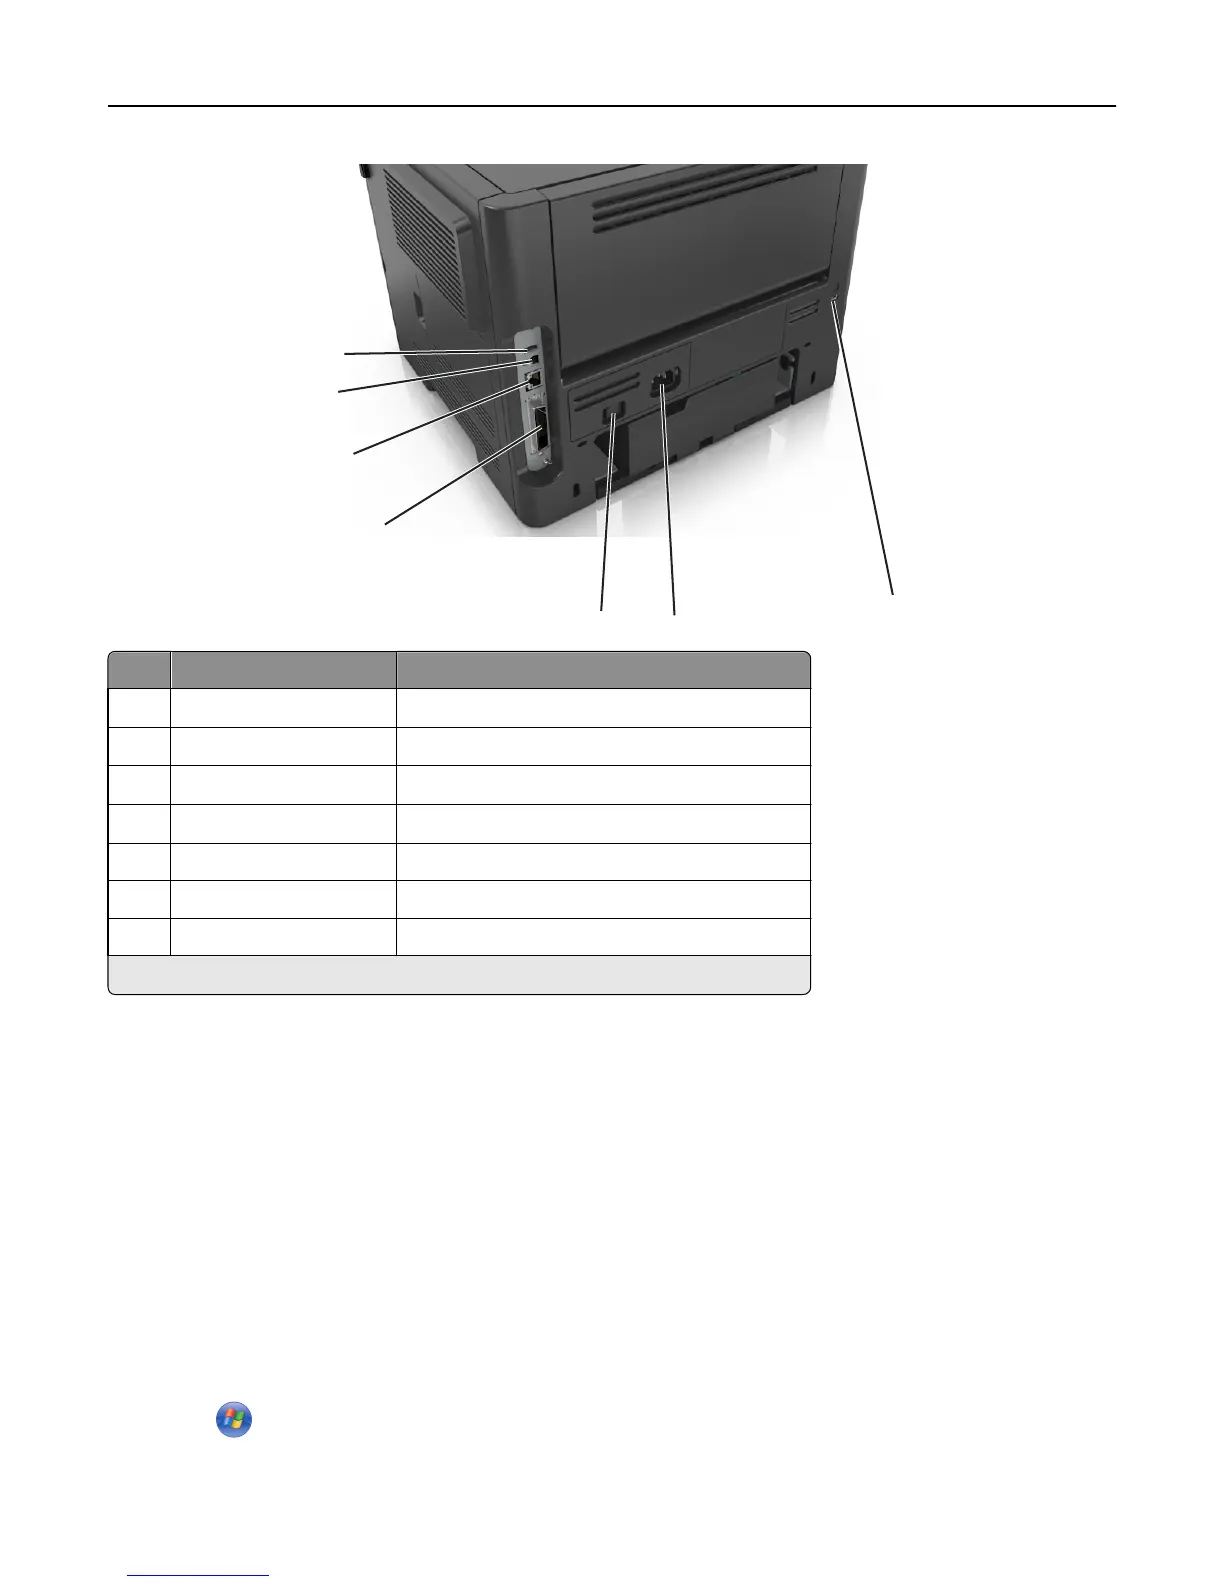
1
USB port
*
Attach an optional wireless network adapter.
2 USB printer port Connect the printer to a computer.
3
Ethernet port
*
Connect the printer to a network.
4
Parallel port
*
Connect the printer to a computer.
5 Power switch Turn on or turn off the printer.
6 Printer power cord socket Connect the printer to an electrical outlet.
7 Security slot Attach a lock that will secure the printer in place.
*
These ports are available only in select printer models.
Setting up the printer software
Installing the printer software
Note: If you installed the printer software on the computer before but need to reinstall the software, then uninstall
the current software first.
For Windows users
1
Close all open software programs.
2 Insert the Software and Documentation CD.
If the installation dialog does not appear after a minute, then launch the CD manually:
a Click , or click Start and then click Run.
b In the Start Search or Run dialog, type D:\setup.exe, where D is the letter of your CD or DVD drive.
Additional printer setup 21