108 Removing and Installing Parts
3
Remove the computer cover (see "Removing the Computer Cover" on page 78).
4
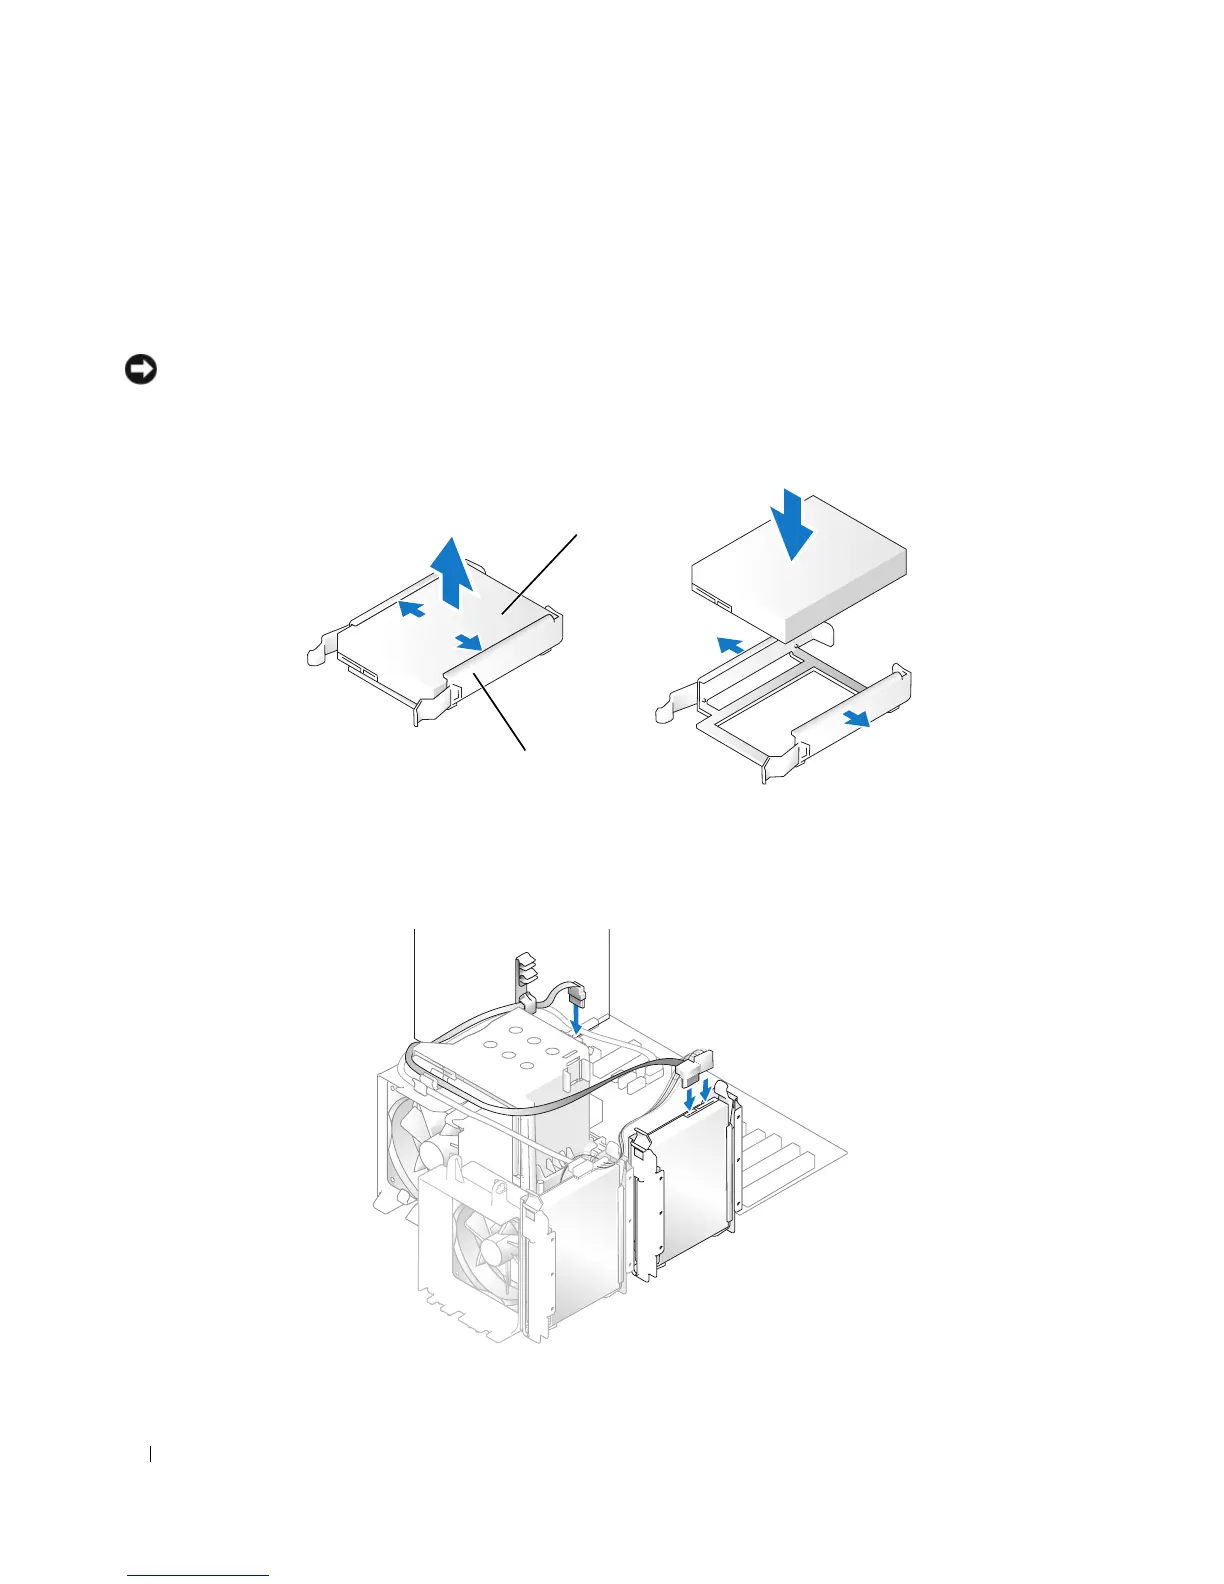
Press in on the tabs on each side of the hard drive bracket in the empty drive bay and slide the bracket
up and out.
5
Snap the hard drive bracket onto the new hard drive.
NOTICE: Do not install any drive into the lower hard-drive bay until you have removed the hard drive bracket from
the inside of the hard drive bay.
6
Slide the new hard drive into empty bay until you feel a click.
7
Connect the power and hard drive cables to the drive.
8
Check all connectors to be certain that they are properly cabled and firmly seated.
1 hard drive 2 hard drive bracket
1
2