2
Overview of Array Installation and Setup
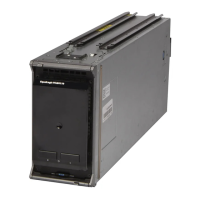
To set up and start using your PS-M4110 storage blade array, follow the detailed procedures associated with
each of these steps:
1.
Install the PS-M4110 array hardware in an PowerEdge M1000e Blade Enclosure. Hardware installation is
described in Chapter 3, Installing an Array on page 13.
2.
Set up the array. Array configuration is described in Chapter 4, Configuring the Array on page 25. The tasks
are:
–
Configure the array.
–
Make the array accessible on the network.
–
Configure RAID.
–
Create a group with the array as the first group member or add the array to an existing group. When you
expand a group, capacity and performance increase automatically.
3.
Start using the SAN. Allocate group storage space to users and applications by creating volumes. A volume
appears on the network as an iSCSI target. Use a computer’s iSCSI initiator to connect to a volume. Once
you connect to a volume, it appears as a disk on the computer. Array storage setup is described in Chapter 5,
Allocating Storage on page 49.
4.
After completing the above steps, you can customize the group and use its more advanced features. This is
described in Chapter 6, After Setting Up a Group on page 55.
 Loading...

