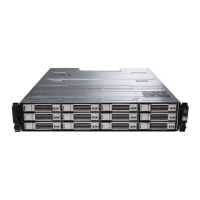
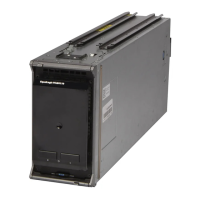
Dell EqualLogic PS-M4110 Installation Guide
Using the CMC CLI to Configure the Array
Using the CMC CLI to Configure the Array
The Dell Chassis Management Controller (CMC) CLI lets you connect to an unconfigured PS Series array just
as if you connected a serial cable between the front of the PS-M4110 and a host computer. After connecting to
the array with the CMC CLI, you can run the EqualLogic PS Series Setup Utility to configure the array.
To run the CMC CLI:
1.
Log in to a computer or console that has network access to the Dell Chassis Management Console (CMC) in
the PowerEdge M1000e Blade Enclosure.
2.
Start the CMC CLI. See the latest Dell Chassis Management Controller User's Guide at support.dell.com
for instructions on how to access and log in to CMC CLI.
3.
At the CMC CLI prompt, enter the following command:
racadm getversion
This command displays all the servers and blades installed in the PowerEdge M1000e Blade Enclosure and
their slot numbers.
4.
Identify the PS-M4110 array from the output and enter the following command, where server-number is the
slot number of the PS-M4110:
racadm connect server-number
5.
Run the PS Series Setup Utility to configure the array. See Using the EqualLogic Setup Utility to Configure
the Array on page 36.
Next Step
You must set the member’s RAID policy in order to use its disk storage. Go to Setting the Member RAID Policy
on page 41.
If you created a new group, allocate the group storage space. Go to Allocating Storage on page 49.
 Loading...