Do you have a question about the Dell Inspiron N4110 and is the answer not in the manual?
| Memory | Up to 8GB DDR3 |
|---|---|
| Storage | Up to 750GB HDD |
| Graphics | Intel HD Graphics 3000 or AMD Radeon HD 6470M |
| Wireless | Wi-Fi 802.11 b/g/n, Bluetooth 3.0 |
| Processor | Intel Core i3/i5/i7 (2nd Generation) |
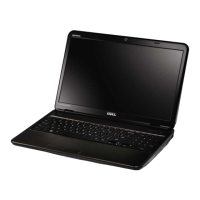
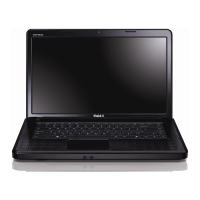
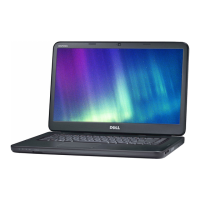
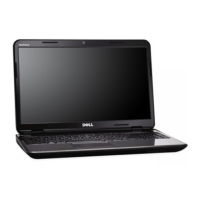
| Display | 14.0-inch HD (1366 x 768) WLED display |
| Operating System | Windows 7 Home Premium |
| Battery | 6-cell lithium-ion |
| Ports | HDMI, VGA, RJ-45 |
| Audio | Stereo speakers |
| Webcam | 1.0MP HD |
| Optical Drive | DVD+/-RW |
Lists the tools required for performing service procedures on the computer.
Step-by-step guide on safely shutting down the computer before maintenance.
Essential safety precautions and preparation steps before opening the computer.
Instructions for detaching and removing the laptop's top casing.
Procedure for correctly reinstalling the laptop's top casing.
Detailed steps to safely remove the main battery from the computer.
Instructions for installing a new battery into the laptop.
Procedure to remove the access panel for internal components.
Steps for correctly reinstalling the component access panel.
Instructions for detaching and removing the CD/DVD drive.
Procedure for installing a new CD/DVD drive into the laptop.
Detailed steps to remove RAM modules from the laptop's slots.
Instructions for installing new RAM modules into the laptop.
Steps to detach and remove the laptop keyboard.
Procedure for correctly installing a new laptop keyboard.
Procedure to remove the section containing the touchpad and palm rest.
Instructions for reinstalling the laptop's palm rest and touchpad assembly.
Steps to detach and remove the special function keys board.
Procedure for installing a new hot-key board.
Steps to detach and remove the power button component.
Procedure for installing a new power button board.
Instructions for detaching and removing wireless cards (e.g., Wi-Fi).
Procedure for installing new wireless cards into the laptop.
Detailed steps to remove the laptop's cooling fan assembly.
Instructions for installing a new cooling fan assembly.
Procedures for removing and replacing the entire display unit.
Steps to remove and replace the frame around the display panel.
Instructions for removing and installing the LCD panel itself.
Procedures for handling the cable connecting the display to the motherboard.
Steps for removing and replacing the covers for the display hinges.
Instructions for removing and installing the brackets holding the display panel.
Steps to detach and remove the built-in webcam from the display back cover.
Procedure for installing a new webcam module into the display back cover.
Procedure to remove the cover surrounding the display hinges.
Procedure for installing a new hinge cover.
Steps to detach and remove the board providing the external VGA port.
Procedure for installing a new board for the external VGA port.
Detailed instructions for removing the laptop's main motherboard.
Step-by-step guide for installing a new motherboard.
Instructions for setting the computer's service tag in the BIOS after board replacement.
Steps to detach and remove the internal laptop speakers.
Procedure for installing new internal laptop speakers.
Detailed steps to remove the CMOS battery from the system board.
Instructions for installing a new CMOS battery.
Steps to remove the heatsink and fan assembly from the system board.
Procedure for installing a new heatsink and fan assembly.
Detailed steps to remove the CPU from its socket on the system board.
Instructions for installing a new CPU into its socket on the system board.
Steps to detach and remove the primary storage drive from the system board.
Procedure for installing a new primary storage drive onto the system board.
Steps to detach and remove the board containing input/output ports.
Procedure for installing a new board for input/output ports.
Steps to detach and remove the DC-in power jack from the computer base.
Procedure for installing a new DC-in power jack.