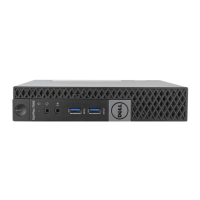
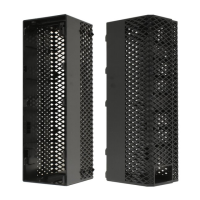
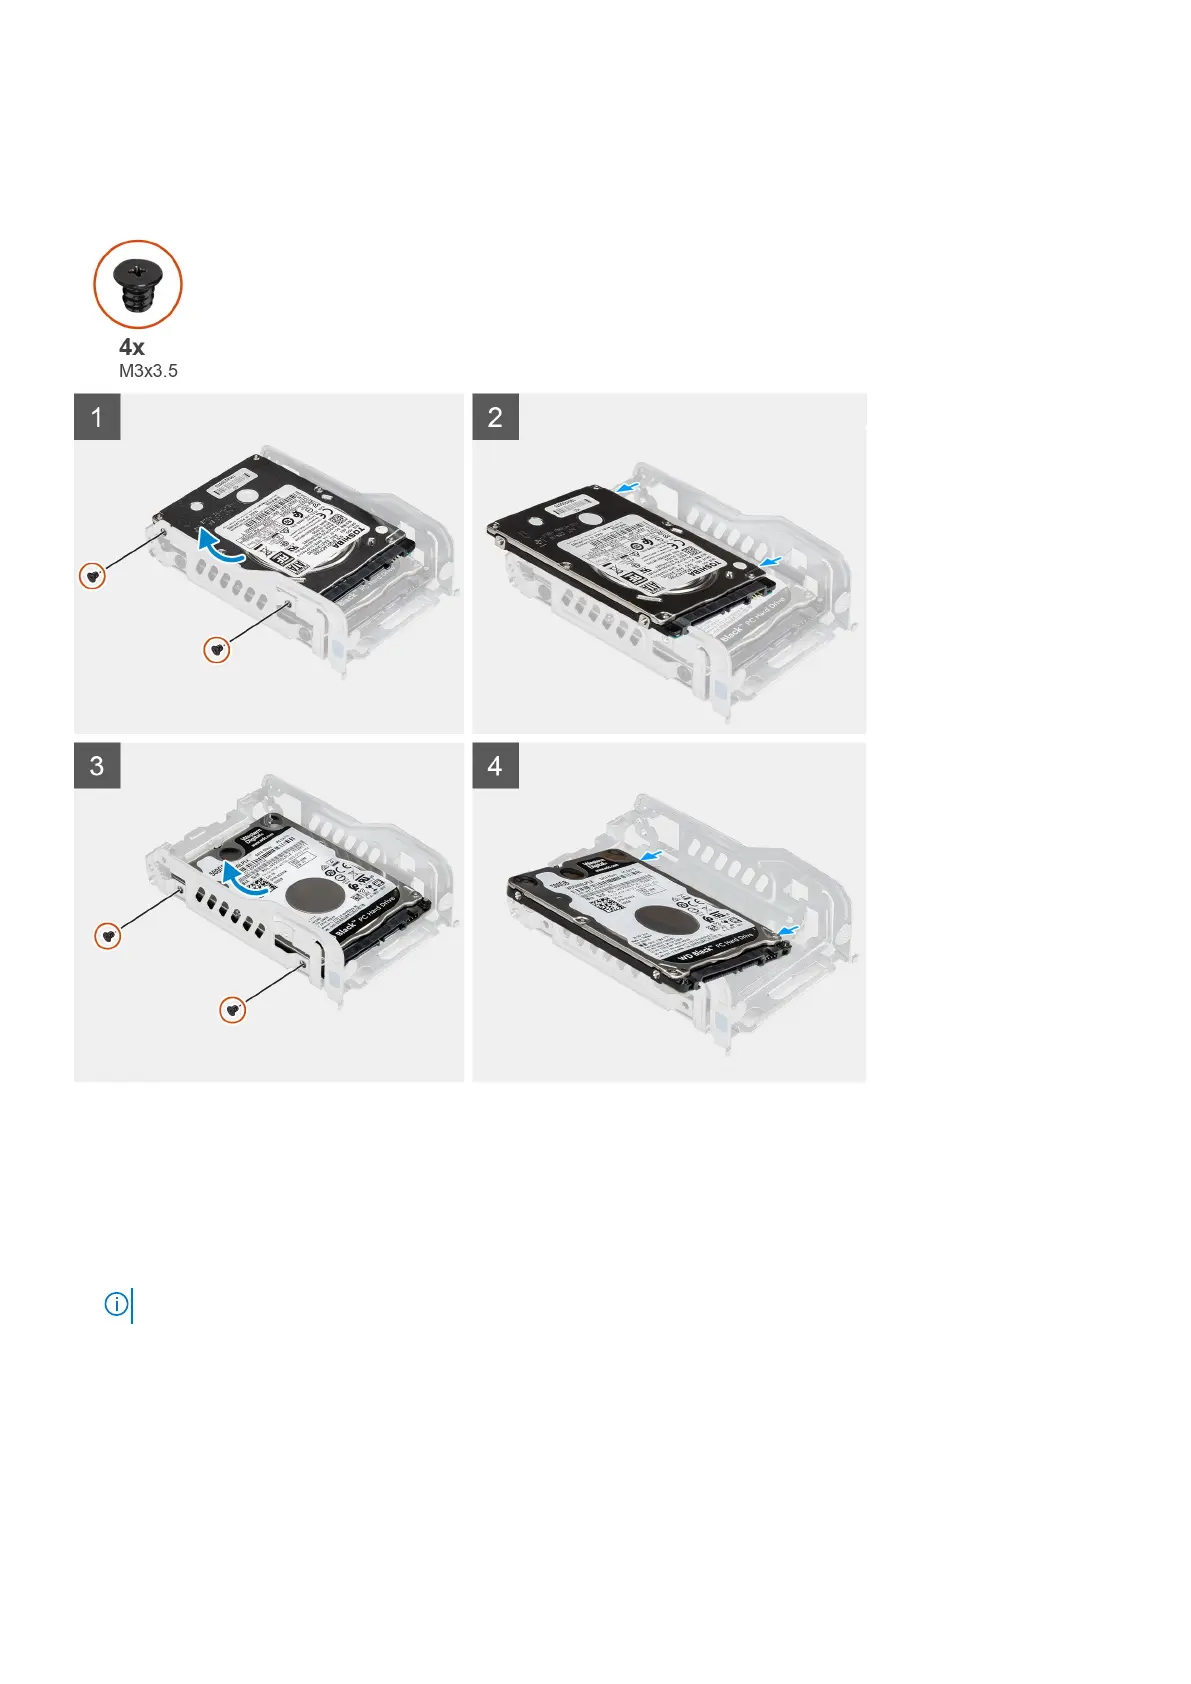
About this task
The following images indicate the location of the hard drive bracket and provide a visual representation of the removal
procedure.
Steps
1. Remove the two (M3x3.5) screws that secure the first hard drive to hard drive cage.
2. Lift the first hard drive out of the hard drive cage.
3. Remove the two (M3x3.5) screws that secure the second hard drive to hard drive cage.
4. Lift the second hard drive out of the hard drive cage.
5. Lift the hard drive out of the bracket.
NOTE: The orientation or the SATA connector marking on the hard drive so that you can replace it correctly.
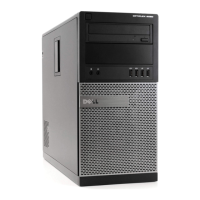
Installing the 2.5-inch hard drive
Prerequisites
If you are replacing a component, remove the existing component before performing the installation procedure.
Removing and installing Customer Replaceable Units (CRUs)
43