3. Press the other end of the solid-state drive down and replace the M2x3 (1) screw that secures the solid-state drive to the
system board.
4. Install the:
a. battery
b. base cover
5. Follow the procedures in After Working Inside Your Computer.
Hard drive
Removing 2.5 inch Hard Drive -optional
Steps
1. Follow the procedures in Before Working Inside Your Computer.
2. Remove the:
a. base cover
b. battery
NOTE: System shipped with 3-Cell battery, the hard drive will be part of the configuration (Optional).
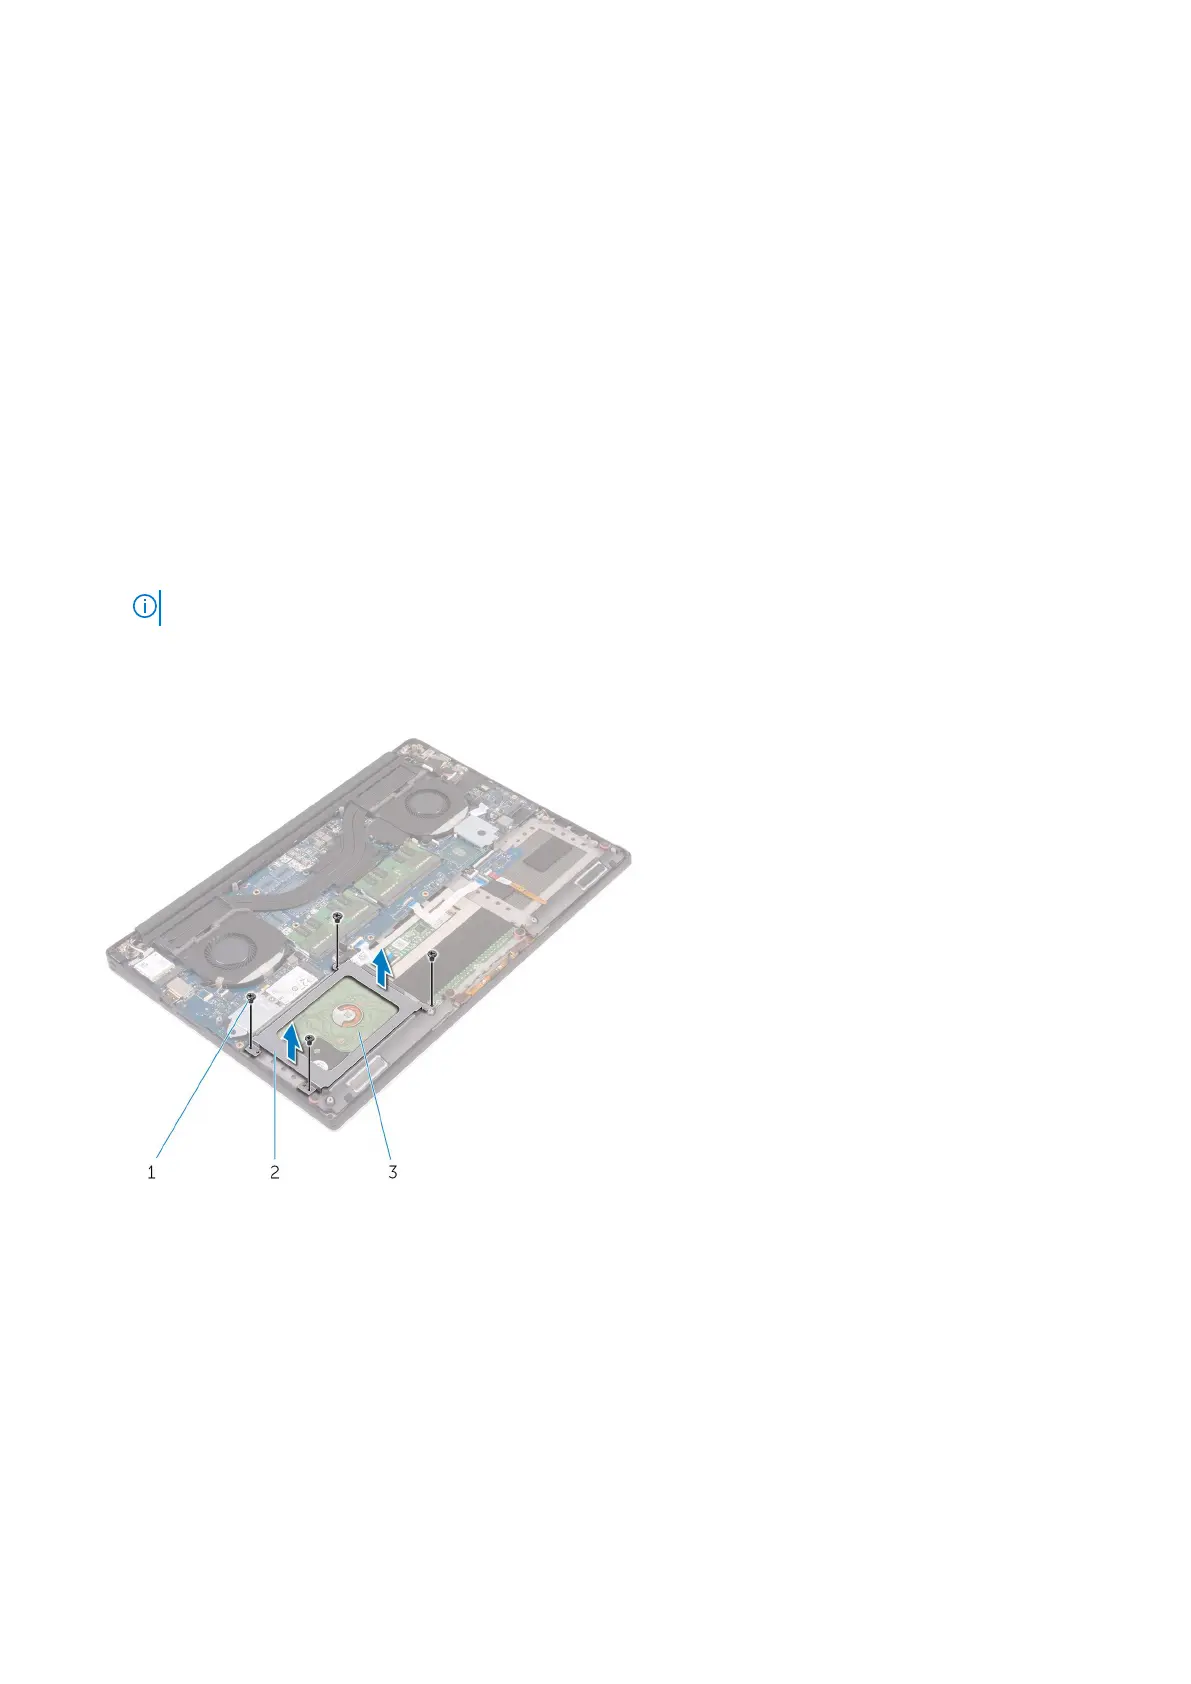
3. Perform the following steps to remove the hard-drive bracket from the computer:
a. Remove the M2x4 (4) screws securing the hard-drive bracket to the computer [1].
b. Lift the hard-drive cage [2] off the hard drive assembly [3].
4. Perform the following steps to remove the hard-drive:
a. Disconnect the hard-drive cable from the system board [1].
b. Lift the hard drive off the palm rest assembly [2].
22
Disassembly and reassembly