P992 (E) 3-2
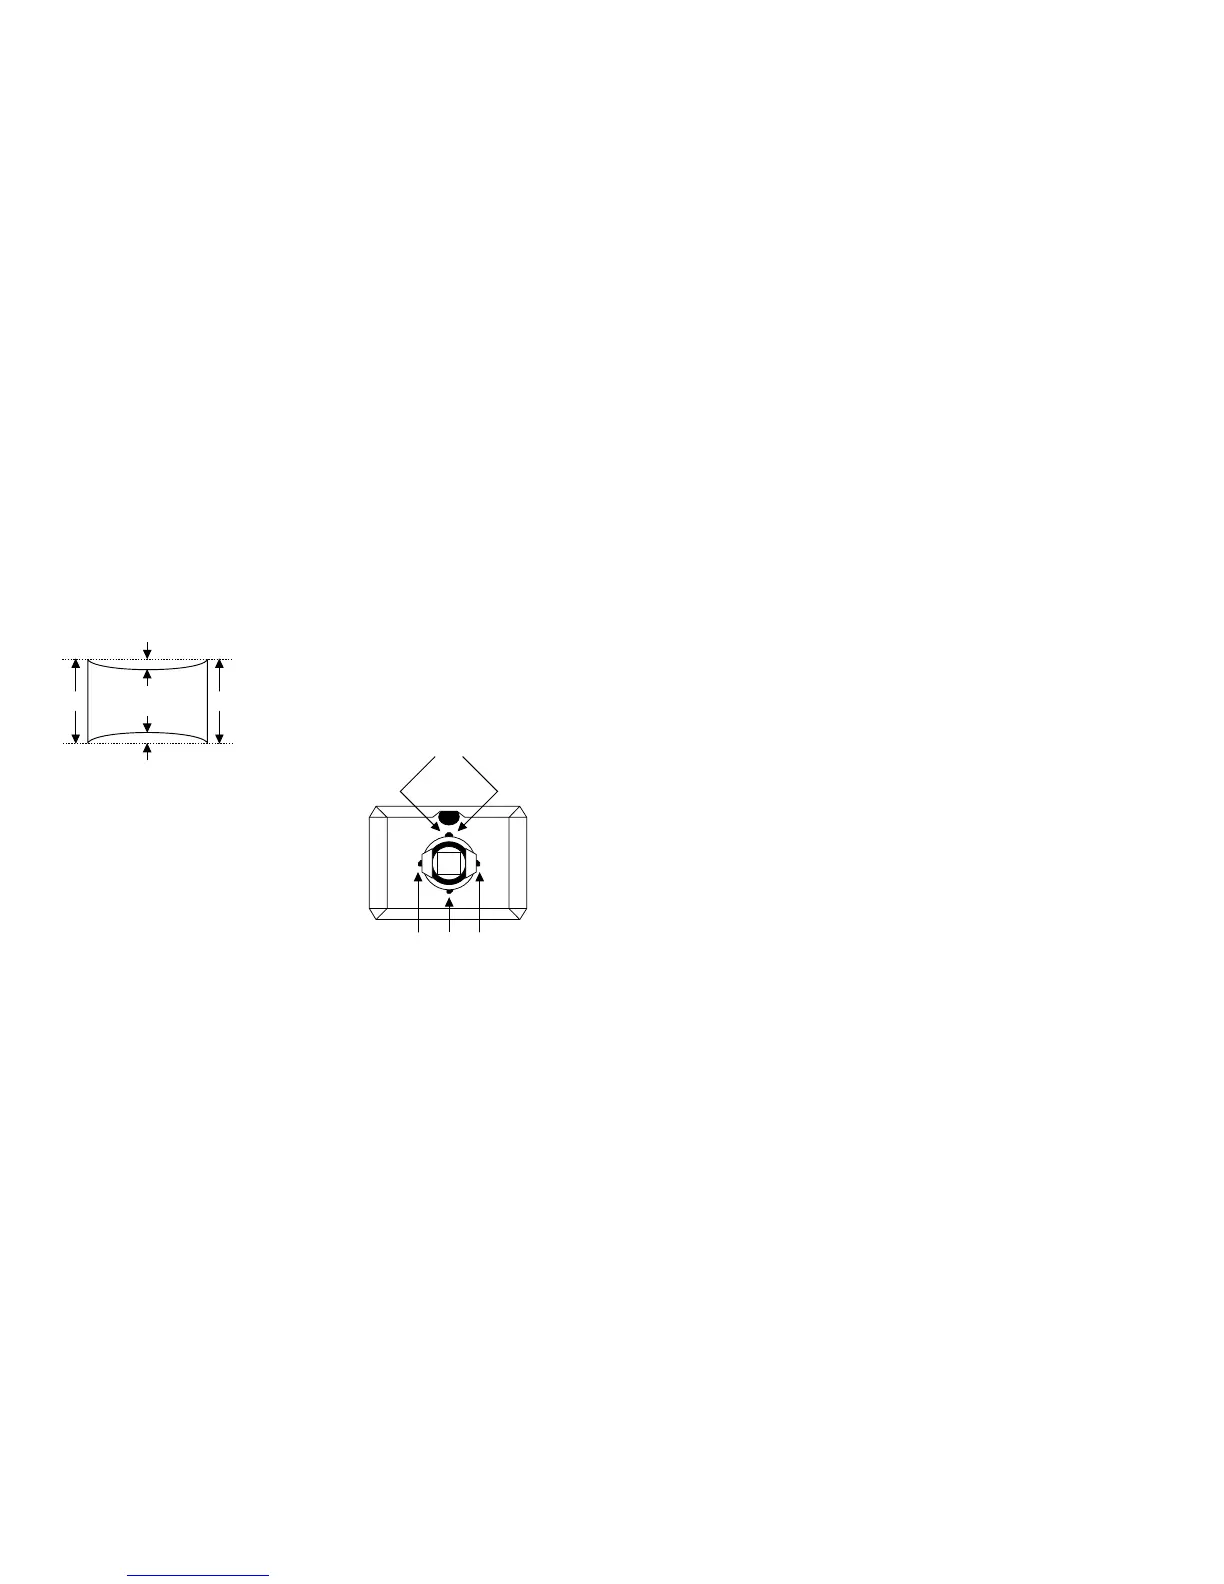
a
b
cd
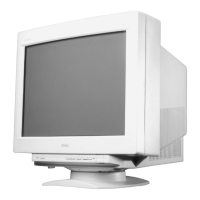
<How to place wedge>
Green plain crosshatch pattern
a and b should be equal.
c and d should be equal.
Plaster RTV to both sides for the upper wedge.
Make sure that they settle inside DY.
Plaster RTV to one side for other wedges.
12. Tighten DY screw within specified torque, and auto-degauss.
Note:Torque 22 ± 2 kgcm (2.2 ± 0.2Nm)
13. Adjust the vertical angle of DY to make top and bottom pins equal (a =
b). The horizontal angle shall not be changed (straight). Settle DY
upright without leaning, and insert wedges firmly so that DY shall not
move.
14. Adjust top and bottom pins correction VR.
15. Adjust the horizontal trapezoid distortion by DY horizontal trapezoid
correction VR.
16. Check landing at each corner and in case not in specification, adjust
landing of 4 corners with landing magnet.
17. Remove the sensor and wobbling coil.
18. Switch signals to R, G, and B, and then check that the pure colors have
good color purity.
19. Fix purity magnets with white paint.