29
Installing the Device
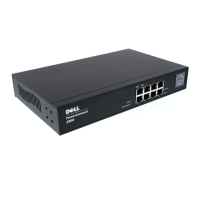
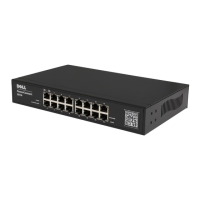
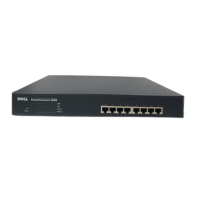
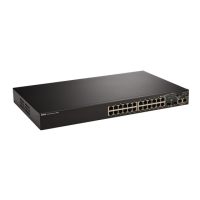
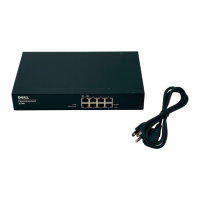
The following mounting instructions apply to all three hardware configurations of PowerConnect
2708, 2716, 2724 and 2748 devices. The section describes how to install a single device as a stand-
alone device.
Installing the Device in a Rack
CAUTION: Disconnect all cables from the unit before mounting the device in a rack or cabinet.
CAUTION: When mounting multiple devices into a rack, mount the devices from the bottom up.
To install the device in a rack, perform the following:
1
Place the supplied rack-mounting bracket on one side of the device ensuring the mounting
holes on the device line up to the mounting holes on the rack mounting bracket. The
following figure illustrates where to mount the brackets.
Figure 3-2. Bracket Installation for Rack Installation
2
Insert the supplied screws into the rack mounting holes and tighten with a screwdriver.
3
Repeat the process for the rack-mounting bracket on the other side of the device.
4
Insert the unit into the rack, ensuring that the rack-mounting holes on the device line up to
the mounting hole on the rack.
5
Secure the unit to the rack with the rack screws (not provided). Fasten the lower pair of screws
before the upper pair of screws. This ensures that the weight of the unit is evenly distributed
during installation. Ensure that the device ventilation holes are not obstructed.
 Loading...