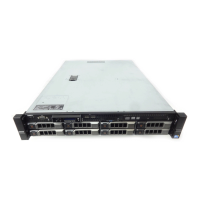
3. Remove the hard drive or SSD cage, see the Removing the hard drive or SSD cage section.
1. Align the slots on the sides of the hard drive or SSD cage with the standoffs on the chassis.
2. Lower the hard drive or SSD cage into the chassis until the slots on the hard drive or SSD cage
engage with the standoffs on the chassis.
3. Slide the hard drive or SSD cage into the chassis till it clicks into position.
4. Install the two screws to secure the hard drive or SSD cage to the chassis.
Figure 51. Installing the hard drive or SSD cage
1. standoff (4) 2. hard drive or SSD cage
3. screw (2) 4. screw hole (2)
1. Install the hard drive or SSD backplane. See the Installing the hard drive backplane section.
2. Install the hard drive or SSDs.
3. Follow the procedure listed in the After working inside your system section.
Related Links
Safety instructions
Removing the hard drive or SSD cage
Installing the hard drive or SSD backplane
After working inside your system
Installing a hard drive or SSD
109
 Loading...
