1. Follow the safety guidelines listed in the Safety instructions section.
2. Follow the procedure listed in the Before working inside your system section.
3. Keep the Phillips #2 screwdriver ready.
Steps
Align the locking tabs on the control panel with the notches on the chassis and angle the control
panel until it snaps into place.
When properly seated, the control panel will be flush with the front panel.
NOTE: For an eight 2.5 inch hard drive chassis, tighten the screw to secure the control panel to
the bottom of the chassis.
NOTE: For a ten 2.5 inch hard-drive chassis, slide the control panel into the chassis and secure
the module with the screw.
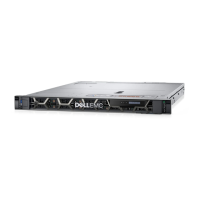
Figure 90. Installing the control panel—four 3.5 inch hard-drives chassis
1. control panel 2. notches (6)
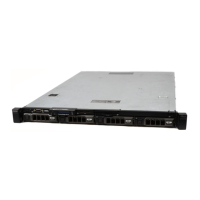
Figure 91. Installing the control panel—eight 2.5 inch hard-drives/SSDs chassis
1. control panel 2. notches (4)
3. control panel module 4. LCD connector cable
174