NOTE: The screws used to secure the optical drive to the optical drive/hard-drive slot are available on the front of
the hard-drive cage.
1. Turn off the system, including any attached peripherals, and disconnect the system from the electrical outlet and
peripherals.
2. Lay the system on its side, on a flat and stable surface.
3. Open the system.
4. Remove the bezel.
For more information on removing the bezel, see Removing The Bezel.
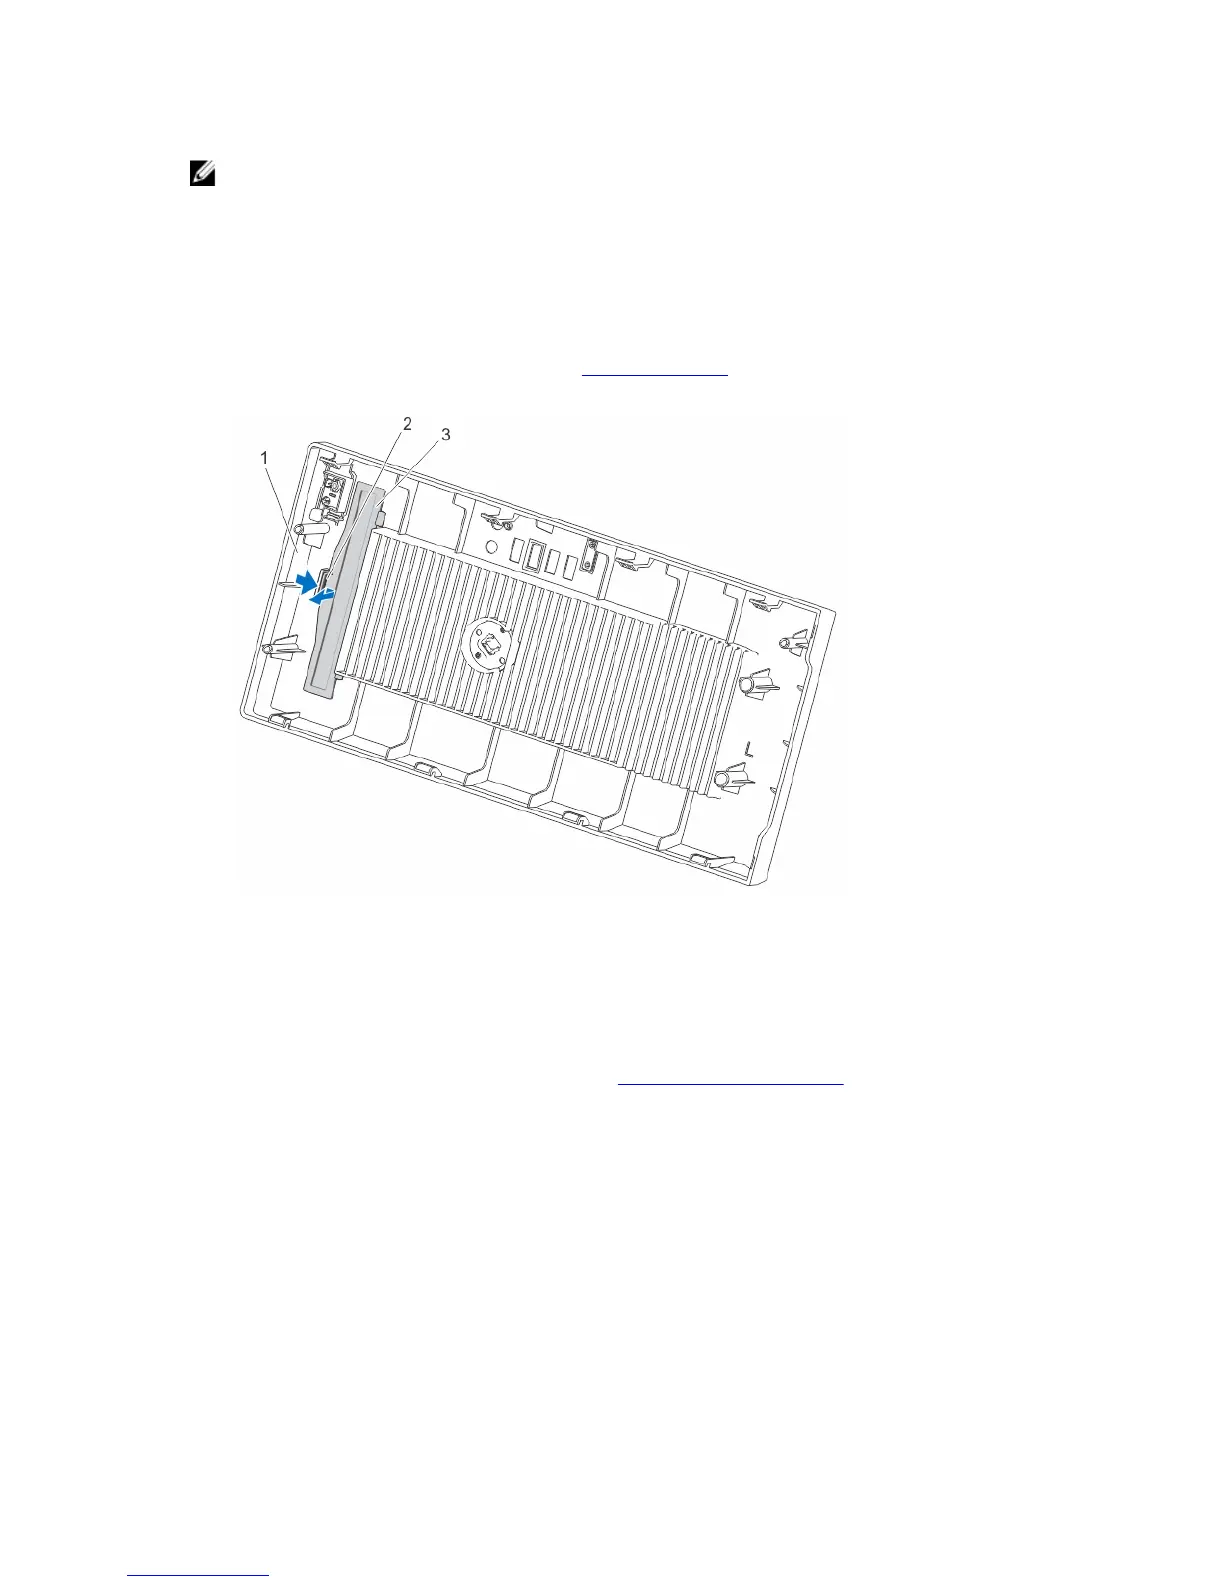
5. On the inside of the bezel, press the retention clip and remove the optical-drive blank.
Figure 18. Removing and Installing the Optical-Drive Blank From the Bezel
1. bezel
2. retention clip
3. optical-drive blank
6. Remove the hard-drive cage.
For information on removing the hard-drive cage, see Removing The Hard-Drive Cage.
7. Hold the tabs on the optical-drive filler and remove the optical-drive filler from the hard-drive cage.
44
 Loading...