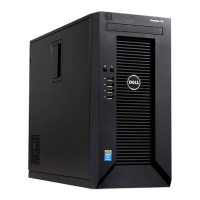
Figure 19. Removing the Optical-Drive Filler
1. optical-drive/hard-drive slot
2. tabs (4)
3. optical-drive filler
4. hard-drive screws (8)
5. optical-drive screws (2)
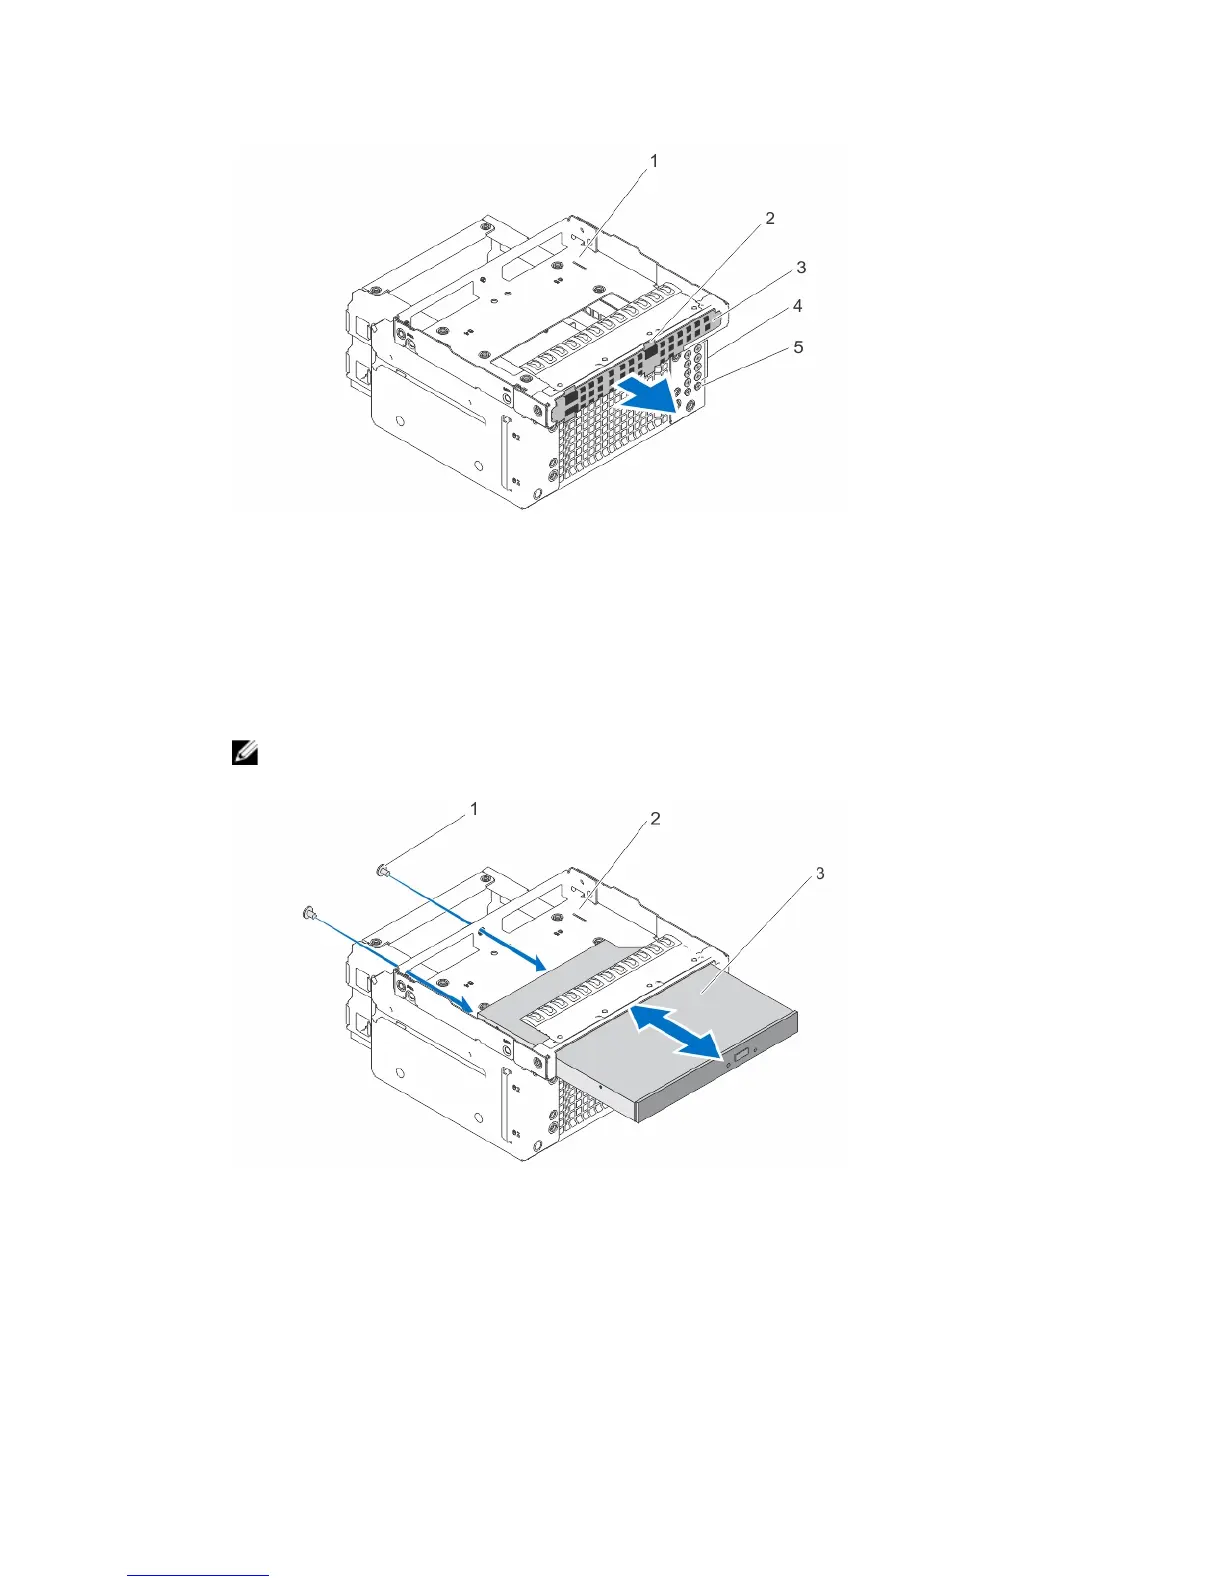
8. Slide the optical-drive into the optical-drive/hard-drive slot.
9. Tighten the screws on the back of the optical-drive/hard-drive slot to secure the optical drive.
NOTE: The screws used to secure the optical drive to the optical drive/hard-drive slot are available on the
front of the hard-drive cage.
Figure 20. Installing the Optical Drive Into the Optical-Drive/Hard-Drive Slot
1. screws (2)
2. optical-drive/hard-drive slot
3. optical drive
10. Insert the hard-drive cage into the system.
11. Connect the power and data cables to the optical drive and hard drives, if applicable.
45
 Loading...