Installing System Components 95
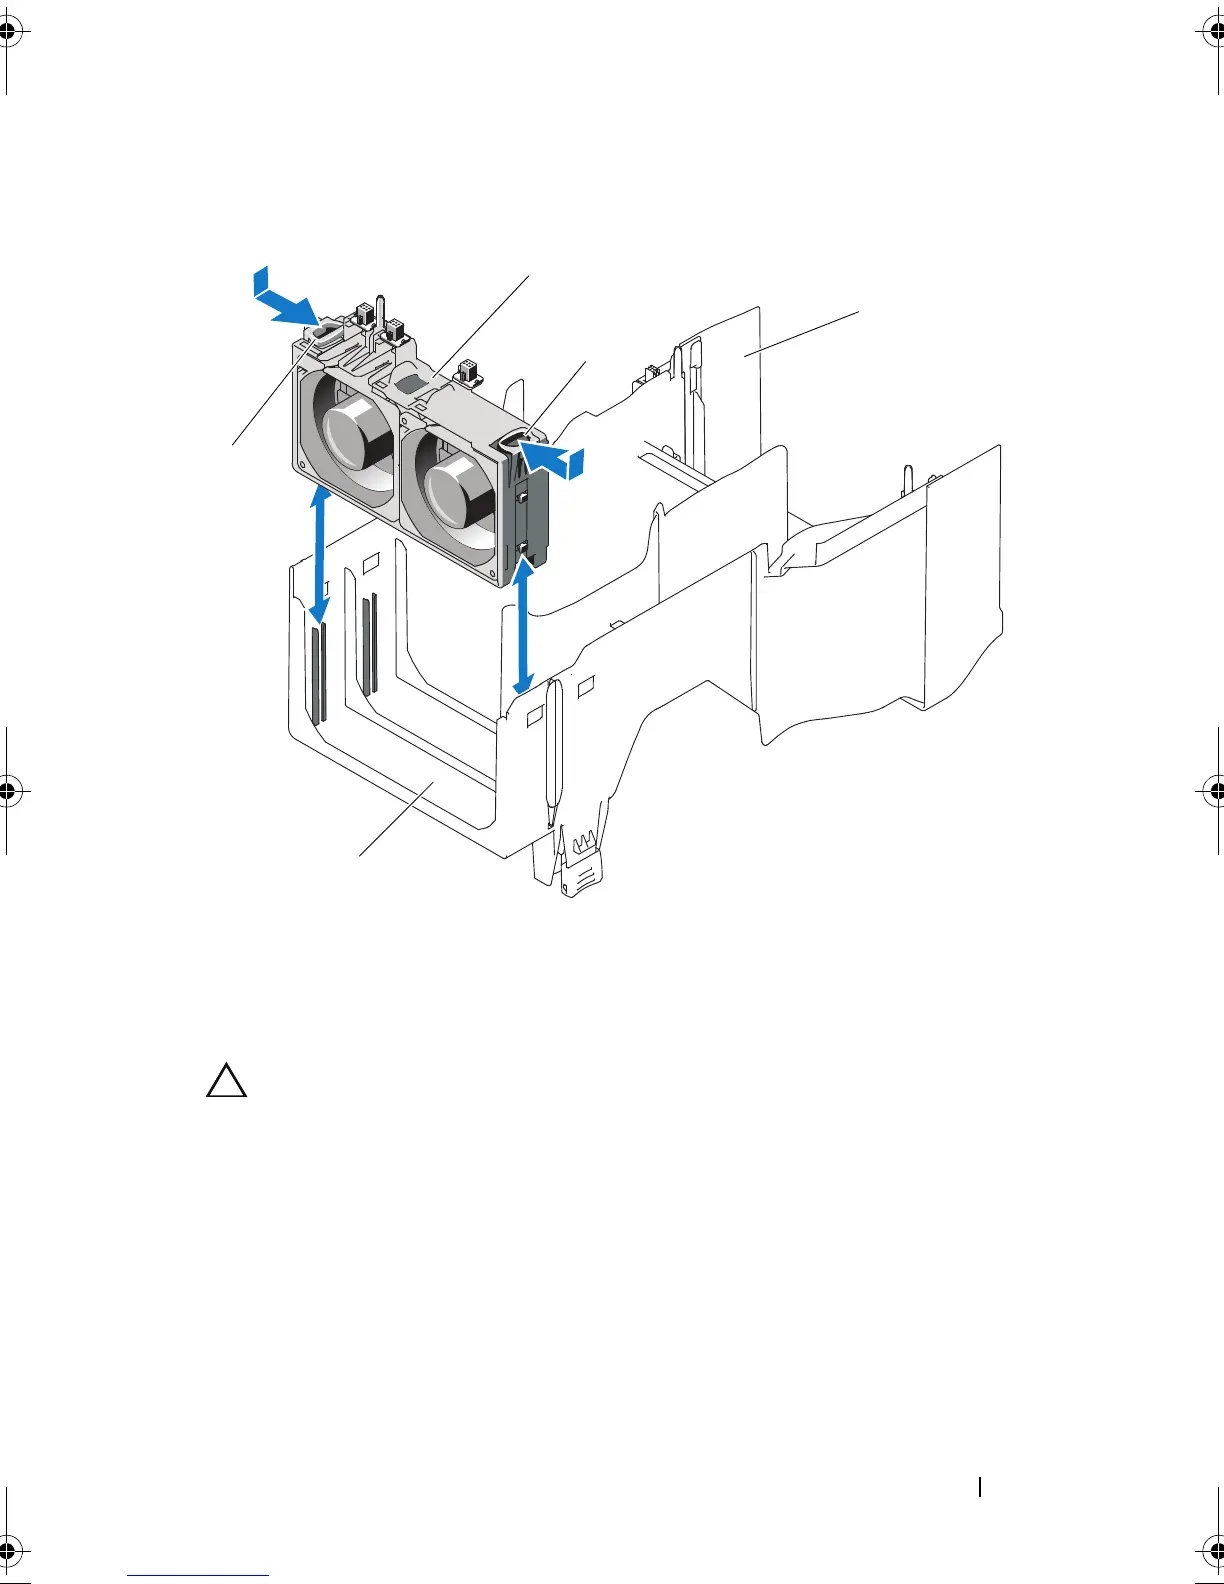
Figure 3-10. Removing and Installing a Cooling-Fan Module
Installing a Cooling-Fan Module
CAUTION: Never attempt to operate your system without at least one cooling-fan
module installed. If only one cooling-fan module is being installed, it must be
installed in the outer module position in the cooling shroud.
1
Hold the replacement cooling-fan module by the release tabs, and align
the tabs on the module with the securing slots on the cooling shroud.
2
Slide the module down into the cooling shroud until the release tabs lock
into place. See Figure 3-10.
3
Install the cooling shroud. See "Installing the Cooling Shroud."
4
Install the expansion card stabilizer. See "Installing the Expansion Card
Stabilizer."
1 release tabs (2) 2 cooling-fan module
3 cooling shroud 4 outer fan-module slot
book.book Page 95 Tuesday, September 15, 2009 10:08 AM

 Loading...


