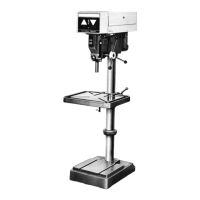
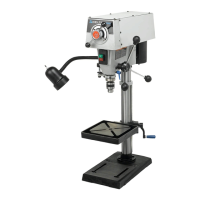
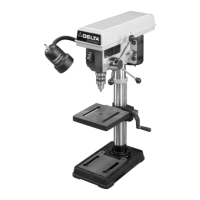
12
TABLE LOCKING WRENCH STORAGE
The table locking wrench can be stored underneath the
table as shown in Fig. 21.
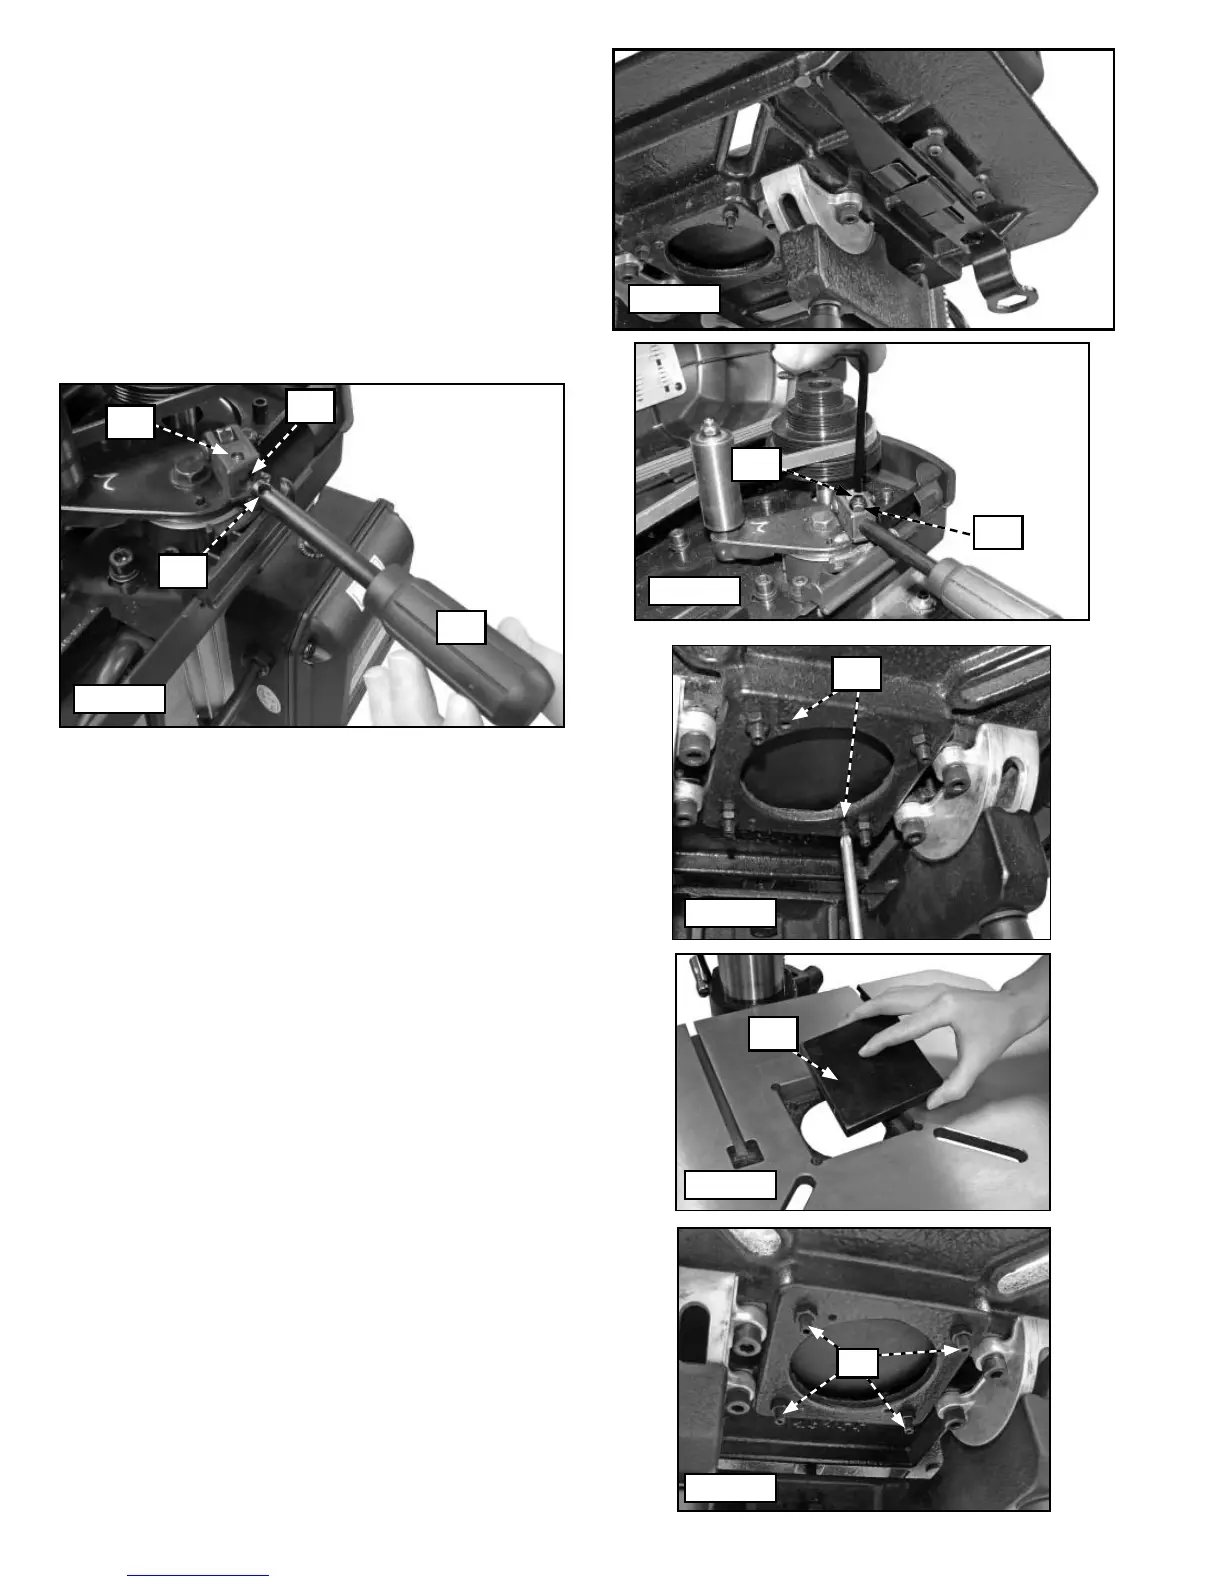
BELT TENSION LEVER HANDLE
To attach the belt tension lever handle (II) Fig. 22, place it
in hole (JJ) with the hole (AA) up, as shown.
Align set screw (BB) with hole (AA) Fig. 22 and tighten
screw down into hole firmly with included hex wrench as
shown in Fig. 23.
Place M6 x 1 locknut (LL) Fig. 23 on set screw (BB).
Firmly tighten locknut (LL) with a 10 mm wrench.
Fig. 21
II
JJ
AA
BB
Fig. 22
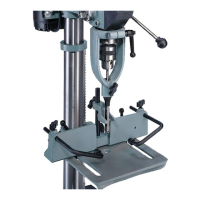
TABLE INSERT
The drill press table comes with an insert (XX) Fig. 23B
made of MDF to help prevent wear and tear on the bit
when it drills down through the workpiece.
Over time, it will become necessary to replace this
piece. It can be made from 3/4" thick MDF cut into a
3-3/4" square.
To replace the old insert :
1. Remove two screws from holes (YY) Fig. 23A that
hold insert in place.
2. Remove old insert and place your new insert into the
table (Fig. 23B).
3. If the insert is not level with the table, adjust the four
jack screws (JJ) Fig. 23C. When the table insert is
level, tighten the locking nut on each screw.
4. Hold down on the insert and secure it in place with
the 2 screws that were removed in Step 1. Insert
screws in holes (YY) Fig. 23A and secure insert in
place.
Fig. 23A
Fig. 23B
Fig. 23C
YY
JJ
XX
Fig. 23
BB
LL
 Loading...