14
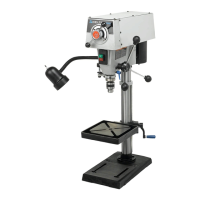
TABLE ADJUSTMENTS
To reduce the risk of injury, turn unit off
and disconnect it from power source before installing
and removing accessories, before adjusting or when
making repairs. An accidental start-up can cause injury.
RISK OF PERSONAL INJURY. Make sure
that nothing is on the table and that the workpiece is
clamped down. Falling objects can cause an injury.
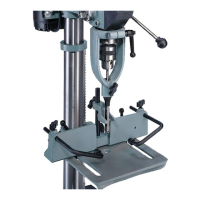
Tilting table back to front
from zero (0) to 45 degrees
To adjust:
1. Loosen the two forward tilt knobs (OO) Fig. 27.
2. Adjust the table to your desired angle. The scale
(PP) Fig. 27 is located on the side of the table
support.
3. Tighten the knobs (OO) Fig. 27.
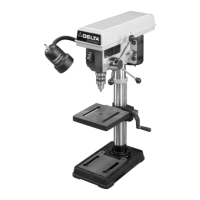
4. A positive stop screw (QQ) Fig. 28 is provided to
return the table to the zero position. Adjust this
stop by turning the hex head of the stop screw (RR)
Fig. 29 from under the table. Tighten the locknut (SS)
Fig. 29 to secure the stop.
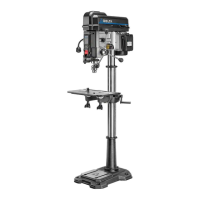
Tilting table right to left
from zero (0) to 90 degrees
An index pin is included for the 0 degree position of the
table. To adjust:
1. Loosen the table bolt (TT) Fig. 29 approximately
1/4 turn with the supplied table locking wrench
(Fig. 29).
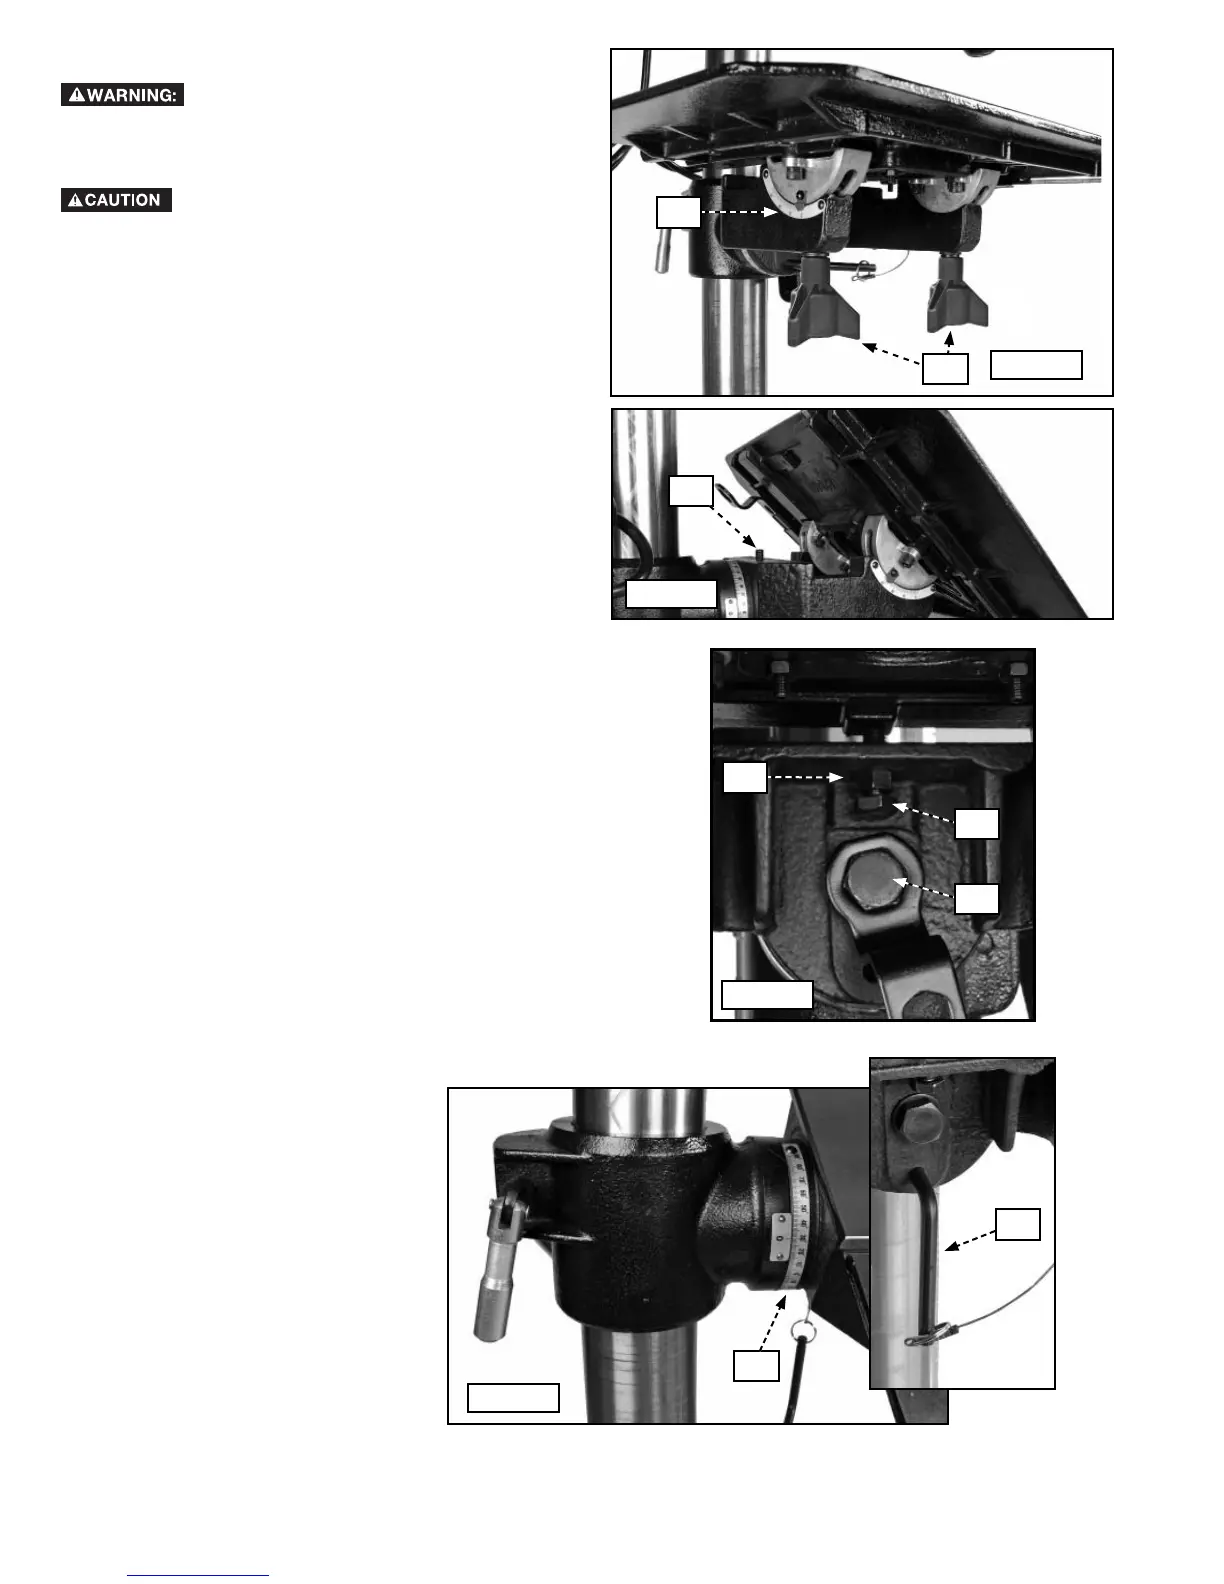
2. Pull out the index pin (UU) Fig. 30 (inset).
3. Rotate the table to your desired angle. The tilt scale
(VV) Fig. 30 is located on the knuckle behind the
table. Use this scale for accuracy.
4. Tighten the table bolt (TT) Fig. 29.
5. When you return the table to zero, re-insert the index
pin (UU) Fig. 30 (inset).
Fig. 30
Fig. 28
Fig. 27
PP
OO
QQ
SS
RR
Fig. 29
TT
UU
VV
 Loading...