EasyManua.ls Logo

Delta 31-140 User Manual

Delta 31-140
40 pages
To Next Page IconTo Next Page
Page #1 background imageLoading...
Page #1 background image
31-140
Lijadora de disco de 30,50 cm con
recolector de polvo integrado
Ponceuse à disque de 30,5 cm avec
dispositif de dépoussiérage intégré
Operating Instructions and Parts Manual
Manuel d’utilisation
Manual de instrucciones
Français (14)
Español (27)
INSTRUCTIVO DE OPERACIÓN, CENTROS
DE SERVICIO Y PÓLIZA DE GARANTÍA.
LÉASE ESTE INSTRUCTIVO
ANTES DE USAR EL PRODUCTO.
www.DeltaMachinery.com
12 IN. DIsc saNDer wIth INtegral
Dust collectIoN
Question and Answer IconNeed help?

Do you have a question about the Delta 31-140 and is the answer not in the manual?

Delta 31-140 Specifications

General IconGeneral
BrandDelta
Model31-140
CategorySander
LanguageEnglish

Summary

Safety Guidelines and Definitions

General Safety Rules

Power Connections

Motor Specifications

Grounding Instructions

Extension Cords

Key Features and Components

Functional Description

Product Specifications

Unpacking

Assembly

Install Brake Lever Assembly

Install the brake lever assembly using the supplied hex screws.

Secure Tool to Supporting Surface

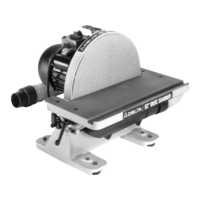
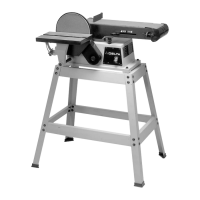
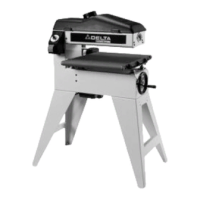
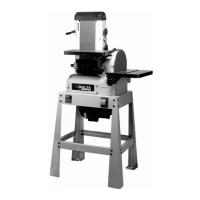
Secure the sander to a supporting surface using screws or bolts through the four mounting holes.

Connect Dust Hose to Dust Collector System

Attach the dust hose to the 2 1/4" dust port for dust collection, or to a receptacle if no collector is available.

Operation

Starting and Stopping Sander

Instructions for starting and stopping the sander using the safety key and ON/OFF switch.

Removing the Safety Key to Lock Sander

How to lock the sander by removing the safety key when the tool is not in use.

Using the Manual Disc Brake

Instructions for applying the manual disc brake after the power switch has been turned off.

Angled and End Sanding Using the Miter Gauge

Bevel Sanding Using the Table Tilt

Adjusting Miter Gage Slot Alignment

Squaring Table to the Sanding Disc

Recommended Maintenance

Lubrication

All bearings are sealed and permanently lubricated; no further lubrication is needed.

Routine Inspection

Periodically inspect hardware, fittings, fasteners, and check for dust accumulation.

Replacing the Sanding Disc

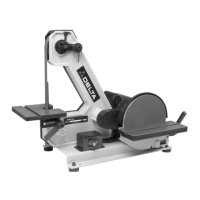
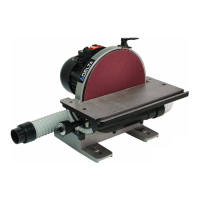
Procedure for removing old abrasive discs and installing new ones.

Accessories

Warranty

Parts, Service or Warranty Assistance

Replacement Parts

Instructions on how to obtain identical replacement parts for the machine.

Free Warning Label Replacement

Information on how to get replacement warning labels if they are illegible or missing.

Service and Repairs

Guidance on obtaining servicing, repairs, and answers to frequently asked questions.

Related product manuals