LOCKING CUTTINGHEAD
IN THE DOWN POSITION
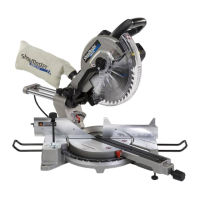
When transporting the saw, the cuttinghead should always be
locked in the down position. Lower the cuttinghead (A) Fig. 17,
and push in cuttinghead lock knob (B) until it engages with hole
in cuttinghead. IMPORTANT: CARRYING THE MACHINE BY
THE SWlTCH HANDLE WILL CAUSE MISALIGNMENT.
ALWAYS LIFT THE MACHINE BY THE BASE OR BY THE
CARRYING HANDLE (See Fig. 29C).
TILTING CUTTINGHEAD FOR
BEVEL CUTTING
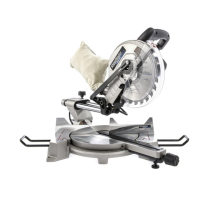
The cuttinghead of your compound miter saw can be tiHted to
cut any beveHangHefrom a 90 degree straight cut off to a 45
degree HeftbeveHangHe. Push Hock handHe (A) Fig. 18 in and
turn counter-clockwise. TiHtcuttinghead to the desired angHe,
and tighten HockhandHe(A) Fig. 18.
Positive stops are provided to rapidHy position the saw
bHadeat 90 and 45 degrees to the tame. Refer to the section
of this manuaH tithed "ADJUSTING 90 AND 45 DEGREE
BEVEL STOPS." The beveH angHe of the cuttinghead is
determined by the position of the pointer (C) Fig. 19 on the
scaHe(D).
In addition, a triangHe indicator is provided on the bevel scale
at the 33.85 degree bevel angle for cutting crown moulding.
Refer to the "CUTTING CROWN MOULDING" section of this
manual.
Fig. 17
ADJUSTING FENCE
90 DEGREES TO BLADE
Fig. 18 Fig. 19
If the fence (A) Fig. 20 is removed from the saw, adjust it after replacement so that it is 90 degrees to the blade as
follows:
1. DISCONNECT MACHINE FROM POWER SOURCE.
2. Place one end of the square (B) Fig. 20 against the fence (A) and the other end against the blade.
3. To adjust, loosen the four screws (C) Fig. 21, and adjust fence 90 degrees to the blade. NOTE: Two of the screws
are located under the sliding fence. Remove lock knob (D) Fig. 21 and sliding fence (E) to gain access to the screws.
4. Tighten the four screws (C) Fig. 21.
5. Replace sliding fence and lock knob removed in STEP 3.
Fig. 20 Fig. 21
10
 Loading...
