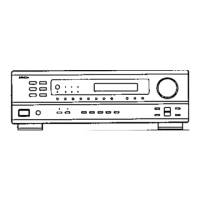
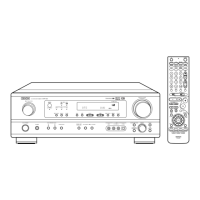
23
ENGLISH
Setting the Test Tone
• Use this setting to adjust to that the playback level between the different channel is equal.
• From the listening position, listen to the test tones produced from the speakers to adjust the level.
• The level can also be adjusted directly from the remote control unit. (For details, see page 37.)
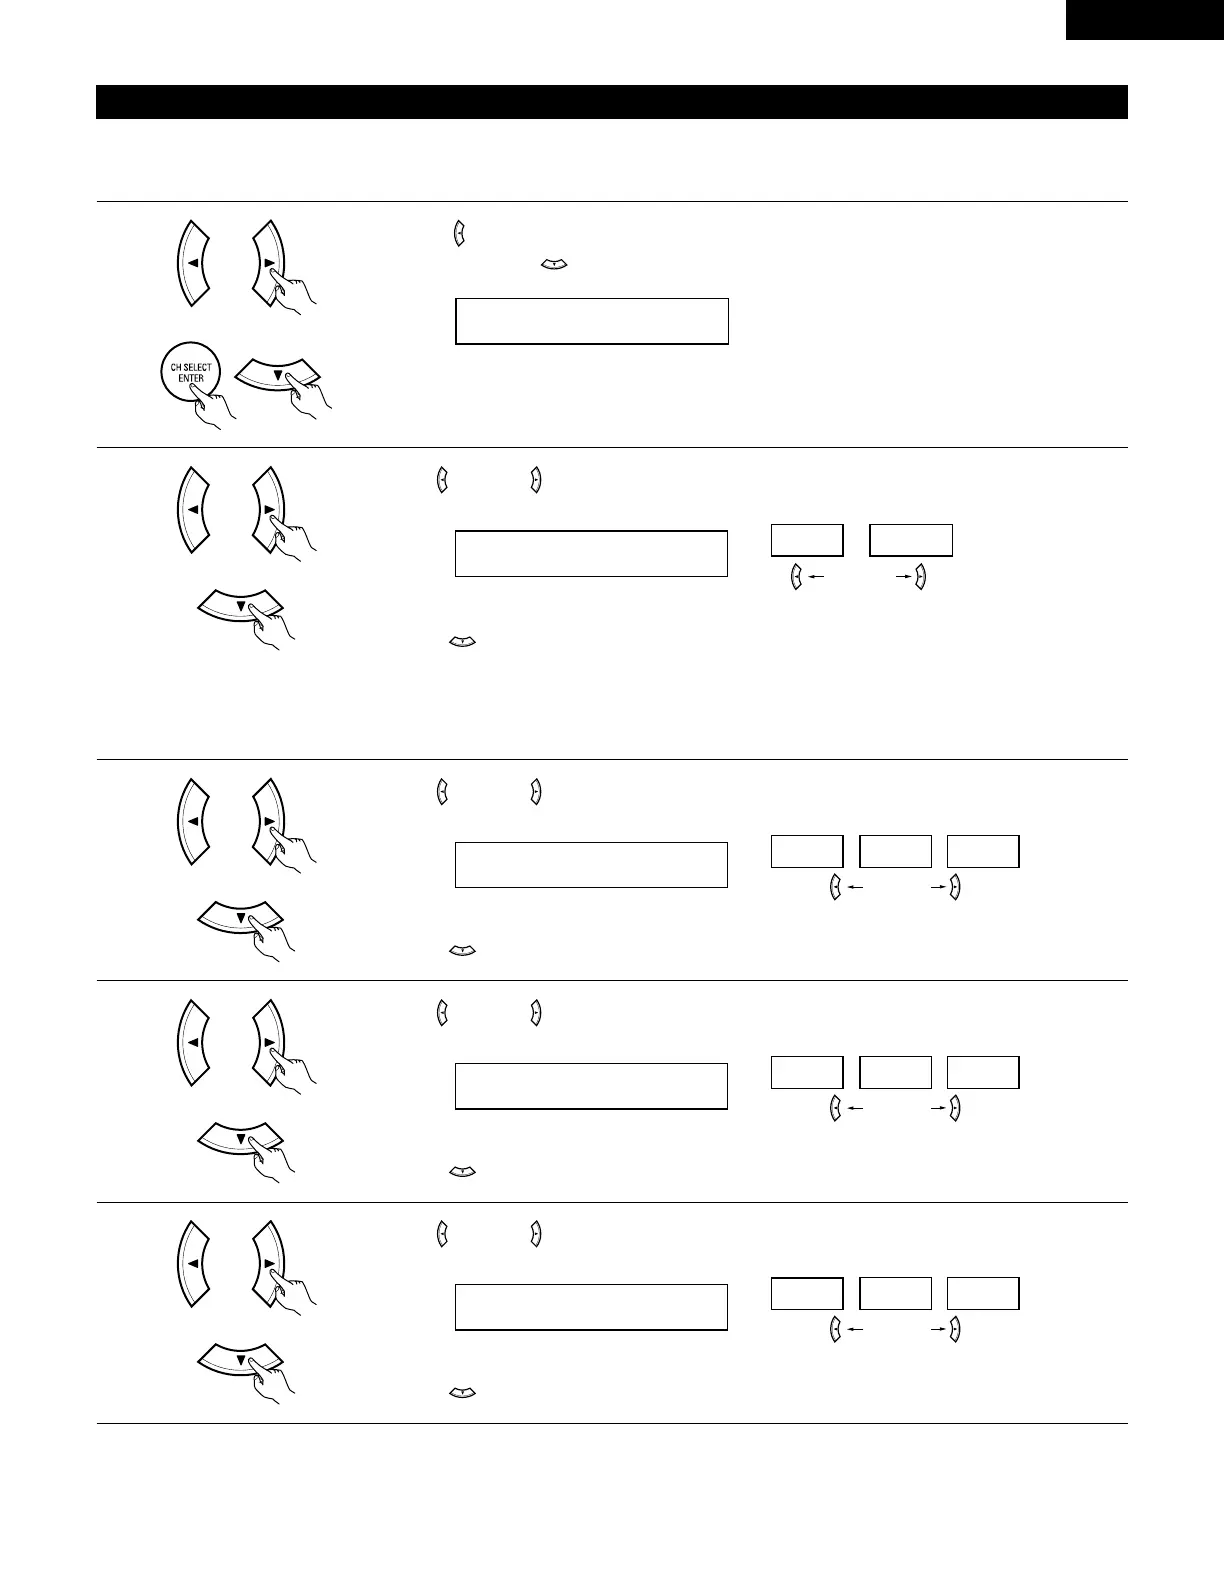
1
• Use the (left) button to switch the Test Tone mode.
• Press the ENTER or (down) button to switch to the DIGITAL input (COAX) setting.
2
Use the (left) and (right) buttons to select the Test Tone mode.
Press the (down) button to start Test Tone.
(left) button (right) button
3
Use the (left) and (right) buttons to set the front L channel level.
Press the (down) button to switch to the center channel level (manual mode).
(left) button (right) button
4
Use the (left) and (right) buttons to set the center channel level.
Press the (down) button to switch to the front R channel level (manual mode).
(left) button (right) button
5
Use the (left) and (right) buttons to set the front R channel level.
Press the (down) button to switch to the surround R channel level (manual mode).
(left) button (right) button
(Initial)
• Auto:
Adjust the level while listening to the test tones produced automatically from the different speakers.
• Manual:
Select the speaker from which you want to produce the test tone to adjust the level.
(Initial)
(Initial)
(Initial)
 Loading...