.
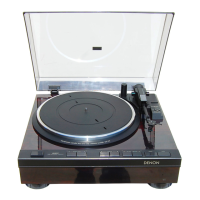
A
Power/rpm switch knob
Turn the power on and off and change the RPM as needed during
record playback. (v p. 24)
B
Turntable
Attached by mounting on the center spindle on the main unit. The belt
is equipped underneath. (v
p. 11)
C
Turntable sheet
Mounted on top of the turntable.
(v p. 11)
D
Center spindle
Place the turntable and records so that it comes out through the center.
E
Tone arm
0
The counterweight is mounted on the back. (v
p. 12)
0
The head shell with cartridge is attached to the tip. (
v
p. 12)
F
Counterweight
Attached to the back of the tone arm to adjust stylus pressure.
0
“Mounting the counterweight” (v p. 12)
0
“Adjusting the stylus pressure” (v p. 15)
G
Anti-skating dial
Adjusts anti-skating. (v
p. 17)
H
Head shell with cartridge
Attached to the tip of the tone arm.
(v p. 12)
I
Armrest
Rest the tone arm here when it is not in use for record playback.
J
Lifter lever
Raises and lowers the tone arm. Lowering the lever slowly lowers the
tone arm to place the stylus without damaging it or the record to be
played.
Contents Preparations Connections
Playback and recording
Tips Appendix
7
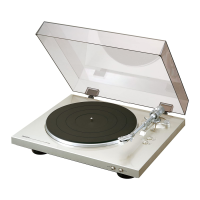
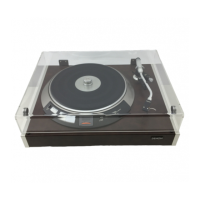
Front panel Rear panel
I
V V V V V \
I
_
-'
0