HW008 Folding Scooter Owner’s Handbook Page 8
EMERGENCY CHARGING PROCEDURE
The scooter comes with an emergency charging
cable. If the scooter is folded up and the battery is
completely flat, then the standard charging socket
can be difficult to access. In this instance, the
emergency charging cable can be installed to allow
the battery to be charged whilst the scooter is folded.
The emergency charging cable is shown below:
To install the charging cable, plug this in to the fly lead
located at the front of the underside of the scooter
(as shown below).
Install the cable, then proceed to charge the battery
as described in the next section.
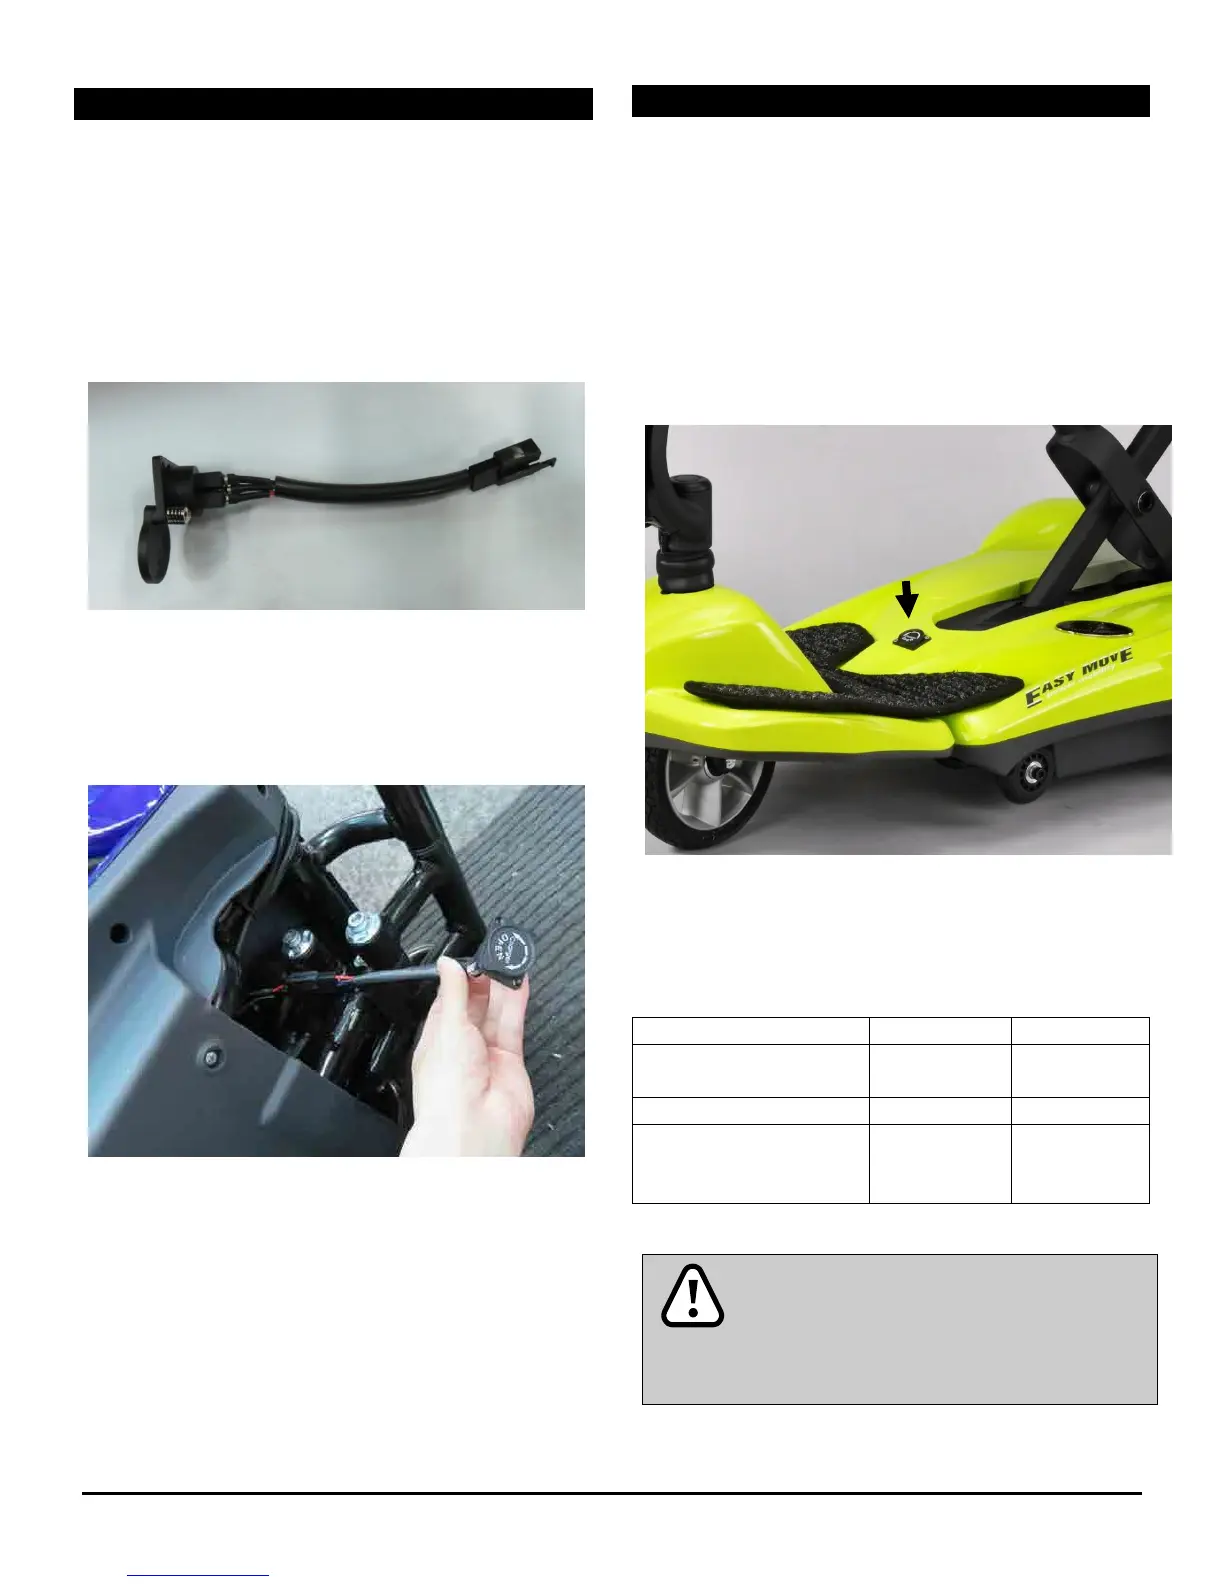
BATTERY CHARGING AND CARE
Step 1. Insert the charger in to the mains and switch
the power on. Ensure the charger is not connected to
the scooter, and one of the charger LEDs is lit green.
Step 2. Insert the round plug on the charger in to the
charging socket of the scooter (arrowed below). The
LED should change from green to red. The LED will
change back from red to green when charging is
complete.
The scooter should be left on charge until the battery
is fully recharged. A full recharge takes around 5
hours. The status of the charge is shown by the LED
lights on the charger, and is described below:
Standby or Charging
Complete
Temperature, or other
fault status
Ensure that the charger is removed from
the mains and the scooter after charging.
Failure to do this may flatten the battery.
Do not remove the battery pack whilst the
scooter is switched on.