• 8 •
BATTERY CHARGING TIMES
Use the following table to determine the time it will take to bring a battery to full charge.
Ah – Ampere Hours CCA – Cold Cranking Amps
RC – Reserve Capacity NR – NOT RECOMMENDED.
BATTERY SIZE/RATING
CHARGE RATE/CHARGING TIME
2 AMP 20 AMP 60 AMP
SMALL
BATTERIES
Motorcycle,
garden tractor, etc.
6-12 Ah 2-3¾ h NR NR
12-32 Ah 3¾-10 h NR NR
CARS/
TRUCKS
200-315 CCA 40-60 RC 11¼-14½ h 1-1½ h 23-29 min
315-550 CCA 60-85 RC NR 1½-2 h 29-37 min
550-1000 CCA 80-190 RC NR 2-3½ h 37-70 min
MARINE/DEEP-CYCLE
80 RC NR 1¾ h NR
140 RC NR 2¾ h NR
160 RC NR 3 h NR
180 RC NR 3¼ h NR
The times given are for batteries with a 50% charge prior to recharging.
MAINTAINING A BATTERY
The 28.71344 maintains 6 and 12 volt
batteries, keeping them at full charge.
It is not recommended for industrial
applications.
NOTE: The maintain mode technology
allows you to safely charge and maintain
a healthy battery for extended periods
of time. However, problems with the
battery, electrical problems in the
vehicle, improper connections or other
unanticipated conditions could cause
excessive current draws. As such,
occasionally monitoring your battery and
the charging process is required.
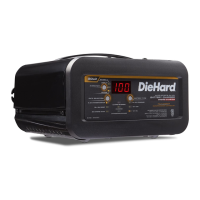
DESULFATION MODE
If the battery is left discharged for an
extended period of time, it could become
sulfated and not accept a normal charge.
If the charger detects a sulfated battery,
the charger will switch to a special mode
of operation designed for such batteries.
If successful, normal charging will resume
after the battery is desulfated. Desulfation
could take up to 8 hours. If desulfation
fails, charging will abort, the yellow/orange
LED will ash, and the display will show
CHARGING ABORTED BAD BATTERY.
ABORTED CHARGE
If charging cannot be completed normally,
charging will abort. When charging aborts,
the charger’s output is shut off, the yellow/
orange LED will ash, and the display
will show CHARGING ABORTED BAD
BATTERY. To reset after an aborted
charge, unplug the charger from the outlet,
wait a few moments and plug it back in.
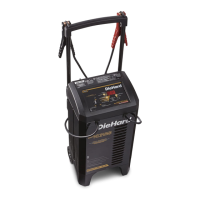
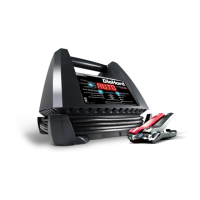
USING THE ENGINE START SETTING
Your battery charger can be used to jump
start your car if the battery is low. Follow
all safety instructions and precautions for
charging your battery. Wear complete eye
protection and protective clothing.
WARNING: Using the ENGINE START
setting WITHOUT a battery installed in
the vehicle could cause damage to the
vehicle’s electrical system.
NOTE: If you have charged the battery
and it still will not start your car, do not
use the Engine Start setting, or it could
damage the vehicle’s electrical system.
Have the battery checked.
1. With the charger unplugged from the
AC outlet, connect the charger to the
battery, following the instructions given
in sections 6 and 7.
2. With the charger plugged in and
connected to the battery and chassis,
press the ON/OFF switch to turn ON,
and then press the RATE SELECTION
button until the ENGINE START LED
is lit.
3. When the display shows ENGINE
START READY, crank the engine
until it starts or 3 seconds pass. If the
engine does not start, wait 3 minutes
(until the display shows ENGINE
START READY) before cranking
again. This allows the charger and
battery to cool down.
NOTE: During extremely cold weather,
or if the battery is under 2 volts, charge
the battery for 5 minutes before cranking
the engine.
4. If the engine fails to start, charge the
battery for 5 more minutes before
attempting to crank the engine again.
5. After the engine starts, press the ON/
OFF switch to turn OFF, unplug the
AC power cord before disconnecting
the battery clamps from the vehicle.