SmartSource Elite Series - Installation & Operations Guide
January 2017 8227 4907-003 Page 10 of 32
Connecting cables and powering on the unit
1. Locate the power supply ‘brick’ and AC power cord and plug them together.
a. Use only the power supply ‘brick’ that was packed with your SmartSource Elite. Do
not exchange power supply ‘bricks’ between units, or use non-Digital Check-
supplied power supplies, even if they look similar.
2. Plug the power cord from the power supply ‘brick’ into the SmartSource Elite, then plug the AC power
cord into an AC outlet.
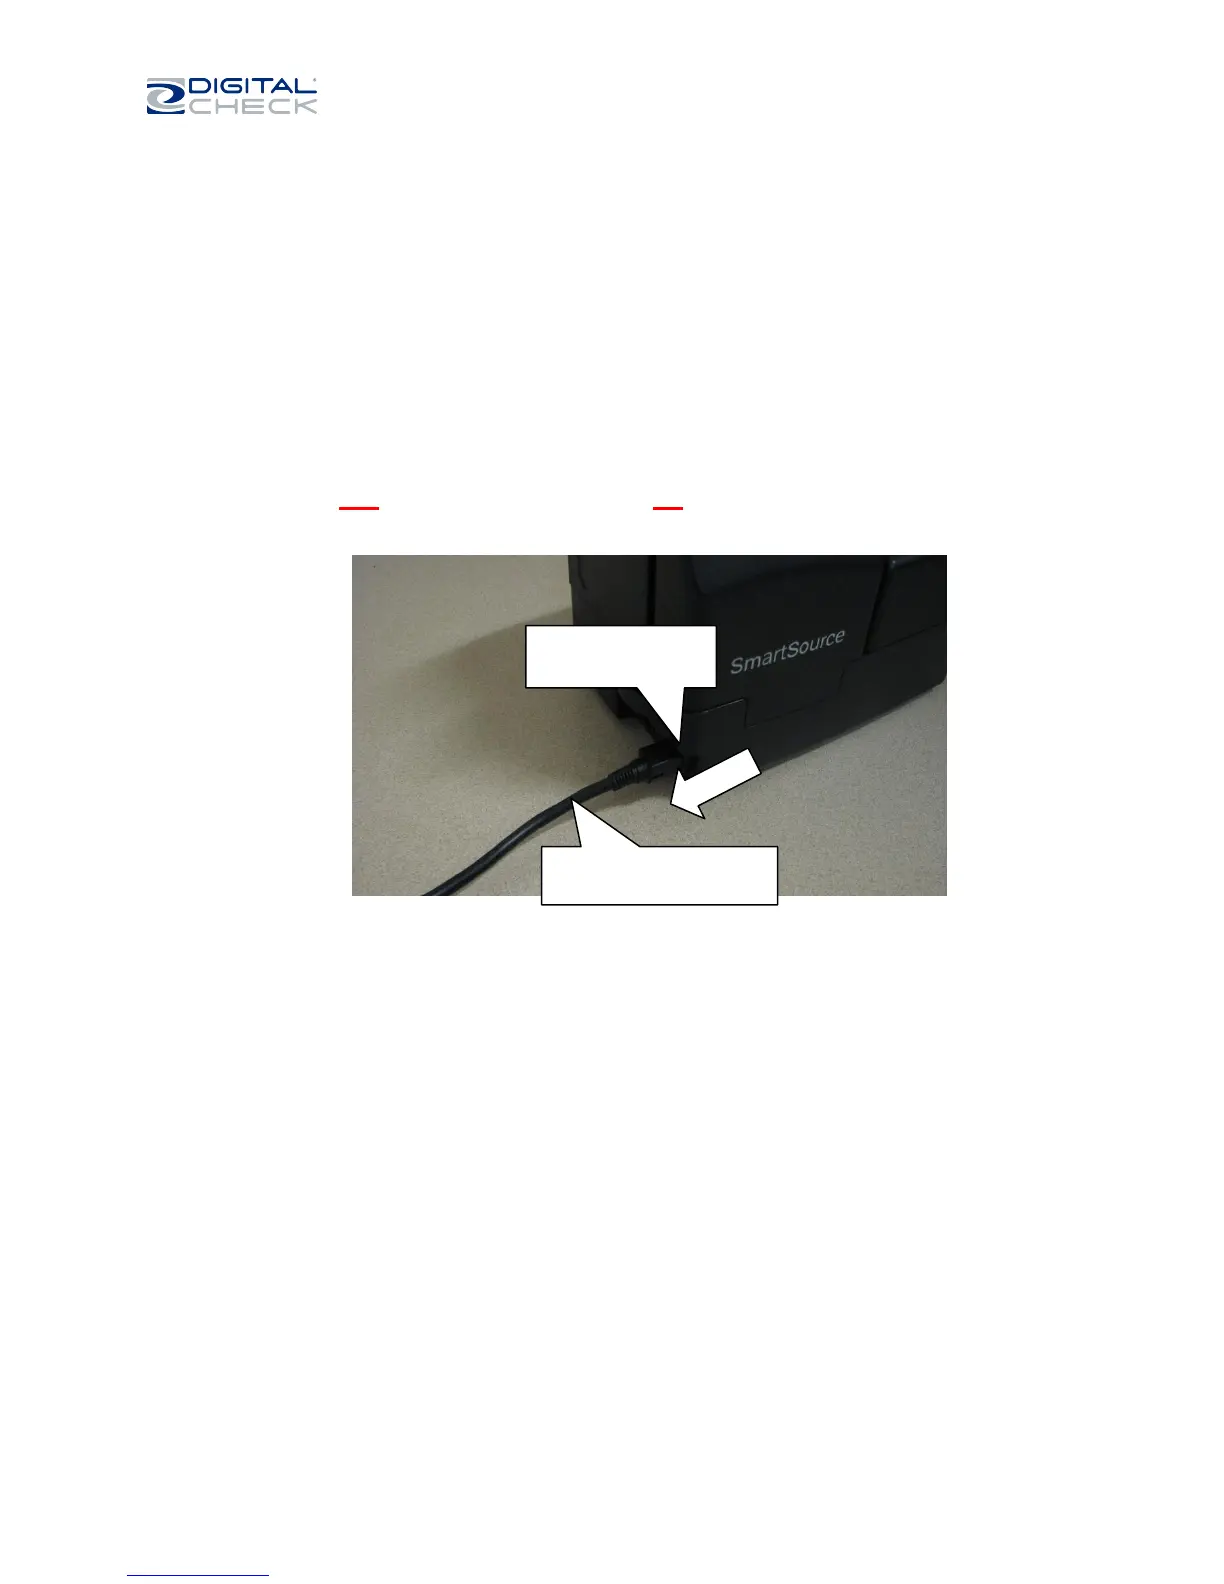
a. Note – the power supply cord to the SmartSource Elite has a special locking
connector to prevent accidental disconnection. To disconnect this connector, pull
back only on the connector housing – not on the power cord. If you pull on the
cord, the connector will not disconnect, and the cord or the unit may be damaged.
3. Locate the USB cable and connect it to the SmartSource and to a suitable USB outlet on the host PC.
a. Use only the USB cable that was supplied with the unit, or a similar USB cable, rated for
USB 2.0 or better.
b. Do not use USB cord extenders, hubs or plug adapters, as these may degrade USB
performance
.
Pull on connector
housing, as shown.
Do not pull on cord; it will
not disconnect
 Loading...