14
Tutorial
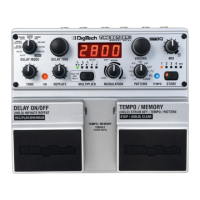
Change the Delay Type
Turn the Delay Type knob to Analog.1.
Play a single note and notice how the repeats gradually decrease in fidelity.2.
Add Modulation
Turn the Modulation knob to the 12 o’clock position.1.
Play your guitar and listen to the chorus-like effect applied to the repeats.2.
Store the Current Settings to a Memory Location
Press the Store button. The currently active (or first available) Memory Location 1.
LED flashes.
Press and release the right footswitch until the Memory Location 1 LED is lit. 2.
Press the Store button again. The TimeBender3.
TM
’s current settings are stored to
Memory Location 1.
Note: You can abort the store procedure by pressing the Delay On/Off footswitch.
Load Settings from a Memory Location
Set the Tempo/Memory footswitch to select memory locations. To do this, press 1.
both footswitches until the Memory Indicator LED is lit.
Press and release the right footswitch to select a memory location, indicated by 2.
the Memory Location LEDs. Note that when location 2 is selected, LEDs 1 and 2
are lit; when location 3 is selected, LEDs 1, 2, and 3 are lit, and so on.
Settings load automatically when a memory location is selected.3.
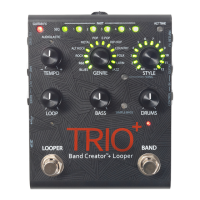
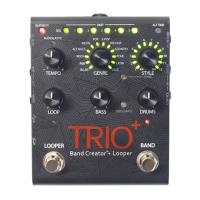
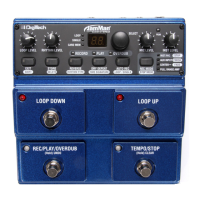
Using the Looper
The TimeBender’s Looper lets you record, play back, and overdub loops up to 20 sec-
onds long. Enable the Looper by turning the Delay Type knob to the Looper position.
Note that the Looper sums stereo input signals to mono, and outputs a mono signal
only.
The voicing still works when the Looper is active, so you can do things like record a
bass line with the voicing set to an octave down (8L), and then set the voicing to uni-
son and play over the looped bass line. Also, with an expression pedal, you can store a
unison voicing in the toe position and an octave down in the heel position, and switch
between your “bass” and guitar on the fly.