16
Tutorial
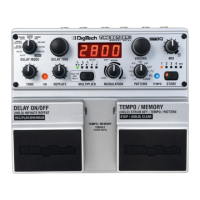
position), the display will read Loop and the loop memory will be cleared.
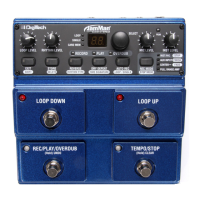
Recording a Loop
To begin recording a loop, start playing your guitar as you press and release the left
footswitch. The display will begin to count down the available recording time, and the
On LED will turn red. As you finish your loop, press and release left footswitch again.
The On LED will turn green and the loop will immediately begin to play back at the
current mix level. The TimeBender
TM
automatically adjusts the starting and ending
loop points to match them as closely as possible. This makes it extremely easy to get
smoothly transitioning loops on the first try.
Stopping and Starting a Loop
To temporarily stop a loop from playing, press and release the right footswitch. The
On LED will turn off. You can restart the loop by pressing and releasing the left
footswitch. When the loop is playing back, the display will show the position of play-
back within the loop with a progress bar.
Overdubbing
Whenever a loop is playing, you can press and release the left footswitch to start
overdubbing. In this case, the On LED will change to yellow, and your playing will be
added to the current loop without replacing the existing audio. In this way, complex
loops can be built up successively.
Clearing a Loop
To clear the loop memory, stop the loop playback, then press and hold down the
right footswitch for two seconds. The Delay On LED blinks twice and the memory is
cleared.
Using an Expression Pedal
Using an expression pedal with the TimeBender is an easy way to unlock a whole
new set of stunning time-varying delay effects. An expression pedal lets you smoothly
morph between different settings for a given delay type, voicing, and time pattern al-
lowing control over parameters such as delay time, tone, repeats, and modulation.
To use your expression pedal with the TimeBender:
Make sure no Memory Location LED is lit (see Set Up the TimeBender on page 11).1.