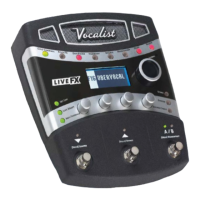
5.INPUT CLIP LED - Lights if the incoming signal is distorting.
6.DISPLAY - Provides information for the different functions.
7.INPUT GAIN knob - Adjusts the input signal level.
8.STORE Button - Stores or copies presets to User preset locations.
9.EXPRESSION PEDAL - Controls the Vocal 300’s parameters in real time.
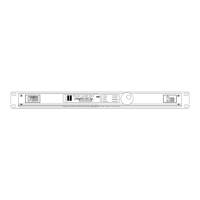
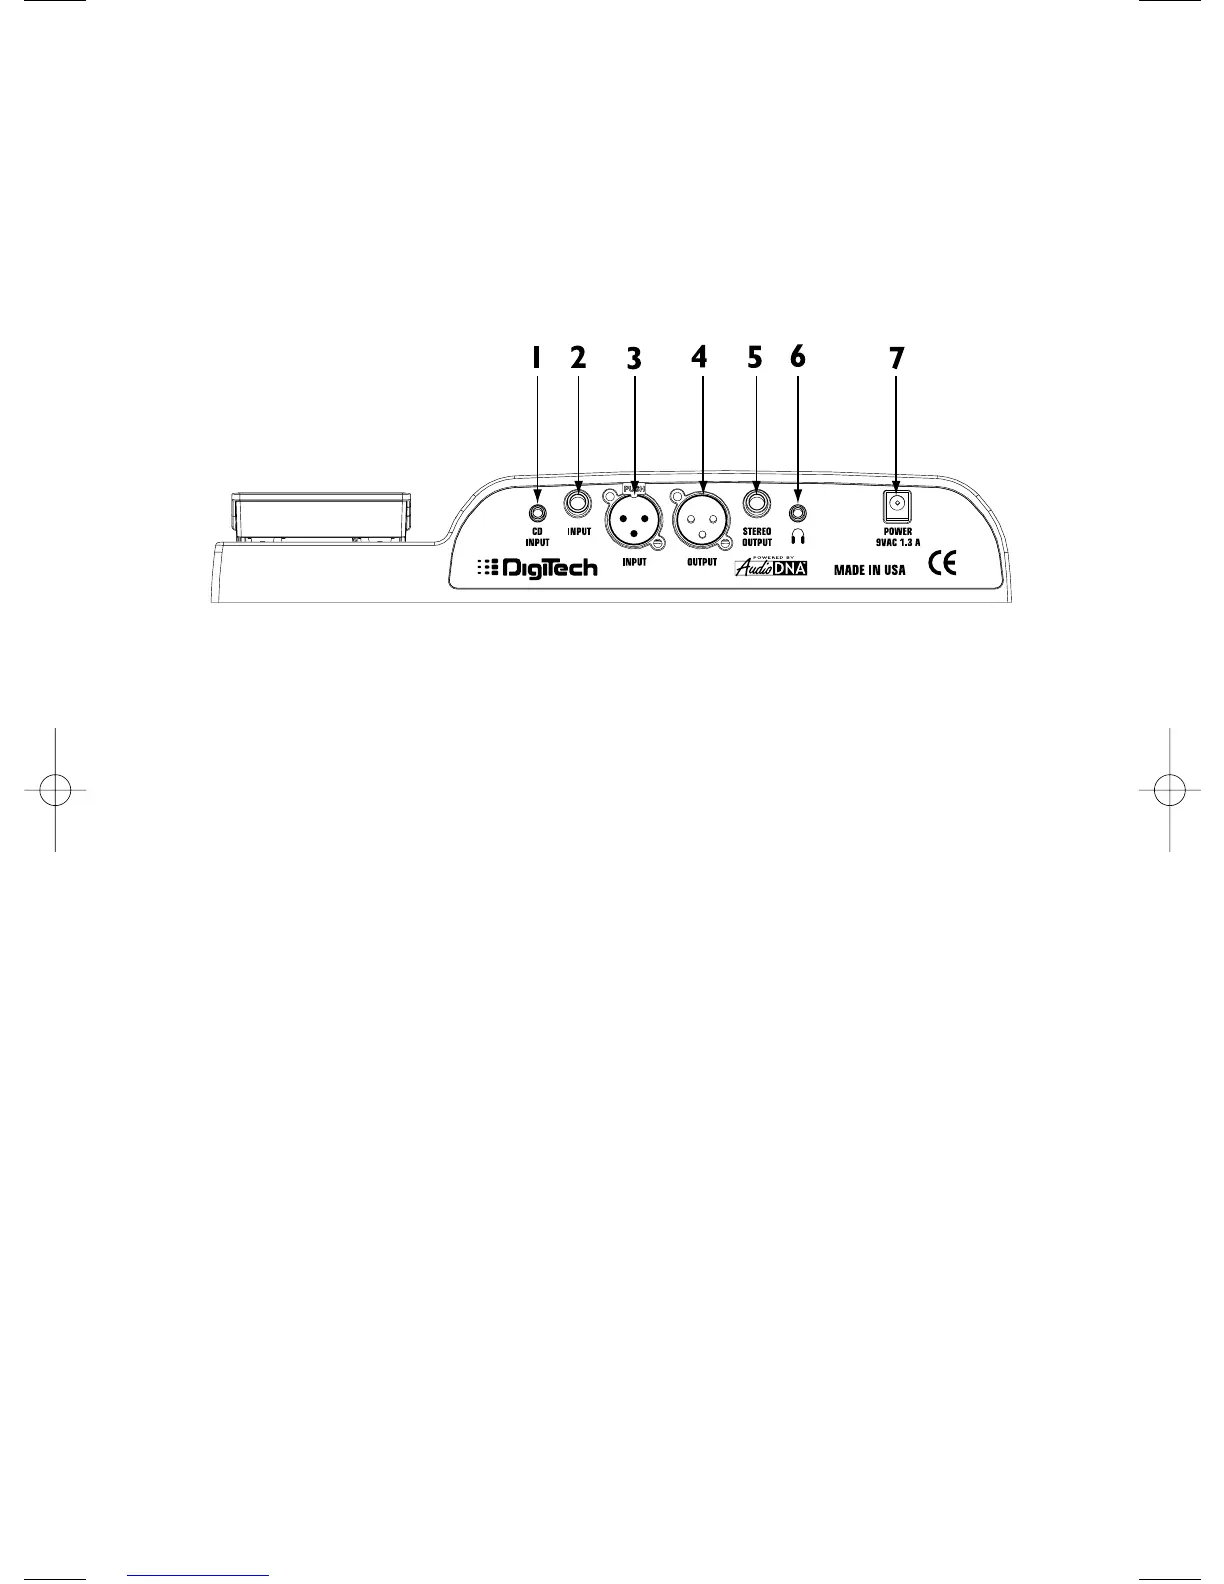
Rear Panel
1.1/8” CD INPUT - Connect the headphone output of your CD,tape,or MP3
player to this jack. This jack is used to sing-along with recorded music.
2.1/4” Unbalanced INPUT - Connect a CD player, mixer,or other line level
device output to this jack.
Note: If this input is used, the XLR input is disabled.
3.XLR Balanced INPUT - Connect a microphone to this jack.
4.XLR Balanced Mono OUTPUT - Connect to a mixer XLR input.
5.1/4” TRS STEREO OUTPUT - Connect a 1/4” stereo “Y” cable to this output
(becomes a 1/4” Mono output if 1/4” mono TS plug is used).
6.1/8” HEADPHONE Output - Connect a pair of stereo headphones to this
jack.
7.POWER jack - Connect only the DigiTech PS0913B power supply to this jack.
Connecting the Vocal 300
The Vocal 300 can be connected in several different ways. The following diagrams
show a few possible options.
Mono Operation
1.Turn the INPUT GAIN knob completely counter-clockwise (7 o’clock)
position.
2.Set the mixer channel’s fader to 0dB.
3.Set the mixer’s master fader to its minimum position (no output signal).
4.Connect the microphone to the Vocal 300’s XLR INPUT.
5.Connect an XLR cable from the Vocal 300’s XLR OUTPUT to the XLR
mic input on the selected mixer channel.
2