WARNING: FAILURE TO FOLLOW THESE OPERATING INSTRUCTIONS MAY RESULT IN
INJURY AND/OR DAMAGE.
Manual Controls
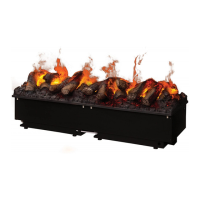
The manual controls are located on the glass panel at the top of the product. (Fig 2). Trace your
nger across the glass panel from left to right. This will light up the buttons
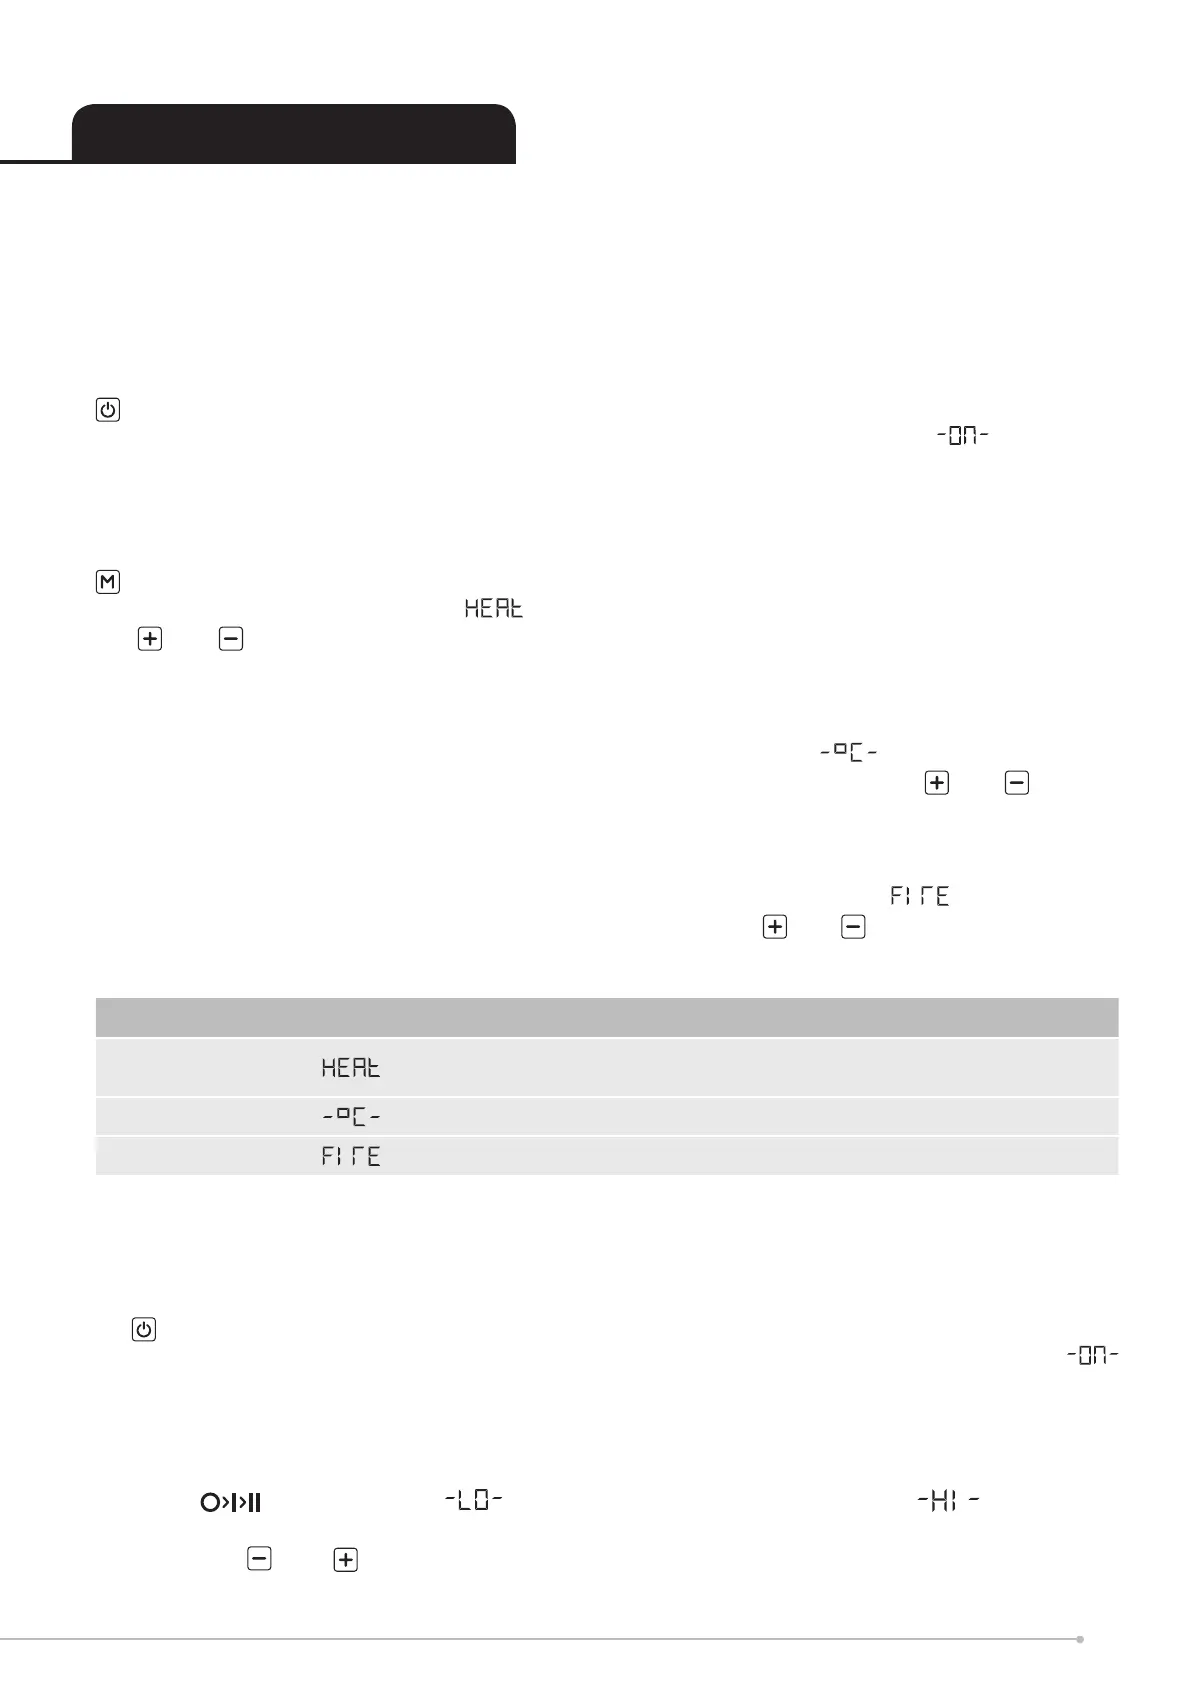
is the on/standby button. Press it once to turn on the product. Press it again to turn o the
product. When turned on a ‘beep’ will sound and the digital display will show followed by
the current room temperature. The display will then turn o. The fuelbed will light up. Be careful
not to look directly into the fuelbed as the LED lights are very bright. It will take a approximatly
45 seconds before the ame eect starts.
is the Mode button.
Press it once and you will be in the options. The display will show the current setting. Using
the and buttons you can turn the heat on at the LOW or HIGH setting and turn the heat
OFF. You will hear two ‘beeps’ for LOW heat setting, three ‘beeps’ for HIGH heat setting and one
‘beep’ when the heat is turned o.
Press it a second time and you will be in the temperature set mode . The display will show
the current room temperature and then the set point temperature. Using the and buttons
you can adjust the set point temperature up and down. Note: if the set point temperature is below
the room temperature the heat function will not operate. The temperature range is from 15-35°C
Press it a third time and you will be in the Fire mode. The display will show followed by the
current re eect setting. There are six re settings. Using the and buttons you can adjust
the height of the ame eect.
Remote control
The remote control is supplied with a battery already in place. Simply pull on the clear plastic tab
on the back of the remote control to enable the battery.
• is the on/standby button. Press it once to turn on the product. Press it again to turn o
the product. When turned on you will hear on ‘beep’ and the digital display will show
followed by displaying the current room temperature. The display will then turn o. The main
LED lights will activate. Be careful not to look directly into the LED’s. These are very bright.
Although the main lights operate immediately it will take a further 45 seconds before the ame
eect starts.
• Press once to activate heat setting. Press it again to activate heat setting.
Press it a third time to turn o the heater
• Press the and buttons to adjust your set point temperature. Note: if the set point
temperature is below the room temperature, the heat function will not operate. The temperature
Press M Display Function Press + or -
Once
Controls the fan
heater
O Low High
Twice Thermostat From 15 °C To 35 °C
Three times Flame intensity From F1 (low) To F6 (high)
Operating The Product
5