3
OPERATION - ACUMEN REMOTE
(EF3003/SF3003/DF3003 MOD 0-B Units)
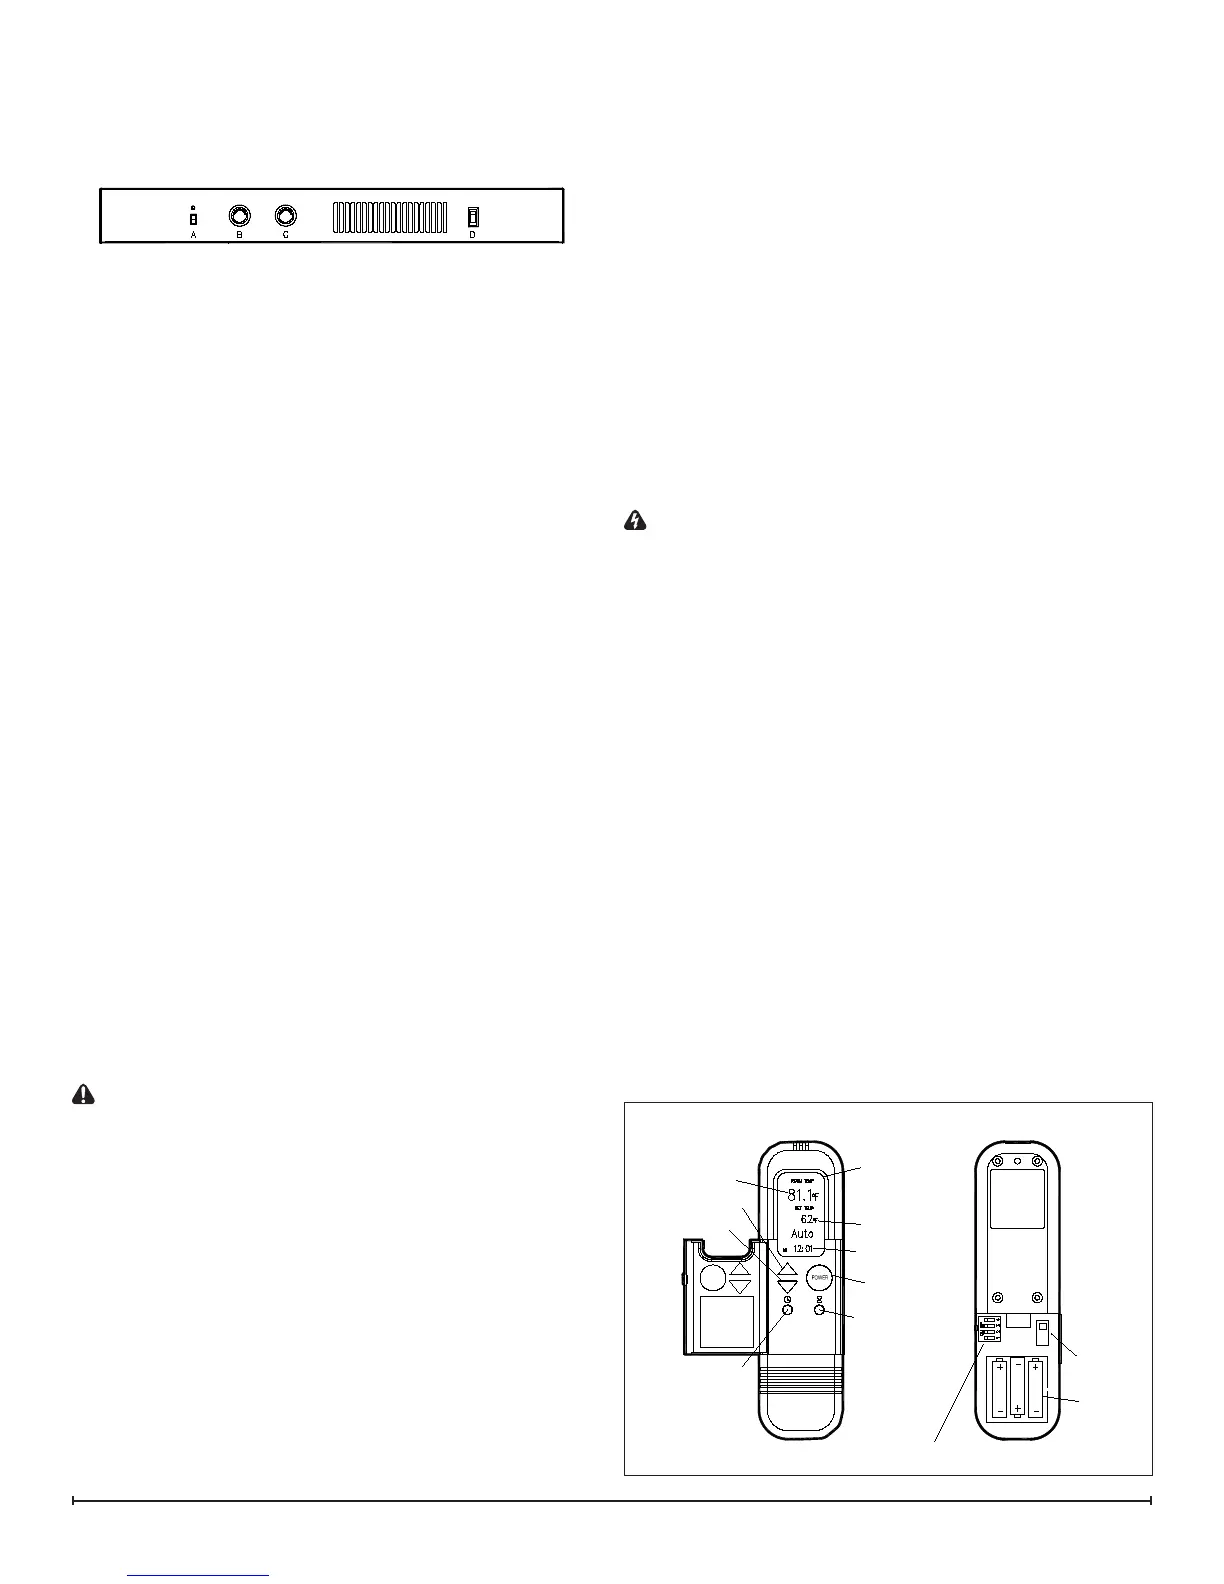
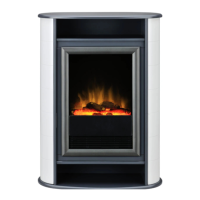
MANUAL CONTROLS (Figure 1)
A. Main On/Off switch
The replace has a main ON/OFF switch located on the
control panel of the replace. To operate, press the switch
once to turn the unit on. A red light will illuminate to indi-
cate the power is on. Press the switch again to turn the
unit off.
!
NOTE: When the Main On/Off switch is used the
heater will run. The Main On/Off switch is to be used only
when the remote control is Off.
B. Flame brightness control
Turn the ame brightness control knob to increase or de-
crease the brightness of the ame and embers.
C. Flame action control
Turn the ame action control knob to adjust the ame
speed to the desired level.
D. Heater On/Off switch
When the Main On/Off switch is in the On position the
heater will run. Turn the Heater On/Off switch to the Off
position to shut off the heater.
!
NOTE: Ensure that the Heater On/Off Switch is in the
On position for the heater to work with the remote control.
Resetting the Temperature Cutoff Switch
Should the heater overheat, an automatic cut out will turn
the replace off and it will not come back on without being
reset. It can be reset by switching the Main On/Off Switch
to Off and waiting ve (5) minutes before switching the unit
back on.
If operating the unit with a remote control, the remote
control may require re-initializing after turning the power off.
CAUTION: If you need to continuously reset the heater,
disconnect power and call Dimplex customer service at
1-888-DIMPLEX (1-888-346-7539).
Remote Control
Remote Control Initialization & Setup
Turn on the electrical power at the circuit breaker.1.
Slide open the battery cover on the back of the remote 2.
control.
Install three AAA batteries into the remote control. Re-3.
place the battery cover. (Figure 2)
!
NOTE: The LCD display will ash when new batteries
are inserted.
Move the remote control close to the replace (less 4.
than ve feet preferred). Press any button on the
remote control. The remote control is transferring the
code to the receiver built into the replace.
Set the clock by pressing the button marked clock on 5.
the remote control for ve seconds. The hour display
will ash.
Use the up and down buttons to set the hour.6.
Press the clock button again and the minute display will 7.
ash.
Use the up and down buttons to set the minute.8.
Press the clock button again and the °F or °C display 9.
will ash.
Use the up and down buttons to select whether the 10.
remote control will display temperature in °F or °C
Press the clock button again. The remote control is 11.
now ready for operation.
Remote Control Operation (Figure 2)
WARNING: It takes some time for the receiver to re-
spond to the remote control. Do not press the buttons
more than once within two seconds for correct opera-
tion.
!
NOTE: The replace has an automatic timer function
that will shut your replace off if the remote control has not
been operated within a six-hour period.
Auto Mode
!
NOTE: When auto mode is activated the ame and
heat will turn on. The heater will turn on and off to keep
the room temperature the same as the remote control set
temperature.
Press POWER button to turn unit on. (There may be a 1.
slight delay)
Press the UP or DOWN buttons to change the set tem-2.
perature, if desired.
In auto mode the remote control will automatically turn 3.
on the ame and heater when the room temperature
is below the target temperature and turn off the heater
ONLY when the room temperature is above the target
temperature.
Press POWER button once to turn unit off.4.
Figure 1
Remote display
Room temperature
Set temperature
Time of day/Timer
Up button
Timer button
Auto/off button
Down button
Clock button
Code selection switch
Batteries
Child Proof
Switch
Figure 2