Quick Installation Guide
1. Product Appearance of UC100
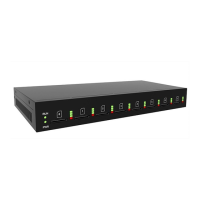
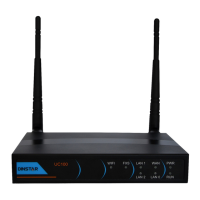
(
1
)
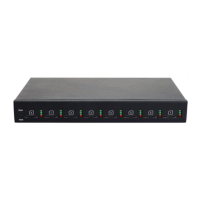
Front View
On the front panel are seven indicators and the SIM card slot which s upports hot swap.
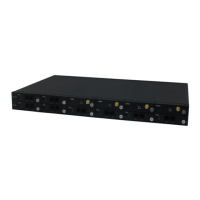
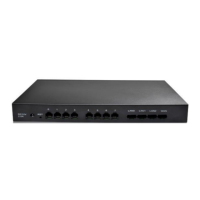
(
2
)
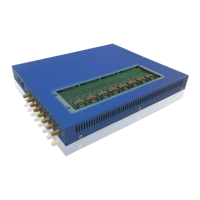
Back View
On the rear panel are the power port, WAN port, LAN port, FXS port, FXO port, reset button and external antenna.
Please use a network cable to connect the UC100 with a PC for convenient management.
Note: If the network is working under the route mode,WAN IP address is different from LAN IP address. But when
it is under the bridge mode, WAN IP address is the same as LAN IP address.
2.Configurations via Telephone
User could conduct some basic configurations on the UC100 by dialing the following keys on the telephone.