Ground | Masse
WITH DATA-LINK
OUTPUT | SORTIE
INPUT | ENTRÉE
CHTH2 WITH D2D \ AVEC D2D
E
GO PROGRAM: 2
WITH DATA-LINK
OUTPUT | SORTIE
INPUT | ENTRÉE
30
86
85
87
87a
(+) 12V Battery
Back view
Vue de dos
Ground
(+) Starter*
12V Battery | 12V Batterie
Lt.Blue | Bleu Pâle
White | Blanc
Pink | Rose
Blue | Bleu
Orange
Purple | Mauve
Yellow | Jaune
~
Lt. Blue/Black | BleuPâle/Noir
White/Black | Blanc/Noir
Pink/Black | Rose/Noir
Green | Vert
Orange/Black | Org/Noir
Purple/White | Mauve/Blanc
Yellow/Black | Jaune/Noir
Programming
Button
Bouton de
Programmation
Parking Light | Lumière de Stationnement
n.c.
1-way
1-way
1-way
1-way
1-way
1-way
FEMALE
FEMELLE
VEHICLE
VÉHICULE
MUX
CONN. 2
D2D CABLE
n.c.
n.c.
n.c.
n.c.
Remote Starter or Alarm
Démarreur ou alarme
1-way
Only connect for 1-Way D2D
Branchez pour D2D 1-voie seulement
Ignition 1
Starter (+)
1
4
6
5
(+) Start IN
(-) While running
5 PIN CONN.
(+) Ignition 2
(+) Ignition
DO NOT CONNECT ON THE VEHICLE
NE PAS BRANCHER SUR LE VÉHICULE
D2D PORT
CONN.
2
2
(-) While running
(+) Ignition 2
Starter (+)
Key cylinder
Barillet de la clé
VEHICLE
VÉHICULE
MUX
MUX Relay Control
required - Not Included
Relais de contrôle
du MUX requis
- Non inclus
CHALL
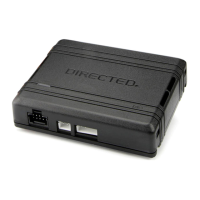
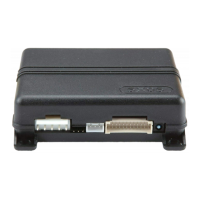
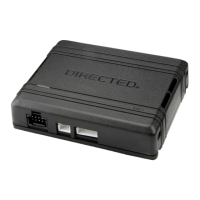
REMOTE CAR STARTERS AND ALARM INTERFACE
8
Tach
Brake Status Frein | État
Trunk Status Valise | État
E-Brake Status Frein Main | État
Hood Status Capot | État
Door Status Porte | État
CHALL
CHTH2
E
CONNECTION
Connect the
immobilizer
connector to the
female connector of
the T-Harness.
Branchez le
connecteur d’immo-
bilisateur dans le
connecteur femelle
du harnais en T
Press and
hold the
programming
button:
Appuyez et
maintenir le
bouton de
programmation:
Insert the 8
Pin connector
from the T-
Harness.
Insérez le
connecteur 8
pins du
Harnais en T.
Release the
programming
button.
Relâchez le
bouton de
program-
mation.
The Red
LED will
turn ON.
La DEL
Rouge
s'allume.
ON
3
Connect the male
connector of the
T-Harness to the
immobilizer
module.
Branchez le
connecteur Mâle
du Harnais en T
dans le module
d’immobilisation.
Disconnect the
immobilizer
connector wich
is located at the
key cylinder.
Débranchez le
connecteur
d’immobilisateur
situé au barillet
de la clé.
Continue
with
programming
2 page 11.
Continuez
avec la
program-
mation 2
page 11.
4 5 6
8
1
8
1
3
immobilizer connector
connecteur d’immobilisateur
MALE
MÂLE
Carefully unplug
the connector.
Débrancher le
connecteur avec précaution.
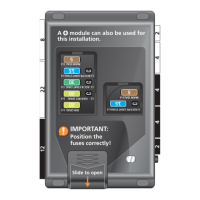
If the vehicle does not have a Starter wire : follow the connection C (with D2D) or D (without D2D)
Si le véhicule n'a pas de fil (+) Starter : allez à la connection C (avec D2D) ou D (sans D2D)
(+)
*