4
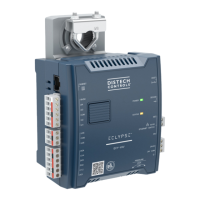
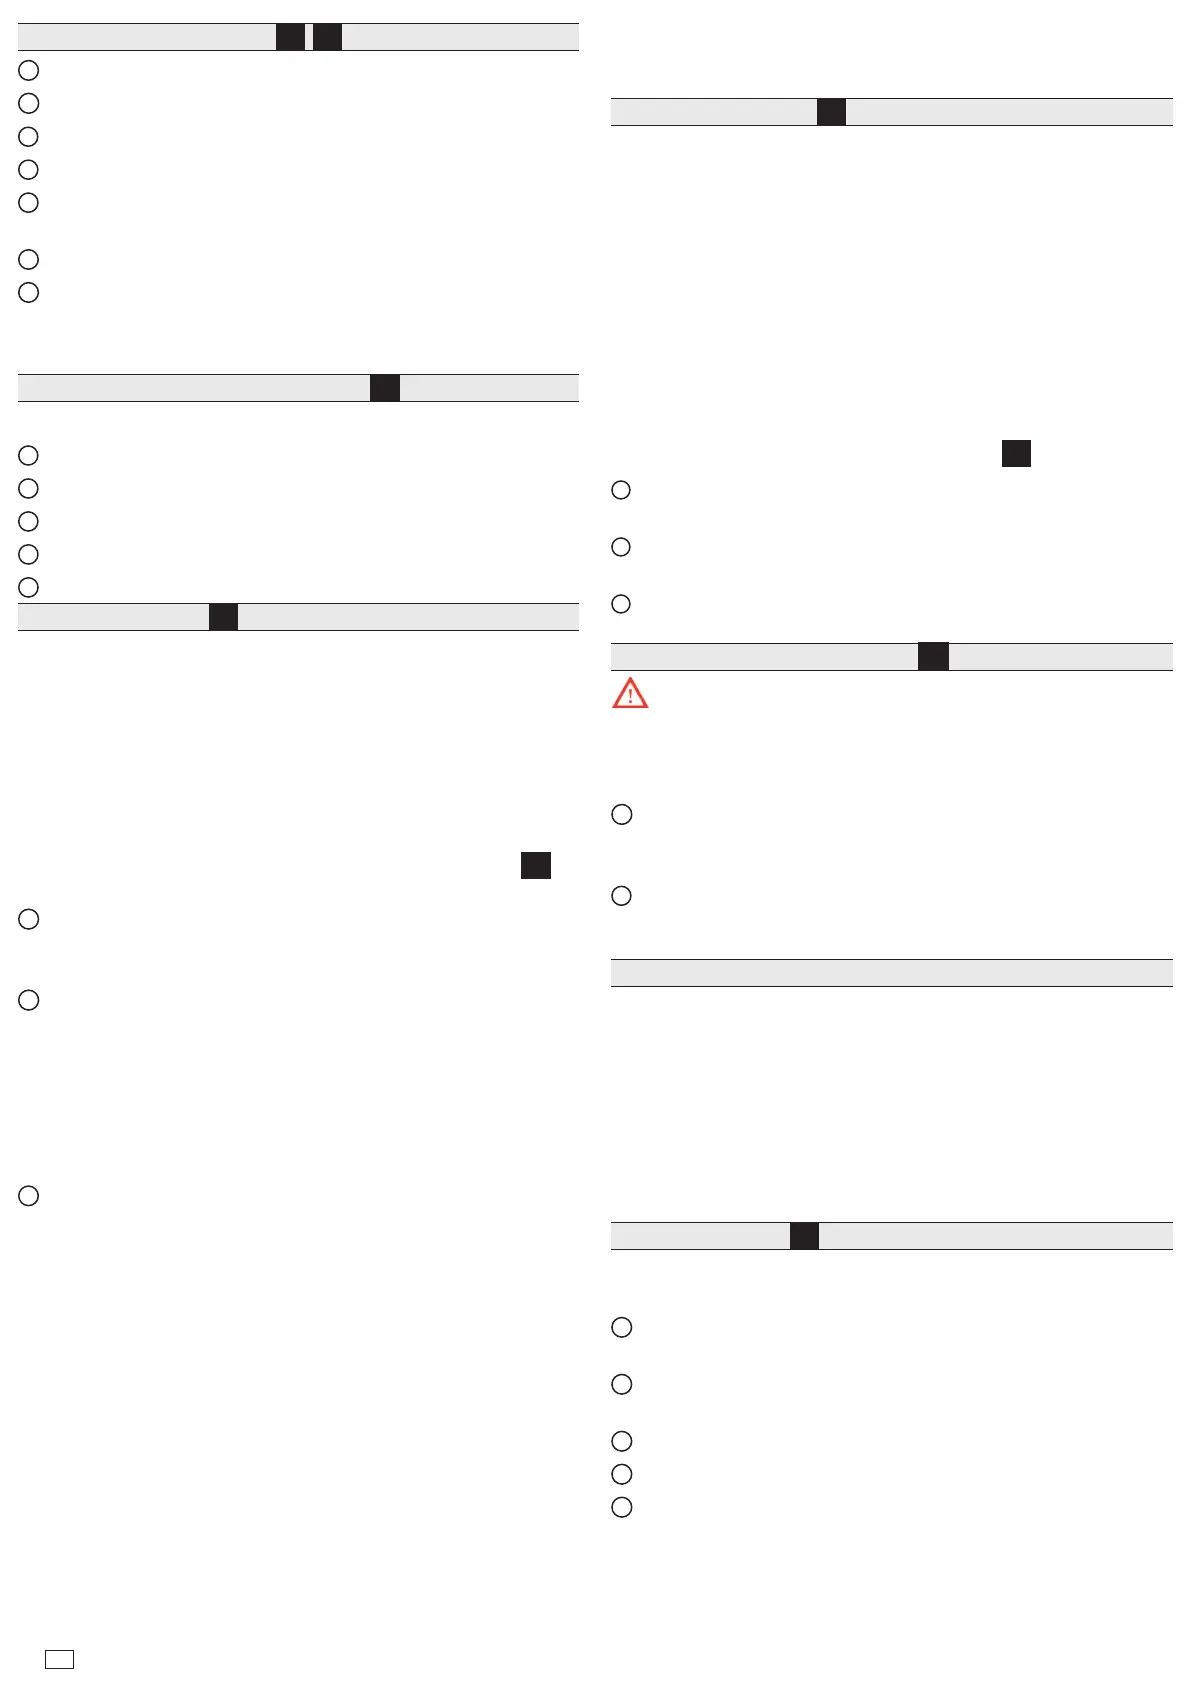
Mounting On DIN Rail, see images
2
,
3
1
Pull the controller’s locking clip down.
2
Tilt the controller to hook over the DIN rail.
3
Push down and in on the unit to fasten to the rail.
4
Push the locking clip up to secure.
5
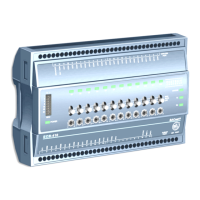
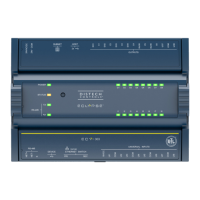
Mount any option module onto the DIN rail in the same way. Slide
the module rmly into the controller’s connector to seat.
6
Repeat for other modules as needed (4 maximum).
7
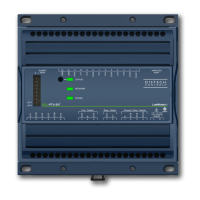
Carefully secure both ends of the nal assembly with DIN rail end-
clips provided by the DIN rail vendor.
Wiring
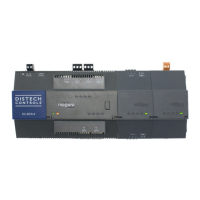
Power and Field Communications Ports, image
4
Power and eld communications ports are as follows:
1
Ground
2
Power
3
RS485 ports and bias switches
4
Ethernet port (Sec), 10/100/1000-Mbit, RJ-45
5
Ethernet port (Pri), 10/100/1000-Mbit, RJ-45
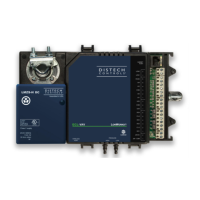
RS485 Wiring, see image
5
On the controller’s top side, two RS485 ports operate as COM1
and COM2. Each port is capable of up to 115,200 baud, and uses a
3-position, screw terminal connector.
NOTE: IO modules, Security modules, and Smartkeys all need to be
on an RS-485 network.
Use shielded, twisted-pair, 18-22 AWG cabling to wire in a continuous
multidrop fashion to other RS485 devices: “minus to minus”, “plus to
plus,” and “shield to shield.”
Connect the shield wire to earth ground at one end only. Image
5
shows example wiring.
1
RS485 port A (COM1) is oen used to support a trunk of T-IO-16-
485 modules. NOTE: Do not mix T-IO-16-485s with other types of
RS485 devices on the same RS485 trunk.
2
RS485 port B (COM2) supports a network of eld devices using
RS485 communication. Additional RS485 COM ports (COM3+)
may be added, with port numbering dependent on devices added to
each unique system. For example, an Enterprise Security network
includes the following:
– Access network (COM2 default)
– Smartkey, intrusion keypad (COM3 default)
– NRIO network
3
NOTE: RS485 devices on the same network should use the same
protocol and baud rate. Up to 32 or more devices may be supported,
depending on device specications.
RS485 bias switches
Each RS485 port has an adjacent 3-position biasing switch. Settings of
each RS485 bias switch are:
• BIA - (middle, as-shipped setting) RS485 biasing. 2.7K bias resistors
with no termination resistor.
• END - RS485 biasing and a termination: 562 Ohm bias resistors and
150 Ohm termination resistor.
• MID - RS485 biasing or termination: 47.5K bias resistors with no
termination resistor.
Oen, adding RS-485 biasing can improve communications by
eliminating indeterminate idle states.
See EC-BOS-9 Mounting and Wiring Guide for more details on RS485
biasing. Each RS485 port has two LEDs. See the “Status LEDs” section
for more information.
Ethernet Wiring, see image
4
Two RJ-45 10/100/1000-Mbit Ethernet connectors are labeled PRI
(LAN1) for primary, and SEC (LAN2) for secondary. Use a standard
Ethernet patch cable to an Ethernet switch.
e factory-default IP address for PRI is 192.168.1.140. e default
subnet mask is 255.255.255.0. By default, the SEC (LAN2) port is
disabled.
Refer to the EC-BOS-9 Install and Startup Guide for details on the
soware conguration of the Ethernet ports.
Earth Ground & Power
Earth grounding provides protection from electrostatic discharge or
other forms of EMI.
NOTE: Depending on power source used (image
6
).
2.1
(AC): Dedicated 24V transformer required, with neither side of the
transformer secondary tied to ground.
2.2
(DC): Polarity is unimportant (uses onboard diode bridge), with
neither leg tied to ground.
2.3
(Wall-mount AC adapter) instead of wiring 24V to 2-position
connector.
Wiring Earth Ground & Power, see image
6
Warning: Before making power terminations, de-energize the
24V power source. Do not restore power until completing all other
mounting and wiring. See “Power up and initial checkout”.
Prerequiste: A nearby earth grounding point.
1
Install the included earth ground wire to the controller’s earth
ground spade lug, and terminate the other end to a nearby earth
ground.
2
Unplug the controller’s 2-position power connector plug and
terminate the 24V supply source (AC or DC) to the connector.
Leave connector unplugged for now.
Power Up and Initial Checkout
Apply power by doing one of the following:
• Insert the 2-position 24V power connector plug, or
• Insert the barrel plug of the wall-mount AC adapter.
Check the “BEAT” (Heart- beat) LED.
Aer power is applied, during bootup, the “BEAT” LED ashes at
a 1 Hz rate, at 50%/50% on/o duty cycle. e bootup process will
complete approximately 30 seconds aer the start of ashing “BEAT”
LED.
Status LEDs , see image
7
e controller provides a number of status LEDs, with all but one
visible with the front access door closed.
1
RS485 “A” (COM1): Transmit (TX, Yellow) and Receive (RX,
Green).
2
RS485 “B” (COM2): Transmit (TX, Yellow) and Receive (RX,
Green).
3
STAT (Green) - Remains illuminated while controller is powered.
4
BEAT (Yellow) - “Heartbeat”, normally 1Hz, 50% duty cycle.
5
Secondary Ethernet, SEC (LAN2) “Link” (Green) and “Activity”
(Yellow).
 Loading...