1592026020 XW60K GB R2.1 22.06.2012.doc XW60K 2/6
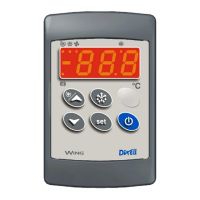
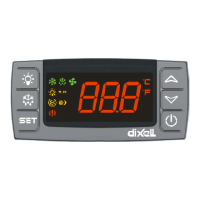
T620
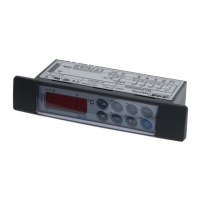
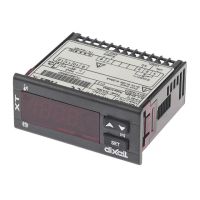
V620
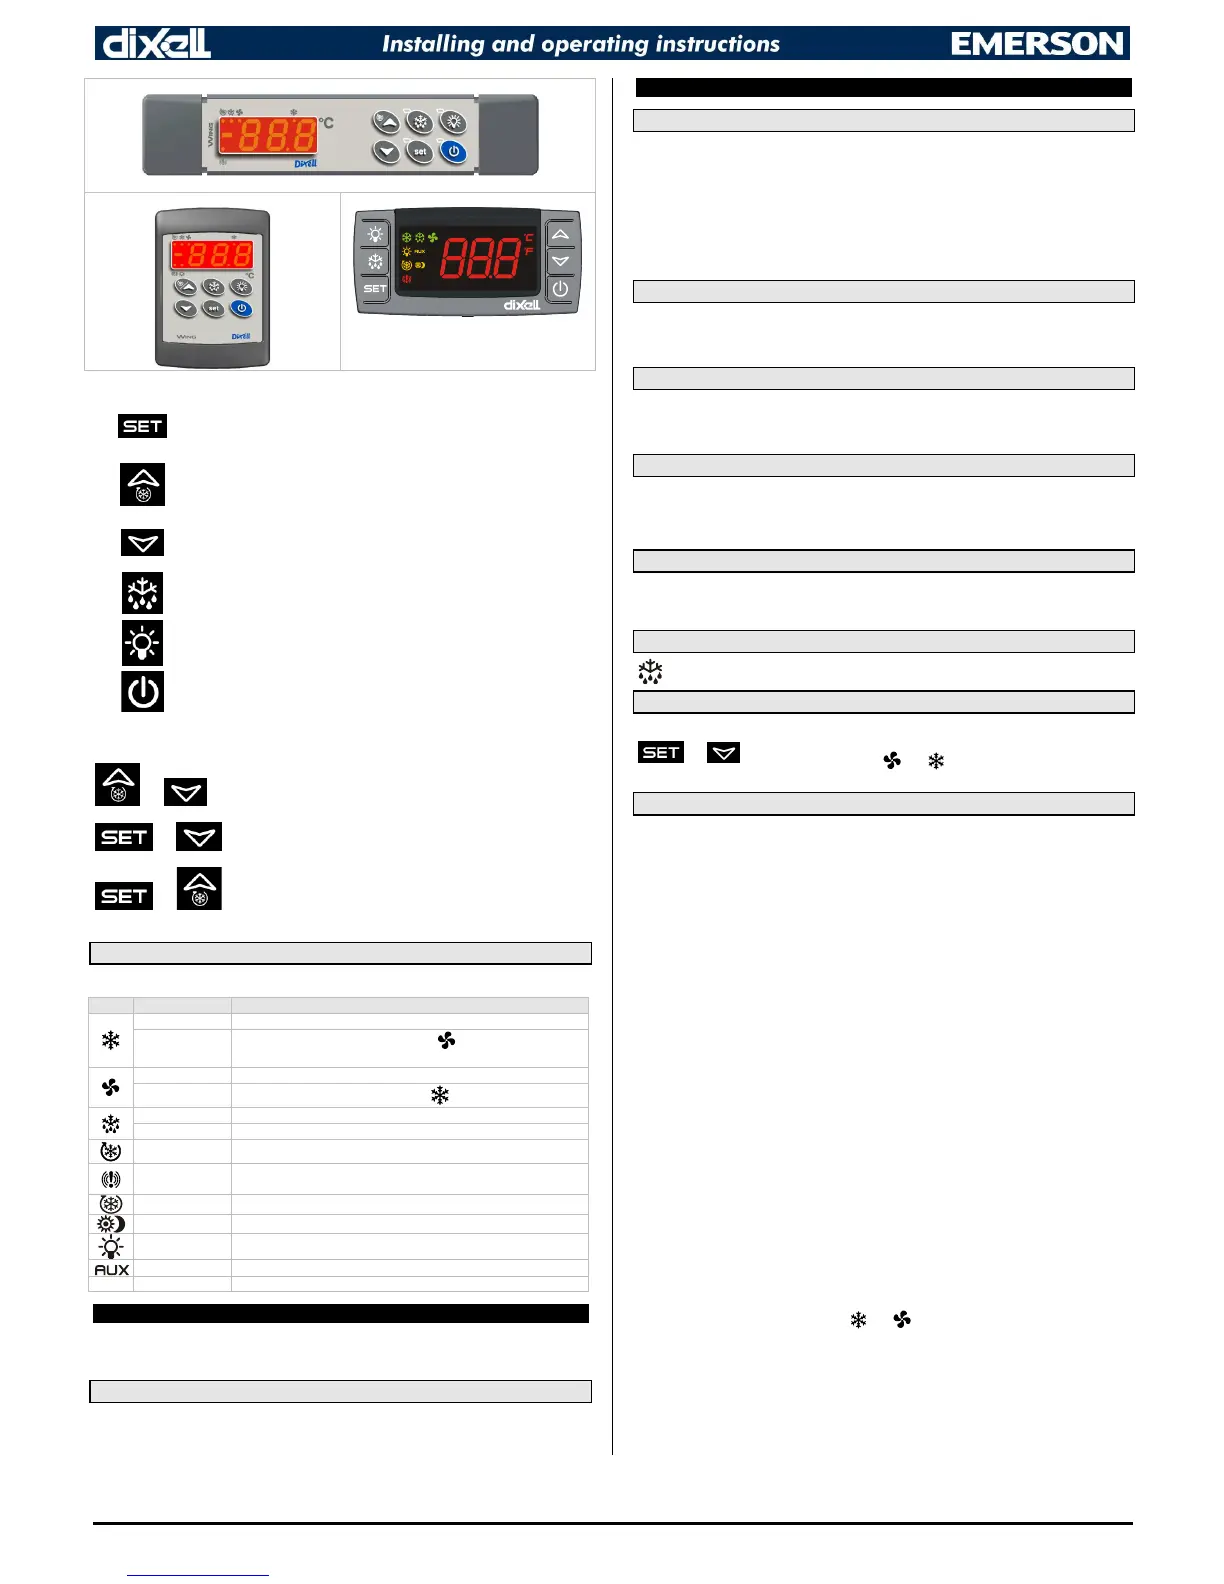
To display and modify target set point; in programming mode it selects a parameter
or confirm an operation. By holding it pressed for 3 sec
temperature is displayed it will be erased.
(UP) To see the max stored temperature; in programmin
parameter codes or increases the displayed value.
By holding it pressed for 3s the fast freezing cycle is started.
(DOWN)
To see the min stored temperature; in programming mode it browses the
parameter codes or decreases the displayed value.
(DEF) By holding it pressed for 3 sec the defrost is started.
(LIG) Switch ON and OFF the cold room light.
(ONOFF) Switch ON and OFF the instrument.
KEY COMBINATIONS
+
To lock and unlock the keyboard.
+
To enter the programming mode.
+
To exit the programming mode.
5.1 USE OF LEDS
Each LED function is described in the following table.
LED MODE Function
ON The compressor is running
FLASHING
- Programming Phase (flashing with LED )
- Anti-short cycle delay enabled
ON The fan is running
FLASHING
Programming Phase (flashing with LED )
ON The defrost is enabled
FLASHING Drip time in progress
ON The Fast Freezing cycle is enabled
ON
- ALARM signal
- In “Pr2” indicates that the parameter is also present in “Pr1”
ON Continuous cycle is running
ON Auxiliary relay on (CX620 only)
°C/°F ON Measurement unit (CX620 only)
6 AUTOMATIC KEYBOARD LOCK (ONLY FOR T620T)
To avoid accidental modifications of the controller settings, the T620T keyboard will be locked
automatically if no key will be touched for 60 seconds. The T620T will show “LoC” flashing for few
seconds when it’s locking. The light key is operating even if the keyboard is locked.
6.1 TO UNLOCK THE T620T
1. Touch any key.
2. The keys will be lighted.
3. Keep a key pushed for few seconds till the “on” message is displayed.
7 CONTROLLER INTERFACE
SET THE CURRENT TIME AND DAY (ONLY WITH RTC)
When the instrument is switched on, it’s necessary to program the time and day.
1. Enter the Pr1 programming menu, by pushing the SET+ DOWN keys for 3 sec.
2. The rtC parameter is displayed. Push the SET key to enter the real time clock menu.
3. The Hur (hour) parameter is displayed.
4. Push the SET and set current hour by the UP and DOWN keys, then push SET to
confirm the value.
5. Repeat the same operations with Min (minutes), dAy (day), dYM (day of month), Mon
(month) and YAr (year) parameters.
To exit: Push both SET+UP keys or wait for 15 sec without pushing any keys.
7.1 HOW TO SEE THE MIN TEMPERATURE
Press and release the DOWN key.
2. The “Lo” message will be displayed followed by the minimum temperature recorded.
3. By pressing the DOWN key or waiting for 5 sec the normal display will be restored.
7.2 HOW TO SEE THE MAX TEMPERATURE
Press and release the UP key.
2. The “Hi” message will be displayed followed by the maximum temperature recorded.
3. By pressing the UP key or waiting for 5 sec the normal display will be restored.
7.3 HOW TO RESET THE MAX AND MIN TEMPERATURE RECORDED
To reset the stored temperature, when max or min temperature is displayed:
1. Press SET key until “rST” label starts blinking.
Note: after the installation remember to RESET the temperature stored.
7.4 HOW TO SEE AND MODIFY THE SET POINT
1. Push and immediately release the SET key: the display will show the Set point value;
2. To change the SEt value, push the UP or DOWN arrows within 10 sec.
3. To memorise the new set point value push the SET key again or wait for 10 sec.
7.5 TO START A MANUAL DEFROST
1. Push the DEF key for more than 2 sec and a manual defrost will start.
7.6 TO ENTER IN PARAMETERS LIST “PR1”
To enter the parameter list “Pr1” (user accessible parameters) operate as follows:
1. Enter the Programming mode by pressing the Set and DOWN key
for few seconds ( and
start blinking).
2. The instrument will show the first parameter present in “Pr1”
7.7 THE HIDDEN MENU
In the hidden menu there are all the parameters of the instrument.
7.7.1 ENTERING THE HIDDEN MENU
1. Enter the Programming mode by pressing the SET+DOWN keys for 3 sec (the “°C” or “°F” LED will
start blinking).
2. Release the keys and then push again the SET+DOWN keys more than 7 sec. The “Pr2” label will
be displayed immediately, followed from the HY parameter.
NOW THE HIDDEN MENU IS DISPLAYED
3. Select the required parameter.
4. Press SET key to display its actual value
5. Use UP or DOWN keys to change its value.
6. Press SET to store the new value and move to the following parameter.
To exit: Press SET+UP or wait for 15 sec without pressing any key.
NOTE1: if no parameter is present in the “Pr1” level, after the first 3 sec the “noP” message will be
displayed. Keep SET+DOWN keys pushed till the “Pr2” message will be displayed.
NOTE2: the new set value will be stored even if the procedure is exited by waiting for the time-out to
expire.
7.7.2 HOW TO: MOVE A PARAMETER FROM THE HIDDEN MENU TO THE FIRST LEVEL AND
VICEVERSA.
Each parameter present in the HIDDEN MENU can be moved or put into “THE FIRST LEVEL” (user
level) by pressing SET+DOWN keys. In HIDDEN MENU, if a parameter is present also in the First
Level (Pr1), the decimal point will be lit.
7.7.3 HOW TO CHANGE THE PARAMETER VALUE
1. Enter the Programming mode.
2. Select the required parameter with UP or DOWN.
3. Press the “SET” key to display its value ( and LED starts blinking).
4. Use UP or DOWN to change its value.
5. Press SET to store the new value and move to the following parameter.
To exit: Press SET+UP or wait for 15 sec without pressing any key.
NOTE: the new programming is stored even when the procedure is exited by waiting the time-out.
 Loading...