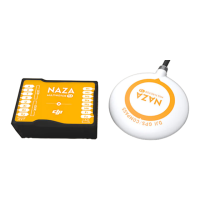
1. Please download driver DJI Driver Installer.exe and NAZA-M assistant software from DJI website.
2. Connect the NAZA-M and the PC via USB cable, power on the NAZA-M system.
3. Run DJI Driver Installer.exe, and follow the instructions strictly to finish installation.
4. Run the assistant software installer, and follow the instructions strictly to finish installation.
1. Make sure your computer is connected to the Internet for the first time you use.
2. Switch on the transmitter first, then power on multi-rotor. Connect the NAZA-M to the PC with a USB
cable. DO NOT break the connection until setup is finished.
3. Run the NAZA-M Assistant Software。
4. If the communication indicator is on, please double check the connections and driver installation;
otherwise if the indicator is blinking, go to next step.
5. Select InfoSoftware and Firmware. Check whether the assistant software and the firmware
upgrade are available. If available, please upgrade the assistant software and the firmware by
referring to the appendix. Otherwise, go to next step.
6. Select Basic. Please follow step-by-step for your first-time-configuration.(Basic configuration is
necessary)
7. You can click the Advanced option for more parameter settings.(Advanced function is optional.
There are IMU Calibration、Low-voltage Alarm、Enhanced Fail-Safe, etc. Read the instruction in the
assistant software to obtain more details.)
8. Select Viewer and check all parameters.
Note:
You may be required to fill register information for your first-time-usage.
It will auto detect the software version when you open the assistant software and prompt the
Check for Updates window if your version is not the latest one.
Do not disconnect the main controller and the PC when you are using the assistant software.

 Loading...