68 Dolby
®
Digital Cinema System Manual Issue 0.92 (Preliminary)
Installing a Dolby Digital Cinema System
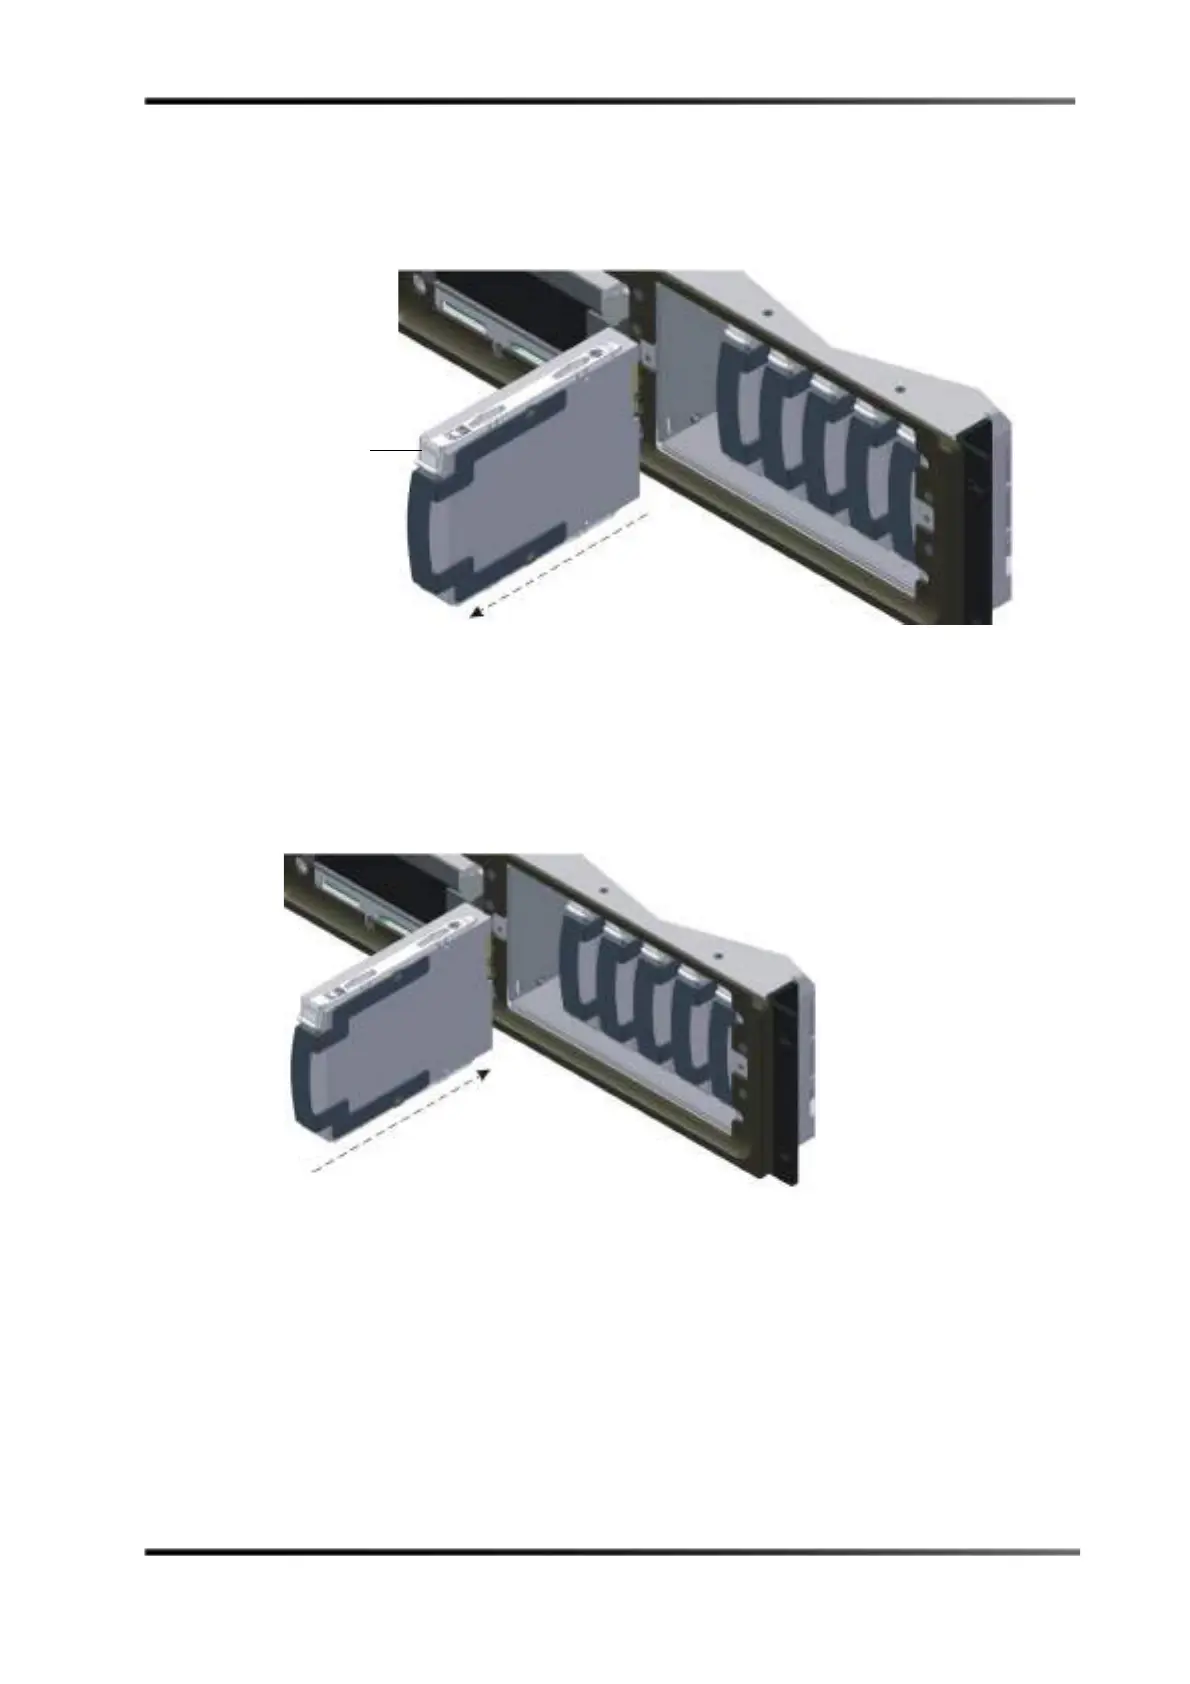
4. Match the failed drive’s number (noted in step 1) with the corresponding numbered
internal drive, then grasp the drive’s finger tab and slide it out of its slot, as shown in
Figure 3-81. The drives are numbered from left to right (1, 2, 3, 4, 5, 6).
Figure 3- 81
Figure 3-81 Removing the Failed Drive from the DSL100
5. Be sure that no show is running, then grasp the replacement drive’s finger tab, and
firmly but gently slide the drive into its slot (see Figure 3-82) until you feel resistance,
which indicates that the drive is seated in its socket.
A replacement drive must be the same capacity or larger than the other drives in the
system.
Figure 3- 82
Figure 3-82 Inserting the Replacement Drive in the DSL100
 Loading...