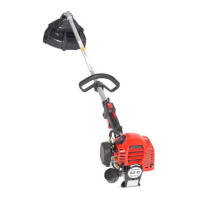
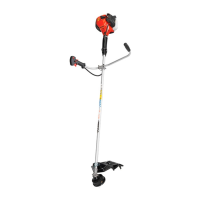
Installing the line knife
- The line knife (D/8) is attached to the guard with two
screws.
Note:
The line knife cuts bith trimmer line to the proper maximum
lengthafterlengthadjustment(see“lengtheningtheline”).
The trimmer is delivered with the line knife already installed.
GETTING STARTED
CAUTION: When doing any work on the trimmer, always switch off the motor, disconnect the power plug, and wear pro-
tective gloves!
CAUTION:
Do not start the trimmer until it has been fully assembled and inspected!
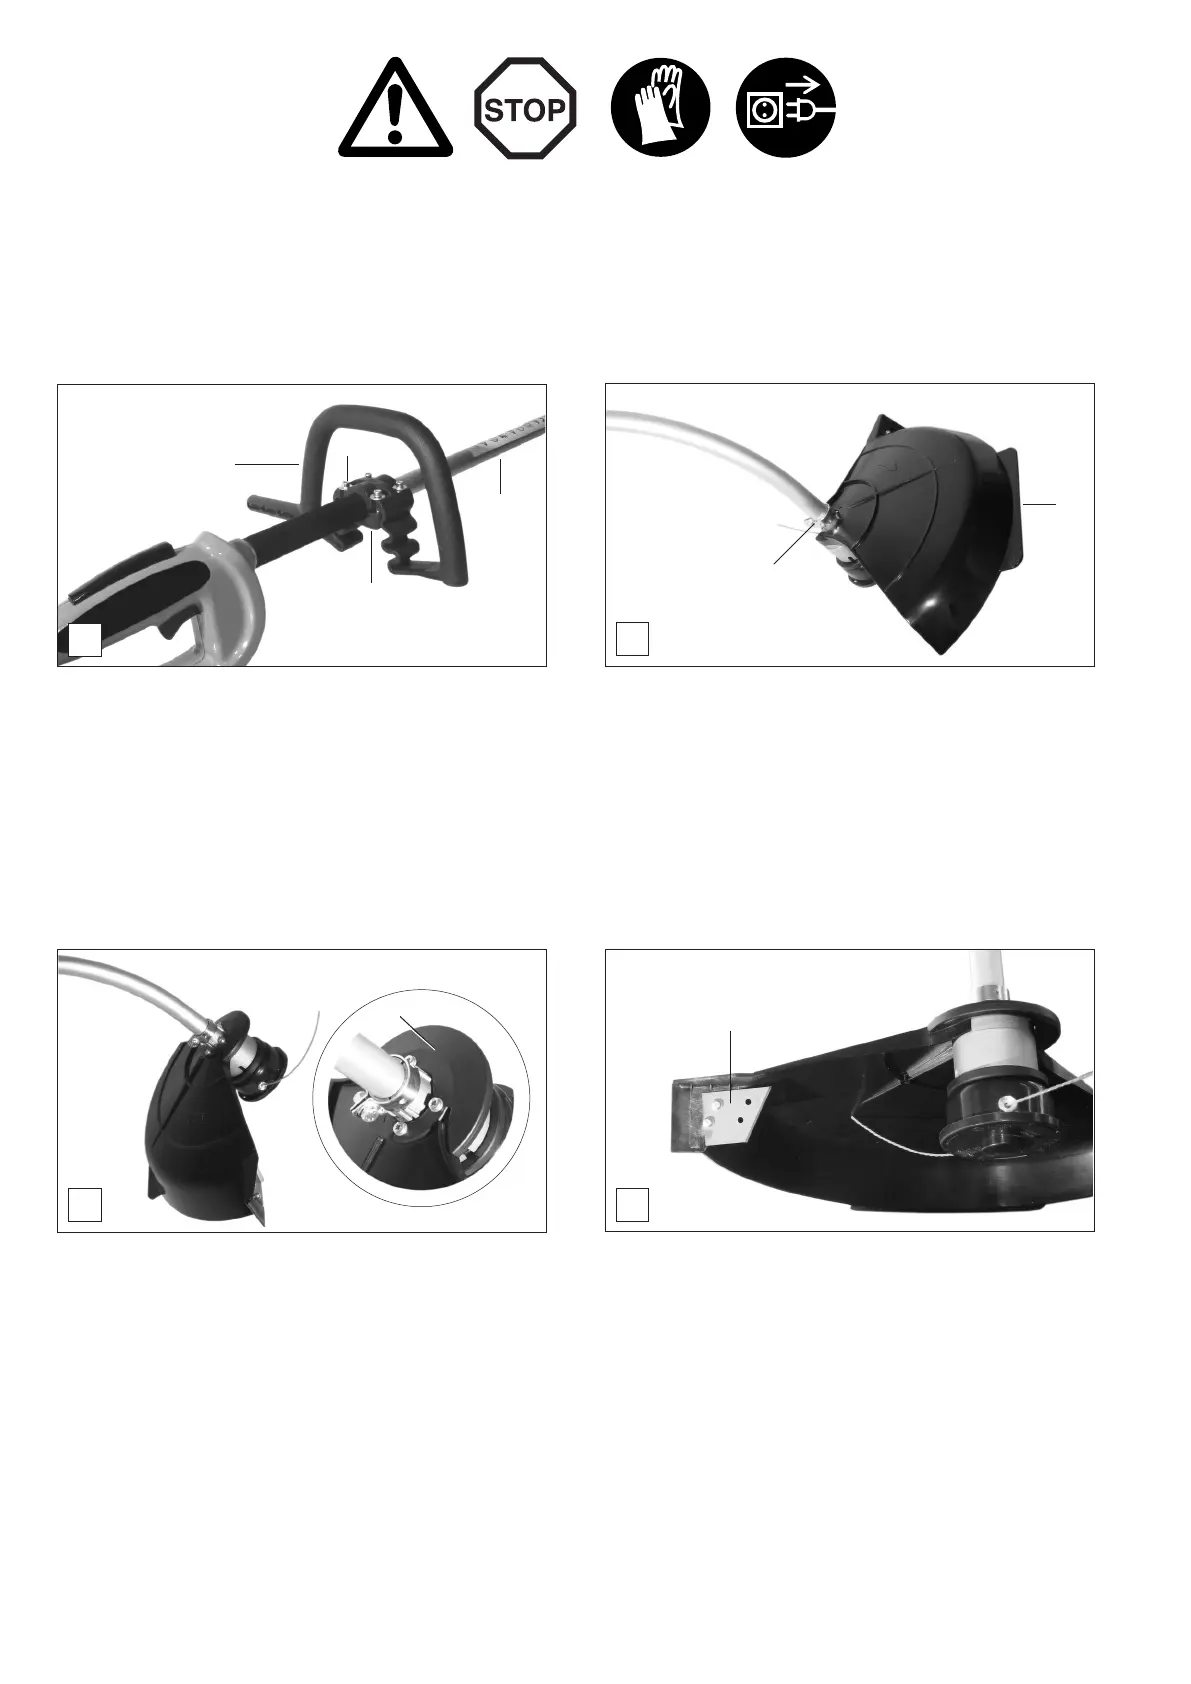
A
- Put grip (A/1) on shaft tube (A/2), Hold the mounting plate
(A/3) against it from below and secure it enough to hold
it in place with four screws (A/4). Do not yet tighten the
screws.
- Move the grip along the tube until it is in a position that allows
you to work with a comfortable posture.
- Tighten the screws (
A/4) evenly, alternating sides, until all
are tight.
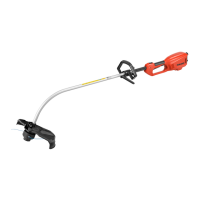
B
Installing the handle
- Put the guard (B/5) on the shaft tube above the clamp
(B/6) and then push it down towards the trimmer head as
far as it will go.
- Turn the guard 180 degrees (see Fig. C).
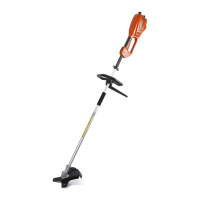
C
D
Installing the trimmer guard
- Put on the mounting plate (C/7) and secure with four screws.
Tighten the screws evenly, alternating sides, until all are
tight.
1
2
3
4
5
6
7
8