4
SPECIFICATIONS
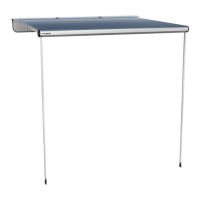
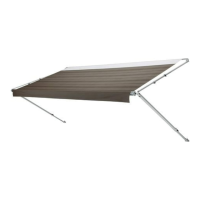
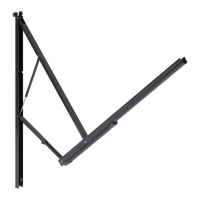
A. Hardware Dimensions (Back Channel)
Wiring harness location may be at top or bot-
tom depending on awning model.
FIG. 1
H
L
D
E
F
C
B
A
K
J
G
Bottom
Wiring
Harness
Hole
M
Top Wiring Harness Notch
8956(X)(X)1.4(X)0(#) 8956(X)(X)2.4(X)0(#) 8956(X)(X)3.4(X)0(#)
A
62-3/4″ 66-1/4″ 66-1/4″
B
62-1/8″ 65-5/8″ 65-5/8″
C
60-1/8″ 63-5/8″ 63-5/8″
D
60-3/4″ 64-1/4″ 64-1/4″
E
61-1/2″ 65″ 65″
F
31″ 32-7/8″ 32-7/8″
G
35-1/4″ N/A N/A
H
3/8″
J
1/4″
K
5/8″
L
3/4″
M
1-1/2″
B. Door Clearance
Minimum distances between awning rail and entry
door:
X
8956(X)(X)1.4(X)0(#) 12″
8956(X)(X)2.4(X)0(#) 7″
8956(X)(X)3.4(X)0(#) 6″
When entry door is toward center of awning,
add 2″ to minimum distances.
FIG. 2
Awning Rail
Entry Door
X
C. Measuring Tips
Consider doors, windows, lights, trim, slideout
room, etc. when determining the length and posi-
tion of the awning so as not to obstruct the opera-
tion or block any of these components.
 Loading...