8
Installation
3.0 Installation
Check during unpacking that the device is
defect-free.
Report transport damage to the transport
company immediately.
Check that the voltage noted on the model
label corresponds to the
mains voltage.
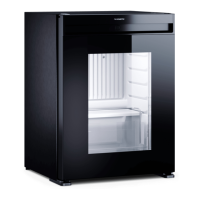
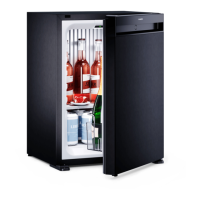
Depending on the model, the following parts can
be found in the miniBar:
3.1 Unpacking
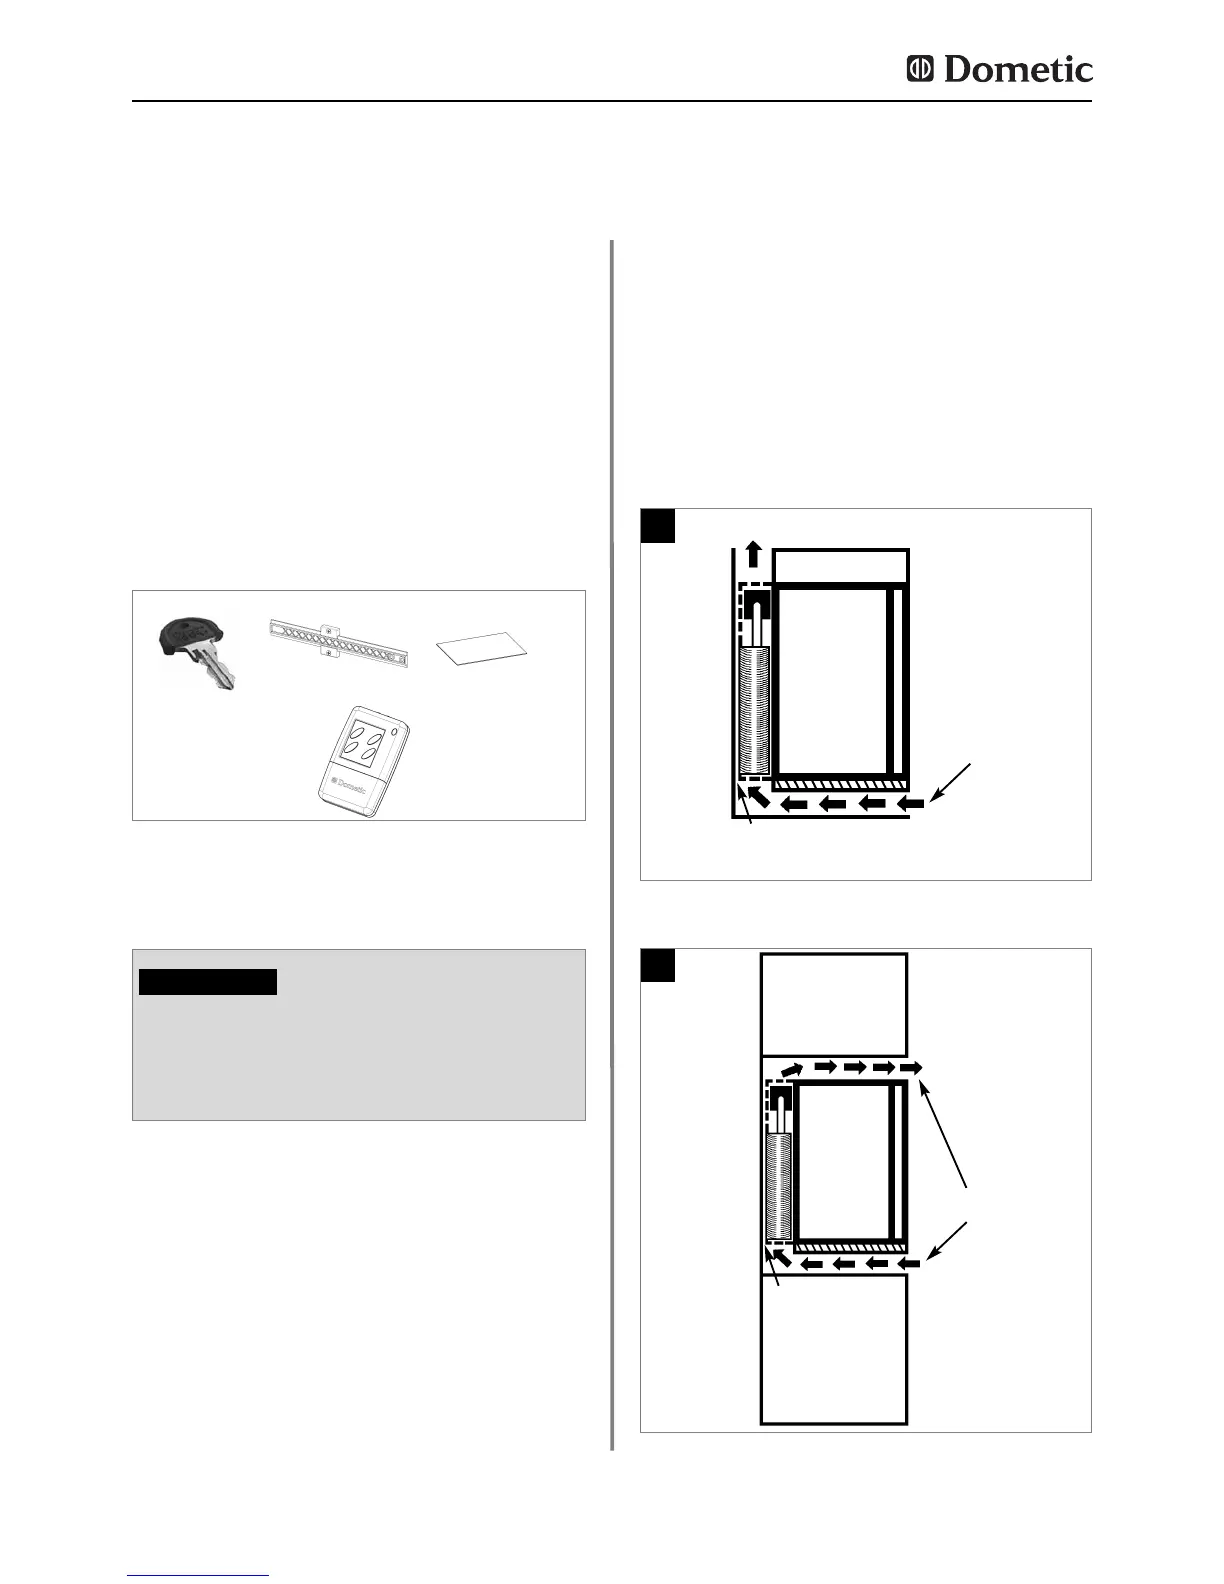
The miniBar must be level both
directions.
There should be 20mm clearance to the
wall.
Ventilation must be provided as shown in
alternatives 1, 2, 3 or 4.
Only the entire cooling unit must project
into the duct as shown
3.2 Installation
2x
sliding hinge
Special equipment
IR-transmitter
reflector
Please follow the installation details below
carefully. Guarantee is valid for products
installed as described only.
CAUTION!
Air passing through the duct must not be
preheated by any source of heat.
Ventilation grills, if used, must have ope-
nings of at least 200cm² each.
Fig. 1
Fig. 2
Fig. 3
1
2
200 cm²
20 mm
200 cm²
20 mm
 Loading...