9
Installation
The mains plug/socket must be freely
accessible once the miniBar has been
installed.
CAUTION!
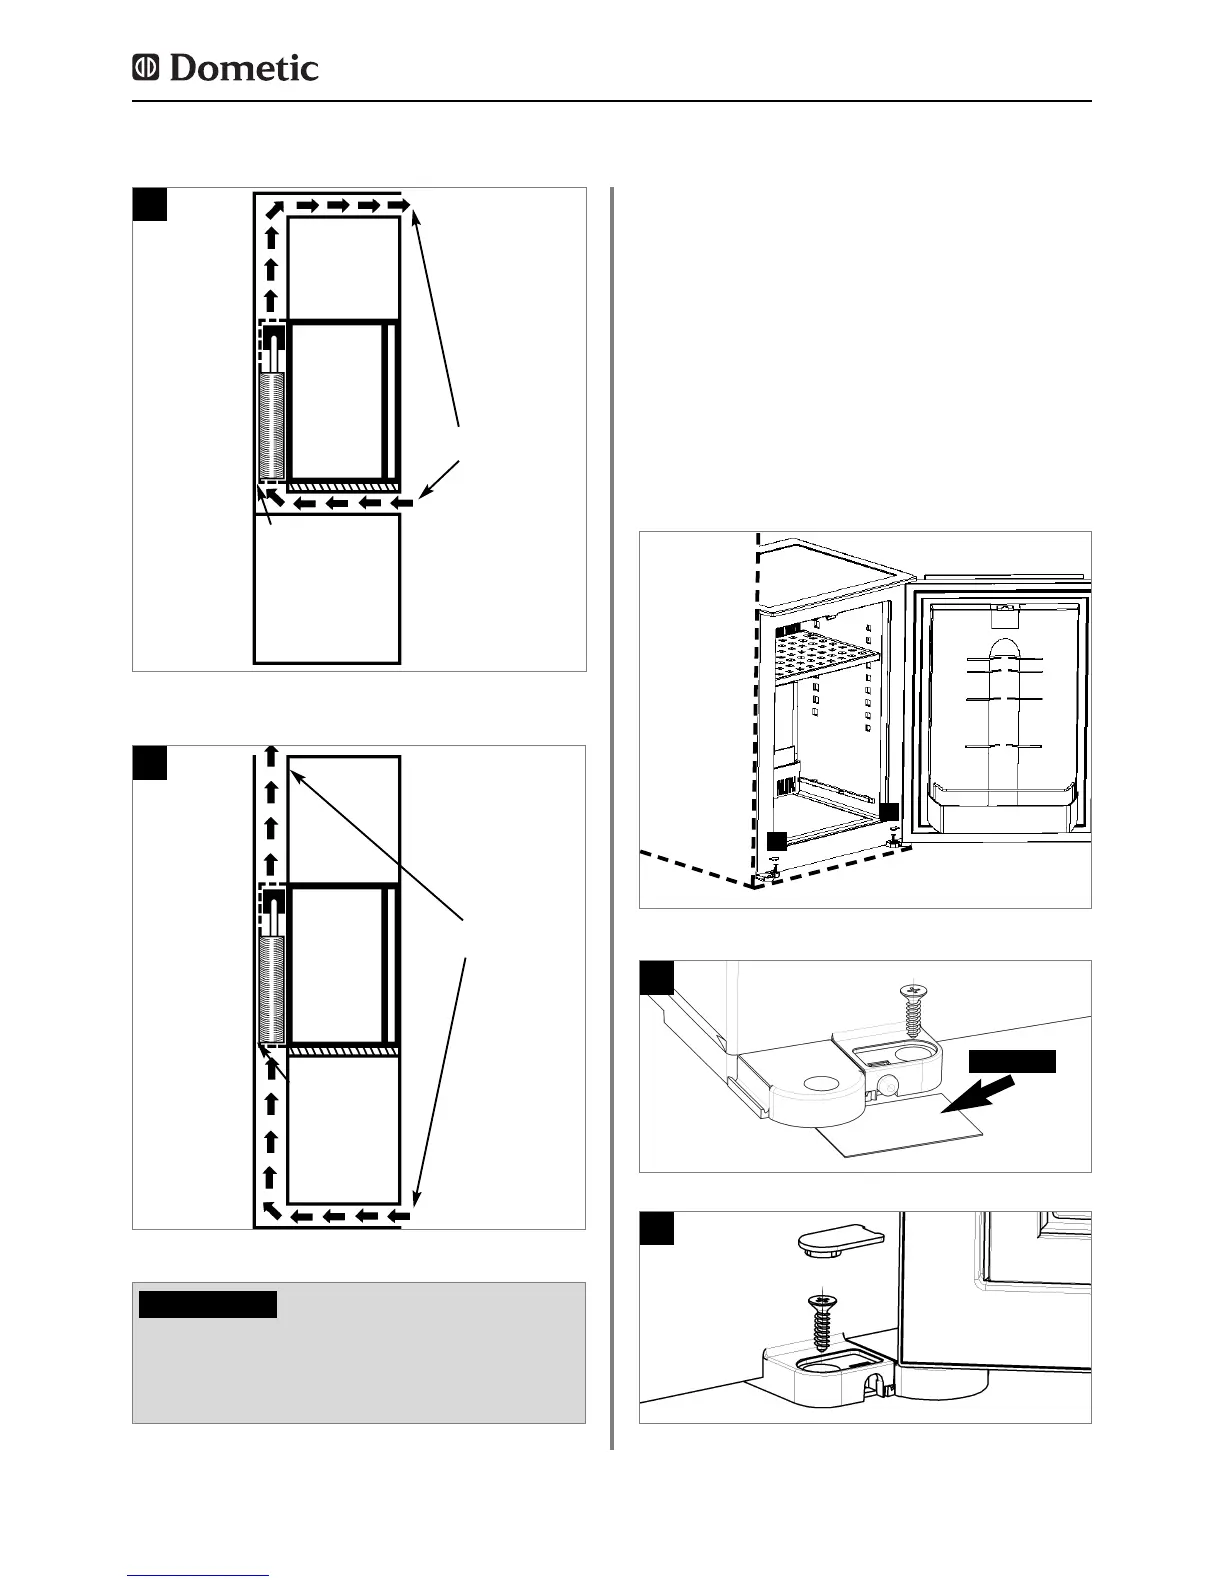
Fig. 4
3
200 cm²
20 mm
Fig. 5
4
200 cm²
20 mm
When being built into a cupboard or a recess, the
miniBar must be positioned in such a manner that
both hinges/feet of the unit lie flush.
The miniBar is then (see Figures a, b) screwed, at
its hinges, to the piece of furniture in question.
In the case of units with 8mm feet and with LED
option for the door opening control, the reflector
delivered with the unit must also be installed in
the manner shown in Figure 6.
3.3 Securing
Fig. 8
Fig. 6
a
b
b
Fig. 7
a
reflector
Stick on supplied reflector.
Drive in the screws and place the caps on.
 Loading...