2112-065-G-12-21
6
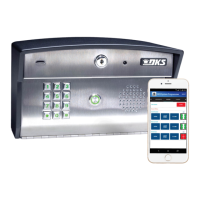
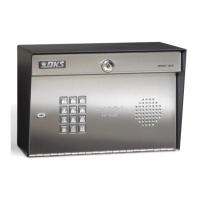
2112 Surface Mount Configurations
Surface mount model can be mounted directly to a wall,
pilaster or post mounted using a DoorKing mounting post
(there are several different styles available). Be sure it is
securely mounted and is not subject to continuous vibration
from closing doors or gates.
Use existing 4 holes in cabinet box to
bolt the surface mount model on a
DoorKing mounting post. Use the
hardware that is supplied with the
mounting post.
Note: A gooseneck mounting
post anchored in concrete
does NOT make a good
ground.
Add washers on
bottom to angle the
unit upward (see Tip).
Mount on a Mounting Post
Mount Directly to a Wall or Pilaster
Conduit
(Shown inside wall)
Plastic screw anchors for
masonry if required.
(Not supplied)
Note: Run ALL wires that
will be needed during the
cabinet installation, see
section 2.
IMPORTANT Choose how your
2112 will function (Internet or
Cellular connection, see
sections 1.1 and 1.2).
TIP: The mounting height of the 2112 will determine the
field-of-view of the video lens. High profile vehicles may
present a problem when viewing the person inside the vehicle
if the video lens is mounted too low. the unit can be mounted
at an upward angle to better view a person in a high profile
vehicle. Keep this in mind when you are determining the
mounting height of the unit.
WARNING! If this entry system is used to control a
vehicular gate with an automatic gate operator, the entry
system must be mounted a minimum of six (6) feet away
from the gate and gate operator, or in such a way that a
person cannot operate the entry system and touch the
gate or gate operator at the same time.
Use the 4 existing holes in the
cabinet box. Run conduit inside or
outside of wall or pilaster if desired.
Use appropriate hardware to mount
the cabinet (Not supplied).
Be sure that the mounting hardware
does not protrude into the cabinet
where it could cause a short.