+
+
8. Once the cut settings are properly set, select “COPY MODE” ON if you desire a preset
quantity of copies or OFF
9. Set the black-mark size” in “BLACK-MARK MODE” area.
10. Press “START”.
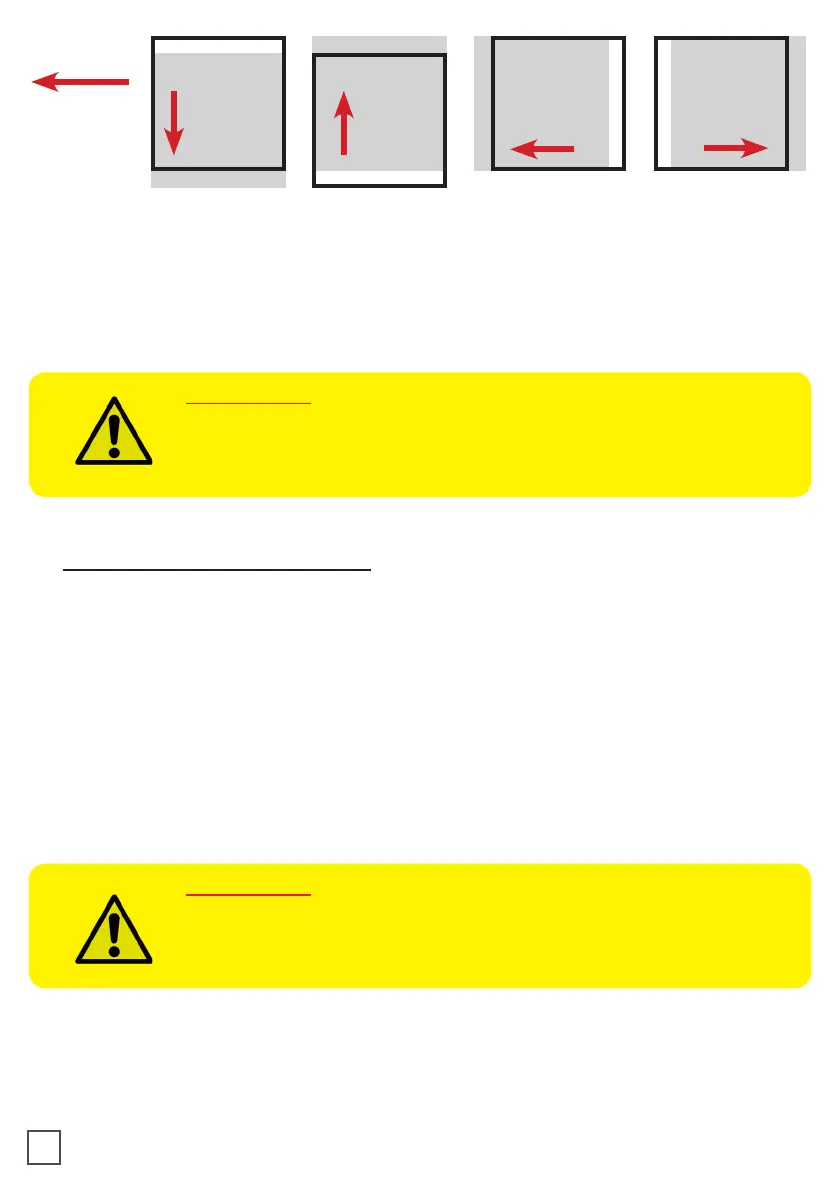
IMPORTANT:
Whenever you lower and rise the lever while you are in black-mark
mode, hold down the forward media arrow button to move again the
plotter’s head down.
>> How to run the blank mode
2. Set the copy mode ON, and set 2 as number of copies.
3. Click “START”.
4. Check the horizontal position and the gap between the cuts.
6. Once the cut is set properly, select copy mode: ON if you desire a preset quantity of
copies, or OFF to cut until the media roll is empty.
7. Working with SCR22 or SCR35 models, please open Advanced button, click on Settings
and uncheck Media/Lamination Sensor option, then save and close the pop up.
8. Click “START”.
IMPORTANT:
Working with SCR22 or SCR35 models, please open “ADVANCED
BUTTON”, click on Settings and uncheck Media/Lamination Sensor
option, then save and close the pop up.
11