Preparation
Assembly of non-rebreathing valve:
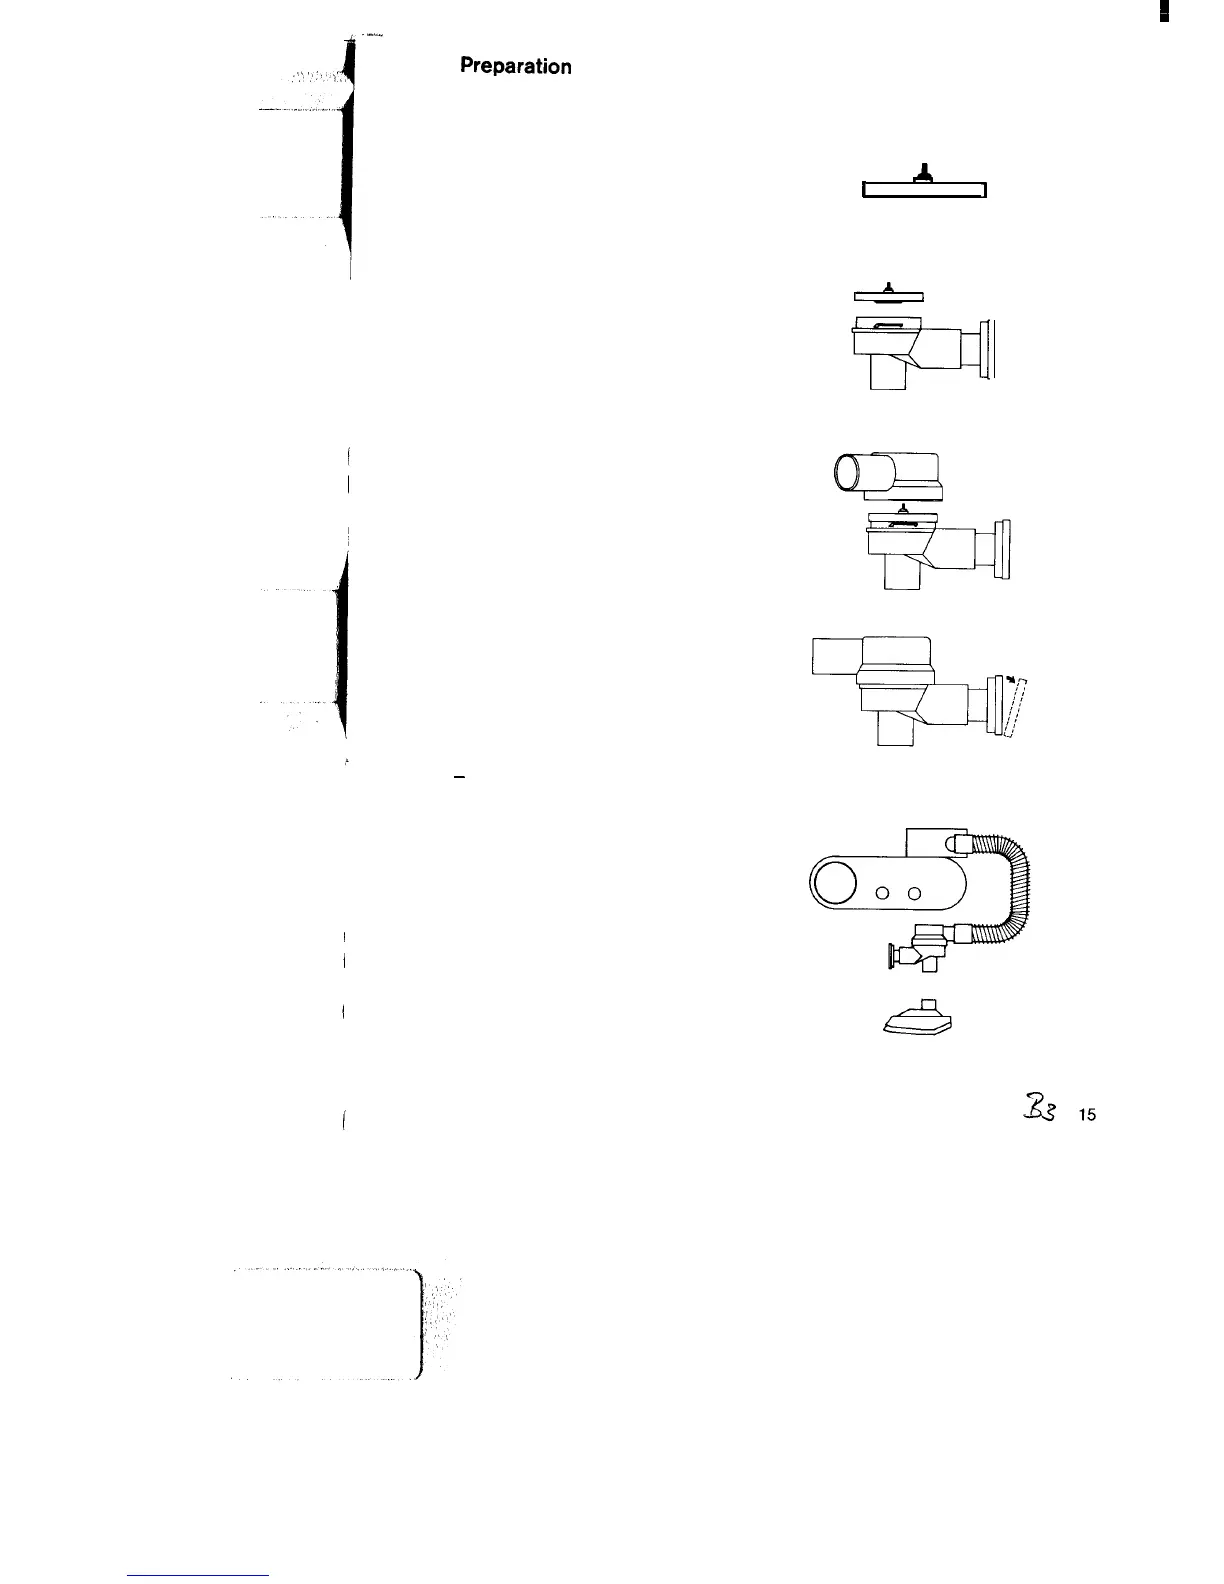
Make sure that the red check valve is
fitted in the diaphragm and makes
even contact with the diaphragm.
Fit the diaphragm into the valve hous-
ing so that the disc of the check valve
points towards the housing.
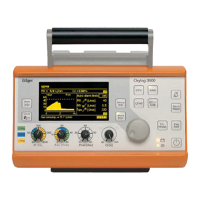
The bulge of the diaphragm makes
even contact with the edge of the
housing.
Fit the cover by applying slight
pressure and turn clockwise by about
45”.
Make sure that the diaphragm sits
smoothly in the housing.
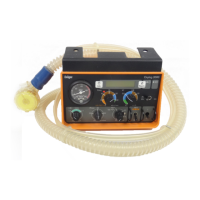
Pull the perforated cap at the outlet
over the edge and take it off to check
whether the rubber ring makes even
contact with the outlet.
Replace the cap by applying slight
pressure
-
until it rests in place.
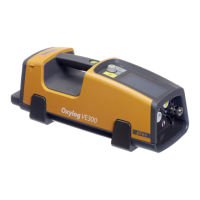
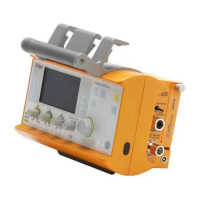
Assembly of the Oxylog:
Connect Oxylog and non-rebreathing
valve with the ventilation hose.
Attach Oxylog to gas supply.
I
A
1