22 Dräger PSS BG 4 plus
Maintenance
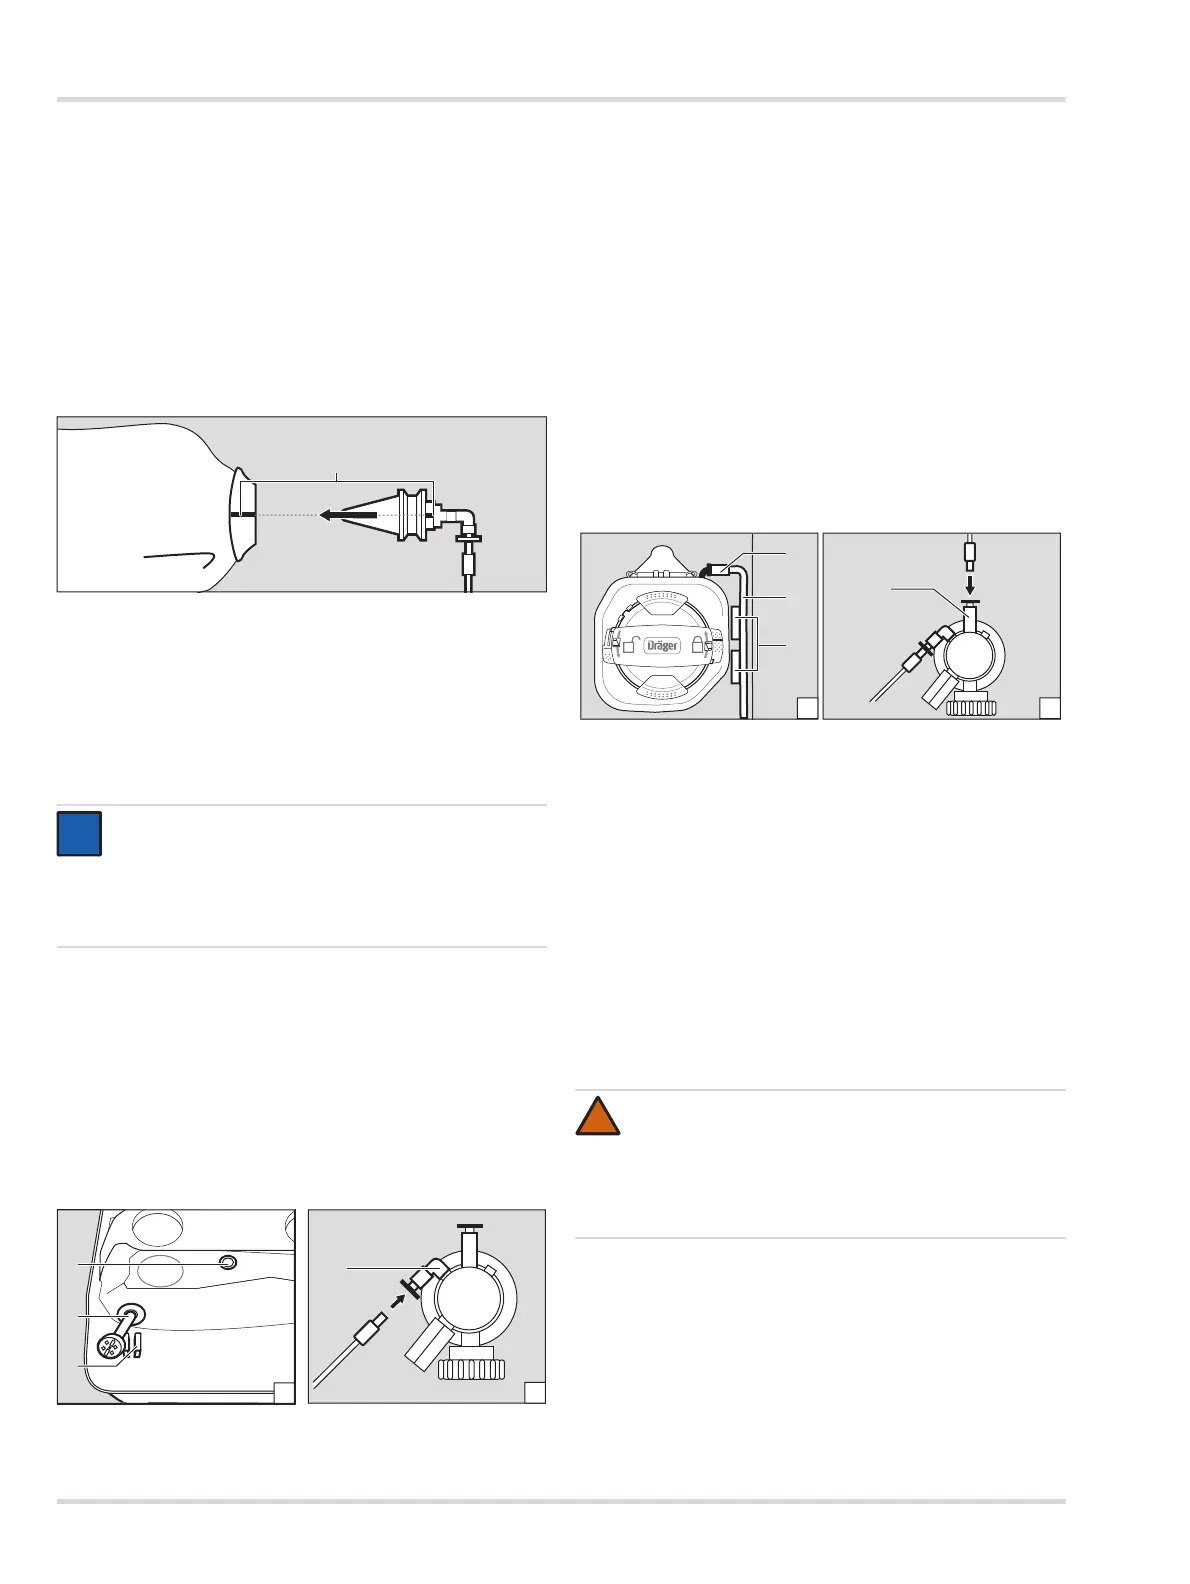
4.4.3 Fitting the minimum valve
1. Open the toggle valve against the spring pressure and
check if the minimum valve is dry.
If necessary, use compressed air acc. to CGA G7.1
Grade D or better to carefully blow-dry.
2. Insert the metal plug of the yellow medium-pressure hose
into the minimum valve. The plug must engage into place.
Pull gently on the plug to check that the medium-pressure
hose fits securely.
3. Attach the minimum valve to the breathing bag, so that the
pin of the minimum valve and the marking of the breathing
bag line up (1).
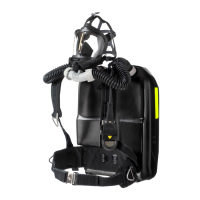
4.4.4 Fitting the breathing bag
1. Attach the pressure plate to the breathing bag, if necessary.
Note the preferred orientation; the button securing the
lever (A-1) must point upwards.
2. Slide the breathing bag into the closed-circuit breathing
apparatus.
3. Insert medium-pressure hose and minimum valve
connector through the hole in the spring holder. Ensure that
the pin on the minimum valve slips into the cut-out on the
spring holder.
4. Fasten the minimum valve to the spring holder using the
locking catch. Carefully pull the breathing bag inwards to
check if the minimum valve fits correctly.
5. Insert the medium-pressure hose of the pressure reducer
(B-4). It must engage into place. Gently pull the plug to
check if the medium-pressure hose fits correctly.
6. Press the drain valve (A-2) into the clamps on the carrying
frame (A-3).
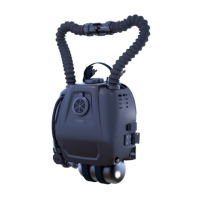
4.4.5 Fitting the breathing air cooler
1. Position the breathing air cooler onto the two metal pins
and fasten with the tensioning bar.
2. Attach the sleeve of the breathing bag onto the breathing
air cooler grommet.
4.4.6 Connecting the hose of the constant metering valve
1. Guide one metal plug of the blue medium pressure hose
under the stem of the spring carrier.
2. Insert the metal plug into the breathing air cooler (A-1).
It must engage into place.
3. Fix the medium-pressure hose (A-2) into the clamps next
to the breathing air cooler (A-3).
4. Insert the other plug on the blue medium-pressure hose
into the pressure reducer (B-4). It must engage into place.
Pull gently on the plugs to check that the medium-pressure
hose is sitting securely.
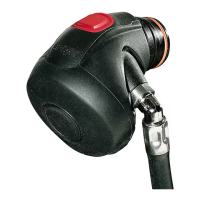
4.4.7 Fitting the switch box
Ensure that the cables are not twisted. Slide the switch box
into the mount until it engages.
4.4.8 Fitting the CO
2
absorber
Refillable cartridges may only be filled shortly before they
are fitted into the closed-circuit breathing apparatus.. Take
the corresponding instructions for use into account.
Check the following points when using a disposable
cartridge:
The aluminium bag is completely sealed and
undamaged,
The use-by date on the label has not yet expired.
1. Unpack the CO
2
absorber if necessary.
2. Insert the CO
2
absorber into the carrying frame and fasten
to the tensioning bar (5).
3. Attach the breathing bag sleeve onto the CO
2
absorber
connecting piece (6).
NOTICE
Ensure that the toggle on the minimum valve is
positioned underneath the pressure plate. To ensure
the functional capability of the apparatus, the pressure
plate to be inserted between the toggle and the
housing of the minimum valve.
1
WARNING
Do not use a CO
2
absorber that does not conform to
these requirements as the functional capability of the
CO
2
absorber would no longer be guaranteed.
Failure to follow this warning could lead to death or
serious injury.
!
Draeger Training 11/16 rev 1