Maintenance
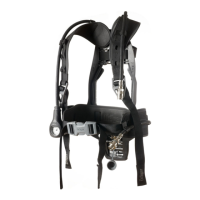
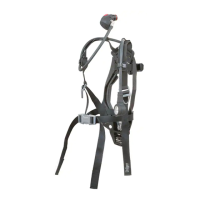
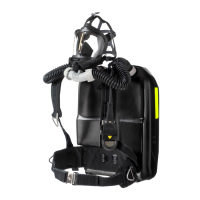
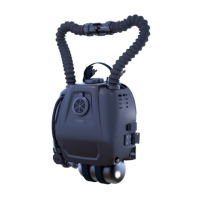
Dräger PSS BG 4 plus 23
4. Fit the lever:
a. Observe preferred position: Insert the lever into the
device so that the long end of the lever is pointing
upwards. Curve side over breathing bag.
b. Press the lever on both attachment points. Each safety
knob must engage.
5. Press the pressure relief valve (7) from behind
into the two
slots in the spring holder.
6. Apply Molykote 111 thinly onto the O-ring of the angled
grommet (4).
7. Slide the angled grommet into the CO
2
absorber. The
clamps must engage.
8. Insert the control line (2) into the silicone hose (1) and the
switch box (3). The plugs must engage. Pull gently on the
plugs to check that the medium-pressure hose is sitting
securely.
9. Label the CO
2
absorber: Mark installation date permanently
and clearly on the housing.
10. Fit the two springs between the pressure plate on the
breathing bag and the spring holder.
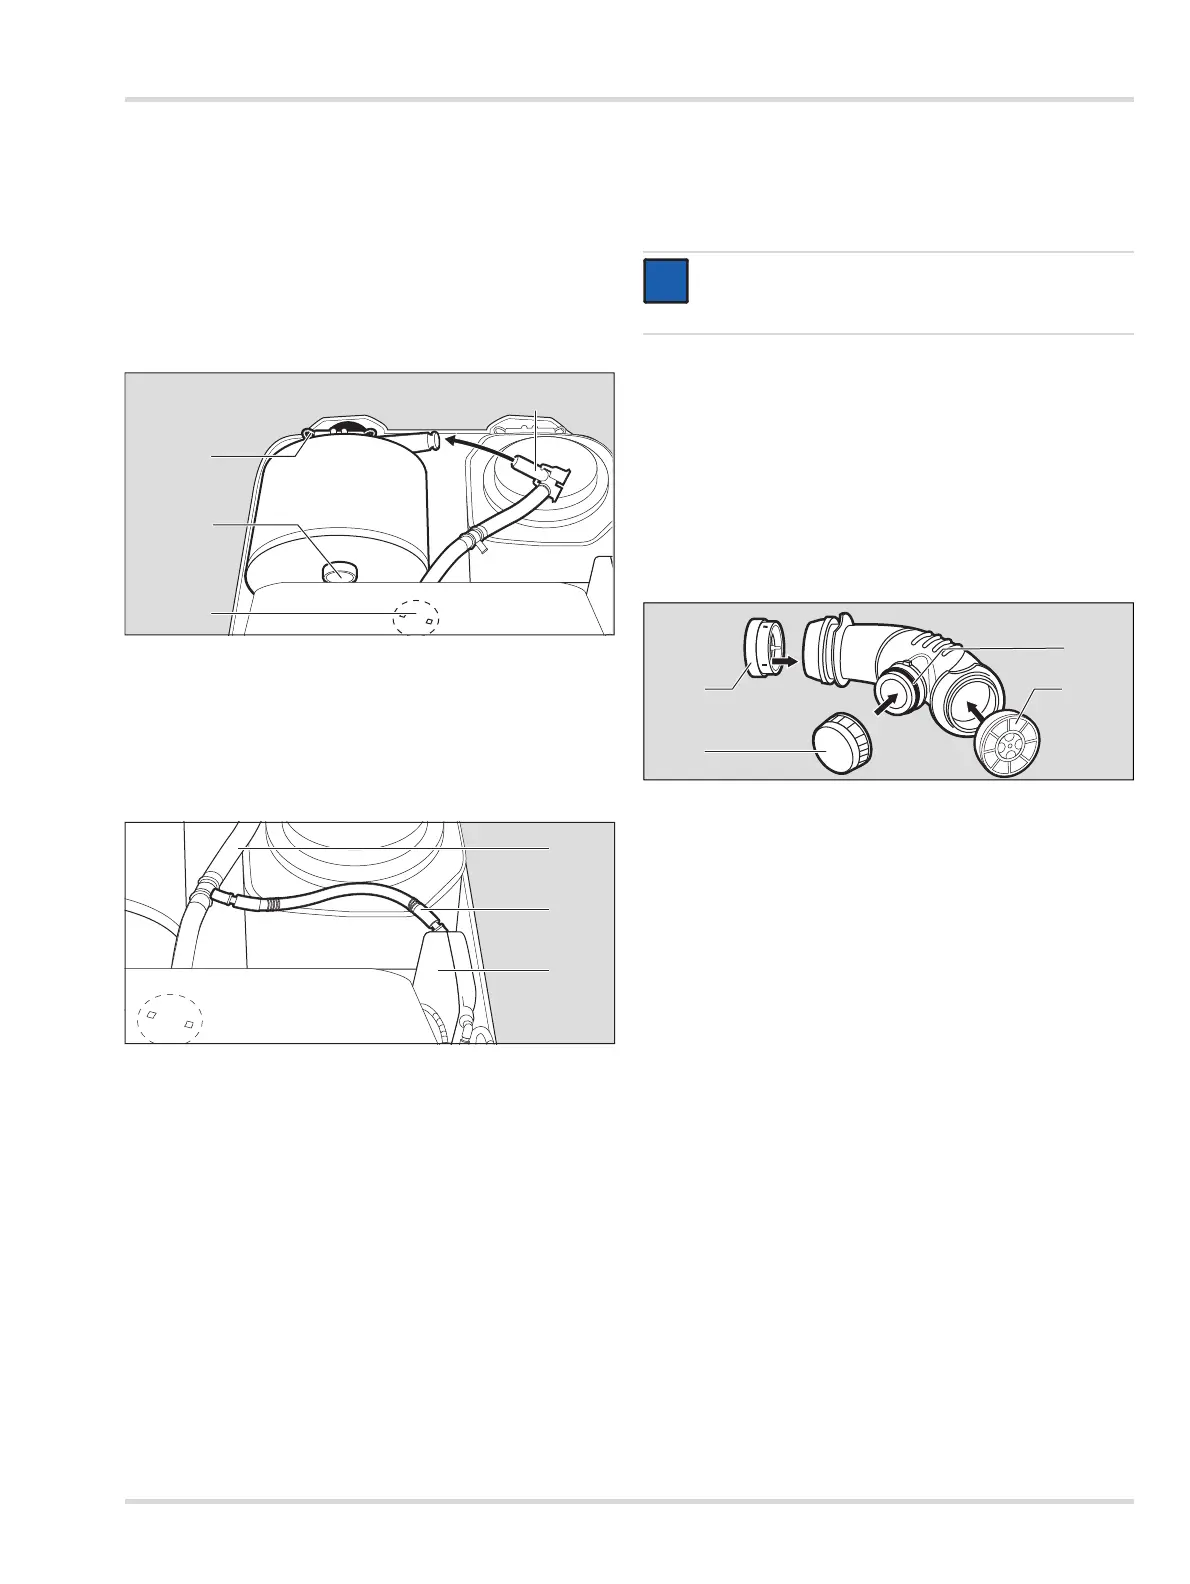
4.4.9 Assembling the connecting piece
1. Fit valve disks into the inhalation and exhalation valves.
Insert the plug on the valve disk into the central hole and
pull it until under-cut becomes visible.
2. Insert both valves (1) into the connecting piece. They have
different diameters and therefore cannot be confused.
The flow direction is marked with an arrow.
3. Examine the O-ring (3).
It must be clean and undamaged, otherwise it must be
replaced. Apply a thin coating of Molykote 111.
4. Fit the sealing cap (2).
5. If the closed-circuit breathing apparatus has a connecting
piece with condensate trap, grease the O-ring on the
sealing plug with Molykote 111. Seal the connecting piece
with the sealing screw.
NOTICE
The valve disks must have uniform contact on all sides
so that it can correctly control the breathing circuit.
i
i
Draeger Training 11/16 rev 1