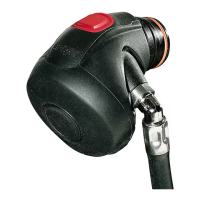
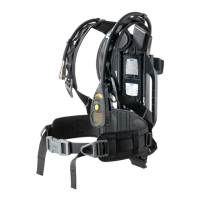
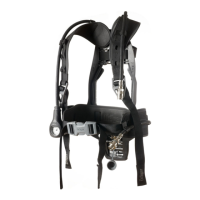
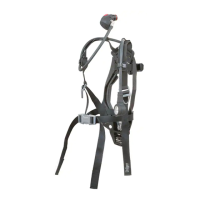
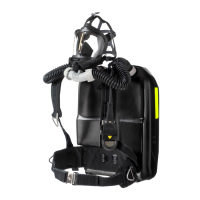
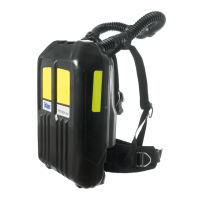
Maintenance
Dräger PSS BG 4 plus 27
4.5.6 Performing the leak test with positive pressure
1. Set the selector switch on the test unit to .
2.
3.
4.5.7 Checking the relief valve
1. Set the selector switch on the test unit to and
remove the protective cap.
2. Set the selector switch on the test unit to .
3. Pump until flow noises can be heard at the relief valve,
reading the value on the display.
The pressure relief valve must open between
+2 mbar and+5 mbar.
4.5.8 Performing the high pressure leak test (optional)
1. Set the selector switch on the test unit to .
2. Open cylinder valve.
3. Note the cylinder pressure displayed on the Sentinel.
If the cylinder pressure is less than 2600 psi/180 bar, the
high pressure leak test cannot be performed. In this
case, the compressed oxygen cylinder must be filled.
If the cylinder pressure is greater than 2600 psi/180 bar,
the
"Close cylinder valve" symbol appears on the Sentinel
display. The alarm tone sounds twice.
4. Close cylinder valve.
On the Sentinel display, the bar chart runs from left to right.
The "Remaining period of use" symbol appears on the
Sentinel display. A single alarm tone sounds. The bar
chart runs once again from left to right.
The result of the test is output after approx. 15 seconds.
The following results may occur:
4.5.9 Checking constant metering valve and bypass
valve
1. Set the selector switch on the test unit to until the
protective cap fits over the pressure relief valve tappet.
2.
3.
Set the selector switch on the test unit to .
Put the open side of the protective cap over the pressure
relief valve tappet and hold. Pump until the protective cap
is secured by the filled breathing bag.
4. Open cylinder valve.
5. Briefly press the red Bypass button.
Oxygen must be heard to flow into the circuit (flow noise).
6. Pump until at least +10 mbar are reached.
7. Set the selector switch on the test unit to l/min.
After a short settling time, the flow must be between
1.5 and 1.9 l/min
1
.
4.5.10 Checking the minimum valve
1. Set the selector switch on the test unit to and
remove the protective cap over relief valve. The breathing
bag should be deflating. (Negative pumping can speed up
the process)
2. Wait until flow noises can be heard from the minimum valve.
The opening pressure must be between
+0.1 mbar and +2.5 mbar.
Put the selector switch to the closed position.
NOTICE
The low-pressure warning generated by the Sentinel
during this test is irrelevant here.
NOTICE
The low-pressure warning generated by the Sentinel
during this test is irrelevant here.
Reduce the pressure on the test unit using the venting
switch to approx. 7+0.5 mbar and wait until the pressure
has settled.
Press the
OK
button briefly to start the timer. (1 minute)
If the timer has elapsed, the pressure difference is
displayed. This is not permitted to be greater than 1 mbar.
Result next steps
An error has occurred.
The "X" symbol appears on
the Sentinel display.
The alarm sounds four times.
Do not use the closed-circuit
breathing apparatus.
Check once again that the
closed-circuit breathing
apparatus is functioning
correctly or have the
device serviced by Dräger
or trained experts.
The closed-circuit breathing
apparatus is OK.
The "Open cylinder valve"
symbol appears on the
Sentinel display. The alarm
tone sounds twice.
Open cylinder valve.
1 Only applies at a cylinder pressure of 2600 psi to 2900 psi/
180 bar to 200 bar.
Draeger Training 11/16 rev 1
 Loading...