For more information call 01933 672180 email: info@fullsupportgroup.com
www.fullsupportgroup.com
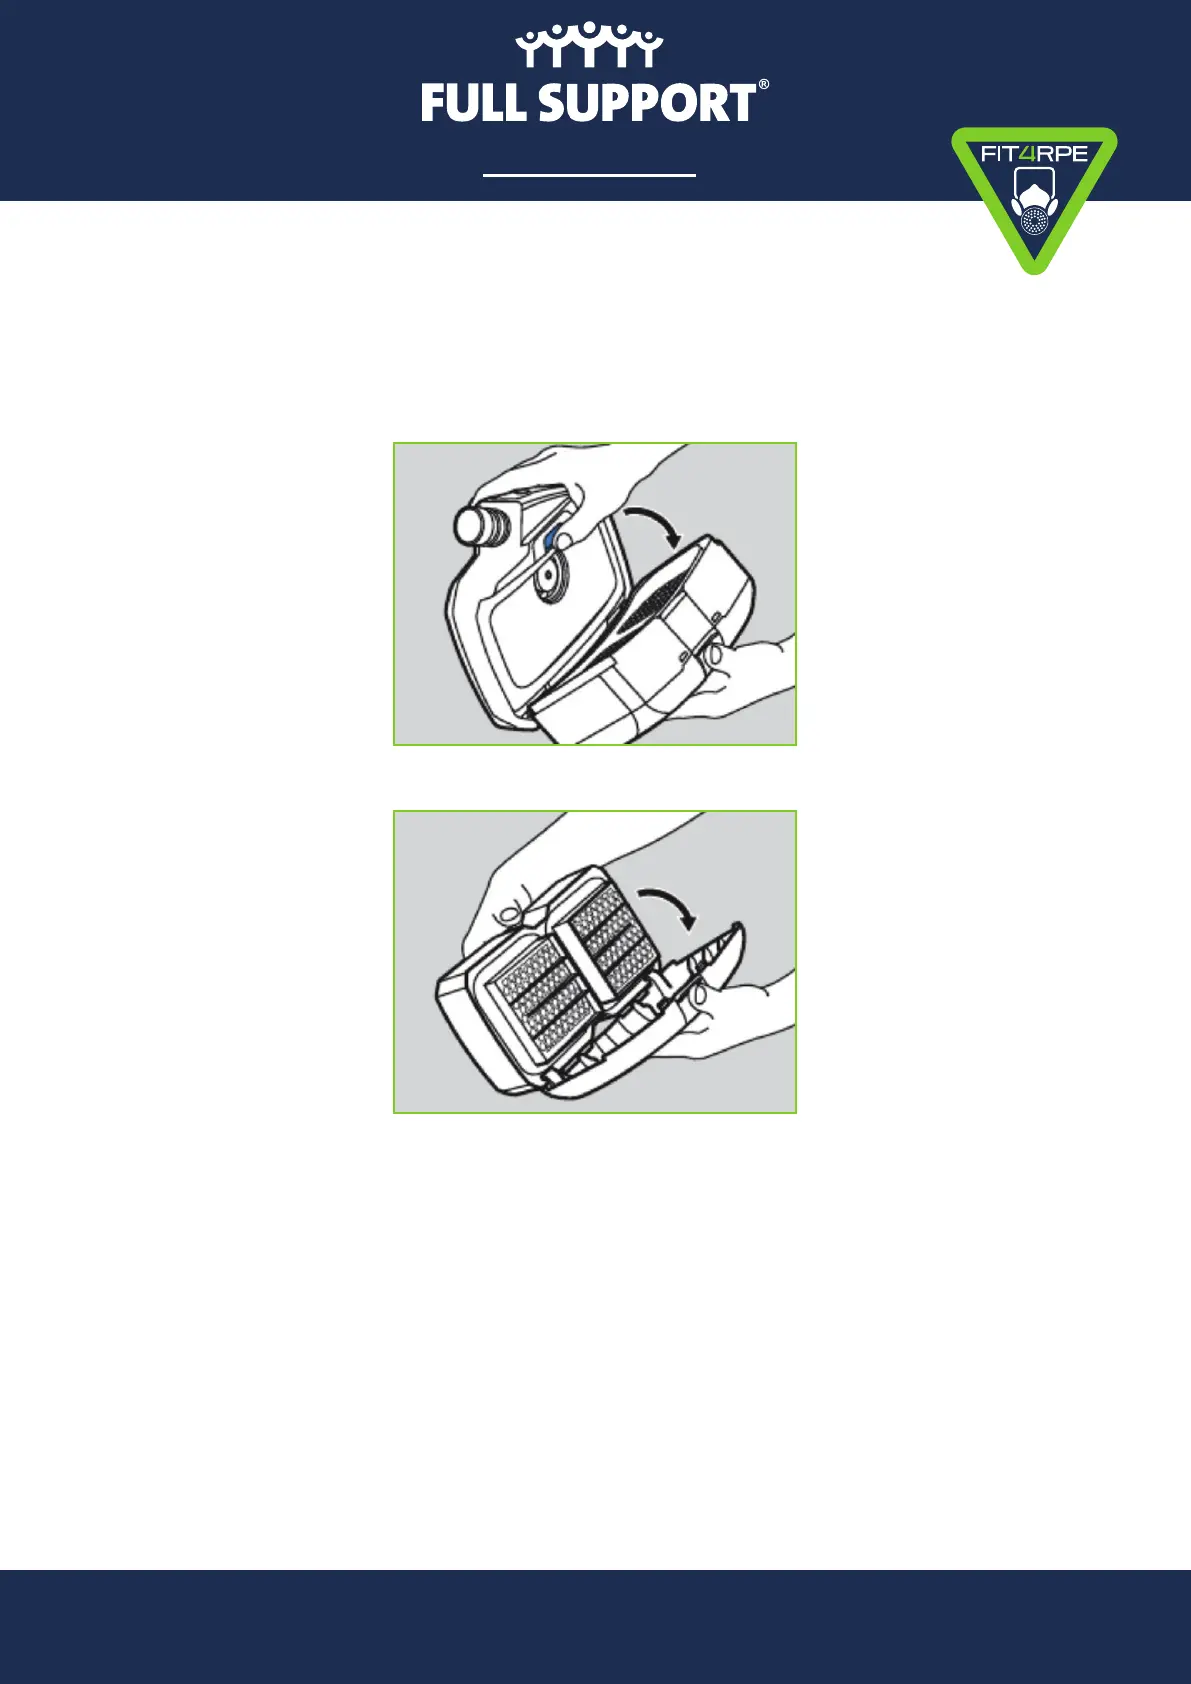
Replace the lter
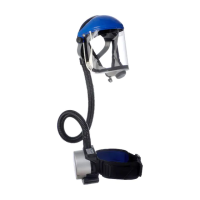
Remove all packaging and blue plastic guard pieces from the new lter. Remove the used
lter and splash guard by pushing the blue lter locking tab in and folding outwards (Fig 4).
For Particle lters: Gently pry the splash guard from the old lter. Inspect the new lter’s rubber
seal for damage and click the splash guard into place. Lock the clips of the lter with splash guard
into the bottom of the blower unit and fold together until you hear an audible snap (Fig 5).
For Gas lters: Unclip the splash guard from the old lter by pushing down on the indent in the
top-middle of the guard and fold outwards (Fig 5). Inspect the new lter’s rubber seal for damage.
Locate the coloured dot on the bottom middle of the front-face of the lter, indicating the lter’s
orientation. Slide the bottom clips of the splash guard into the bottom of the lter and fold
together (Fig 5). Lock the clips of the lter with splash guard into the bottom of the blower
unit and fold together until you hear an audible snap (Fig 4).
Fig. 4 Removing and attaching a
lter from the blower unit
Fig. 5 Removing and attaching the
splash guard onto a gas lter
Dräger X-Plore
®
8000 Cleaning
and Maintenance Guide (continued)
THE RPE EXPERTS
 Loading...