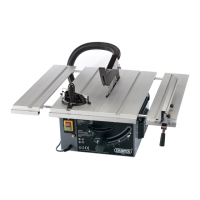
- TILTING THE TABLE (Fig.13.):
Using the bevel indicator 0 as a guide the angle of
the table can be adjusted between 0º and 45º. To tilt,
loosen the locking knob 1. When set, secure using
the locking knob 1.
- NOTE: When greater accuracy is required, make
practice cuts and adjust the table as necessary.
FIG.13
1
2
2
0
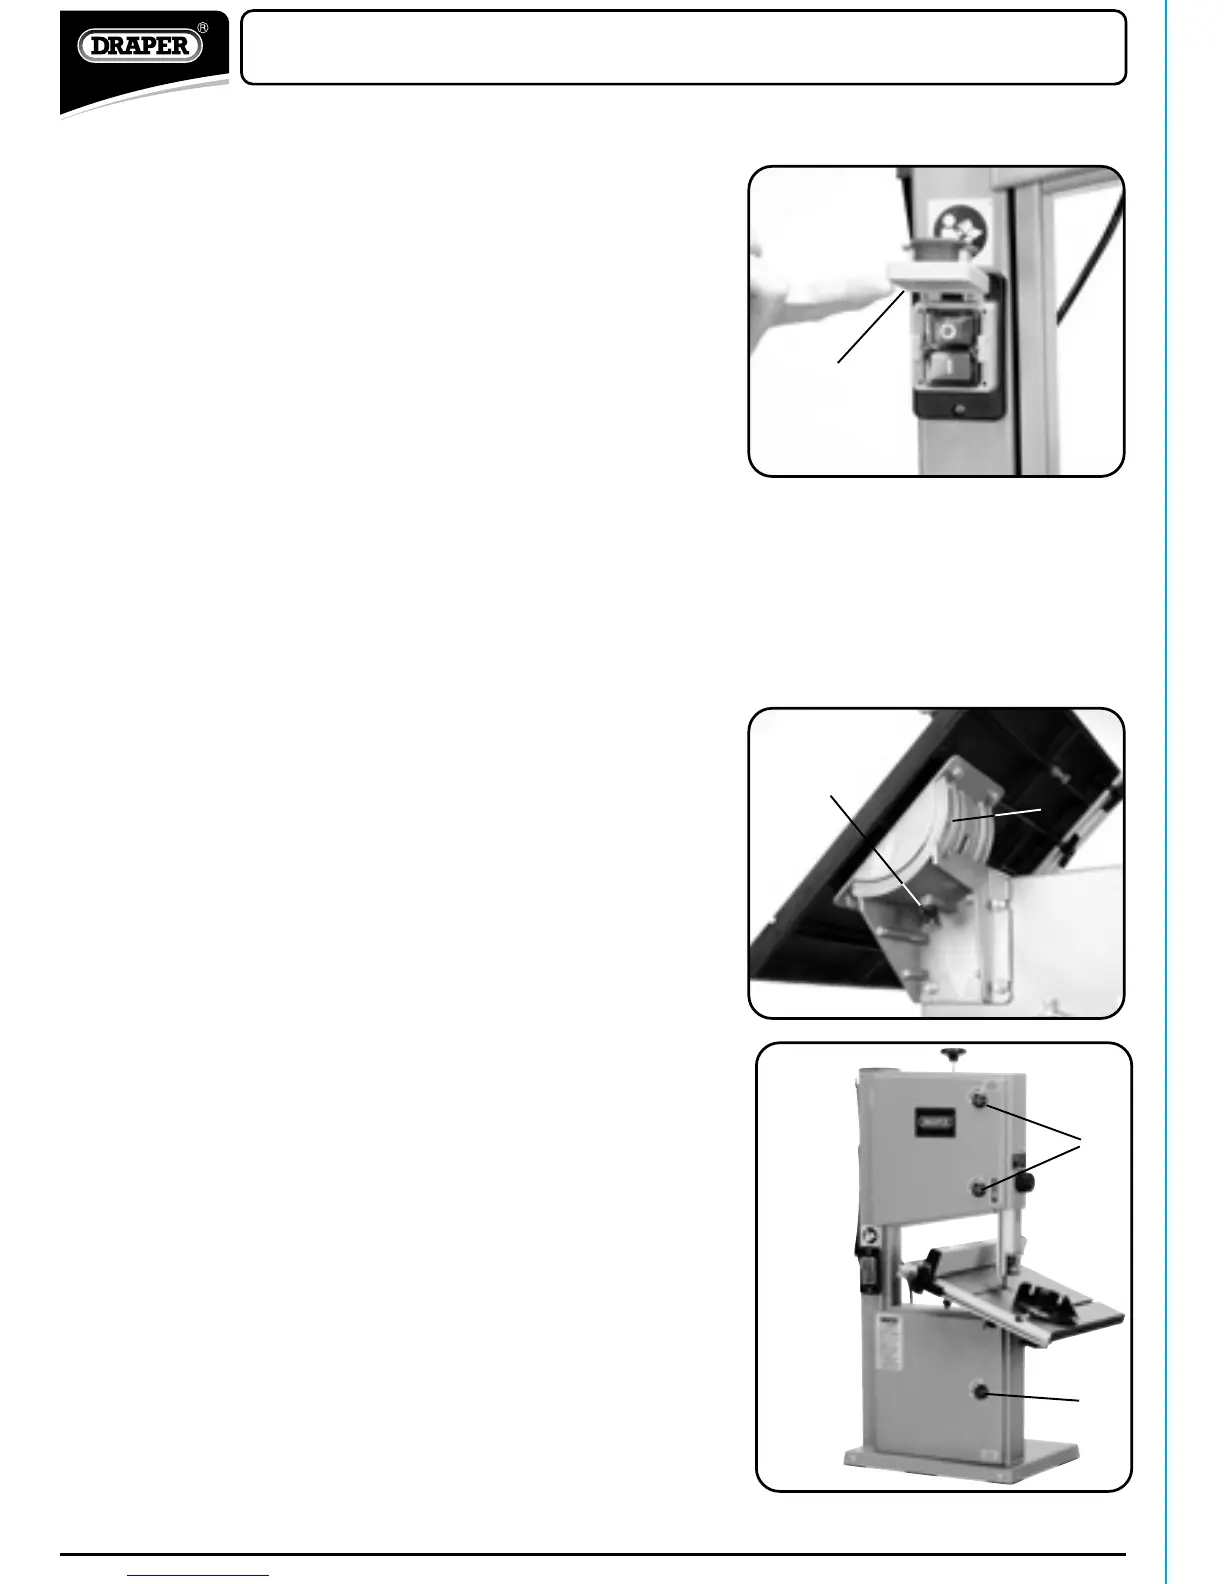
- NO-VOLT ON/OFF SWITCH (Fig.12.):
The bandsaw is fitted with a no-volt switch with an
emergency shut-off cover /.
In the event of an emergency, closing the cover firmly
will cause the stop button to be triggered, stopping the
machine. To re-open the cover, the red button requires
sliding up which in turn will release the stop button.
In the event of a power failure the bandsaw will have to
be manually re-started.
To switch the bandsaw on, lift up the sprung cover and
push the green button marked ‘I’.
To switch the bandsaw off, lift up the sprung cover and
push the red button marked ‘0’.
To switch the bandsaw off in an emergency strike the
cover firmly which will trigger the ‘0’ button.
- NOTE: Cover must never be latched in the up
position. Regular inspection/cleaning should be
carried out to prevent any build up of sawdust, etc.
OPERATION AND USE
FIG.12
/
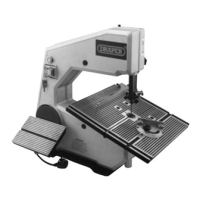
- UPPER AND LOWER GUARDS (Fig.14.):
To open the guard insert screwdriver in to slot 2 and
rotate the latch as indicated on label until the door is
released.
To lock the guard insert screwdriver back in to slot and
rotate the latch in the opposite direction as indicated on
label.
WARNING: The bandsaw will operate with the door
open. As a safety measure close the emergency cover
over the no-volt switch and remove the plug from the
source.
FIG.14
- 12 -