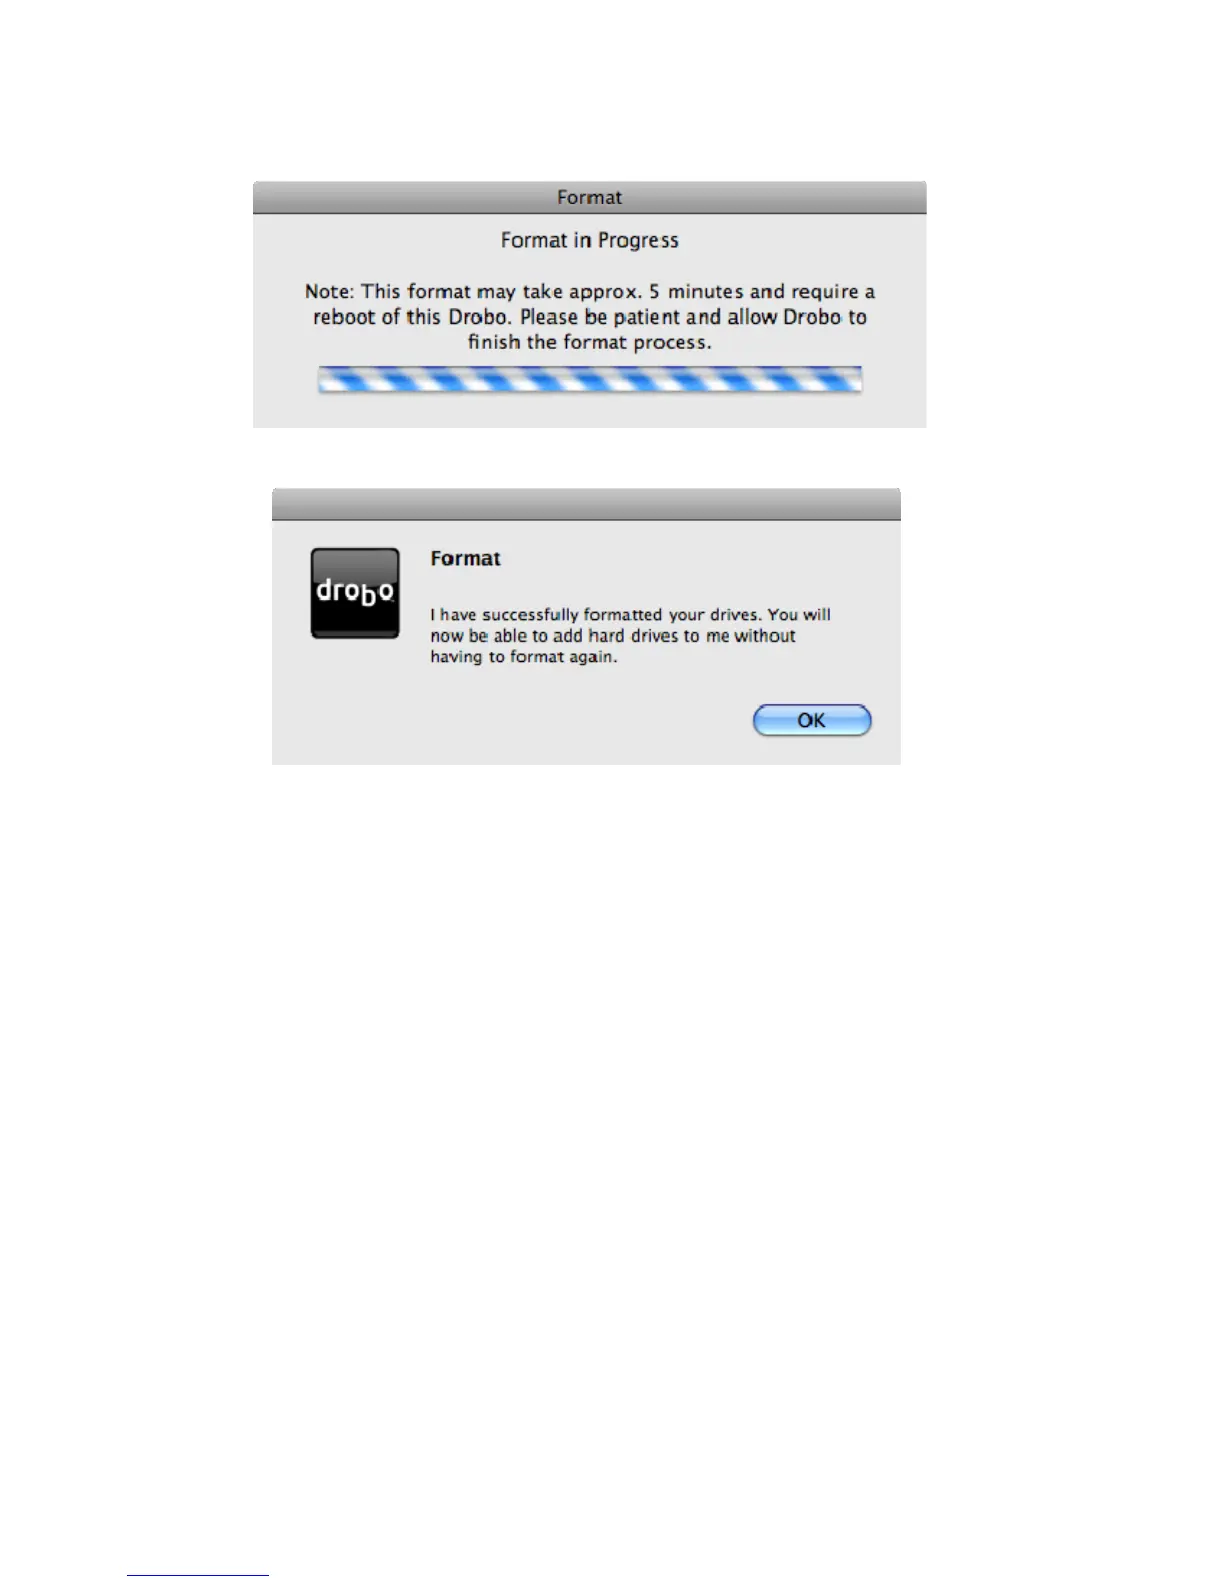
6. A progress bar will be shown during the formatting process.
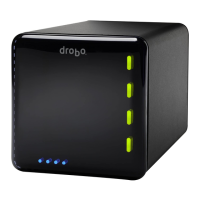
7. You will receive a confirmation dialog when formatting is complete, click OK and Drobo is ready for use.
Tip: When you add or upsize drives to Drobo after initial formatting, you will get immediate access to any
additional capacity. Once formatted, Drobo will handle formatting any new hard drives that you may add to it
until the actual capacity is greater than the volume size. When this occurs, an additional pool of storage is
created with an equal size to the previous volume. When this new pool of storage is created, Drobo will guide
you through the process of formatting this new volume. Be sure to only format the newly created volume to
ensure your existing data is retained.
Tip: Use the Drobo Dashboard Format button when you wish to erase all the data on the drives in Drobo. This
should only be used when you are confident you want to erase all data on the drives in Drobo.
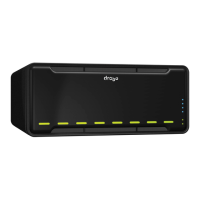
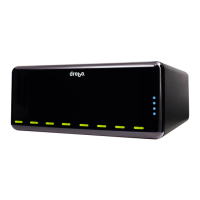
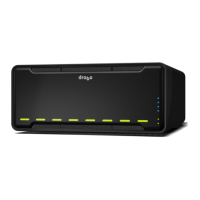
8. Depending on how you set up your Drobo, Drobo will appear on your desktop as either a direct drive or a network
drive.
11